After almost an year I am sharing my best friend Shalini’s recipe in my blog. Last year same time I posted
Madurai masal using baby potato learning from her. After that I couldn’t post her recipes even though I keep trying. This par boiled rice murukku ( idli rice murukku / pulungal arisi murukku) cum thattuvadai recipe is one of the easy and tasty snacks recipe that is apt for this Diwali celebration.Usually we make
thenkuzhal for diwali.
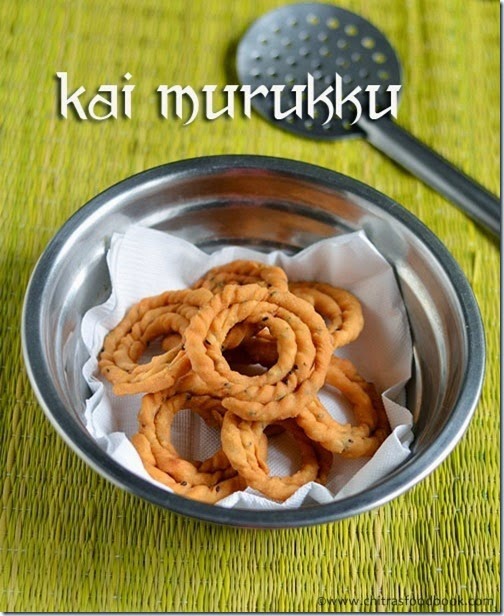
This year, for a change I prepared this murukku by grinding idli rice to a smooth batter and added pottukadalai maavu/fried gram flour. I have already tried this recipe twice during Gokulashtami as kai murukku. Its easy to make spirals with this recipe compared to the
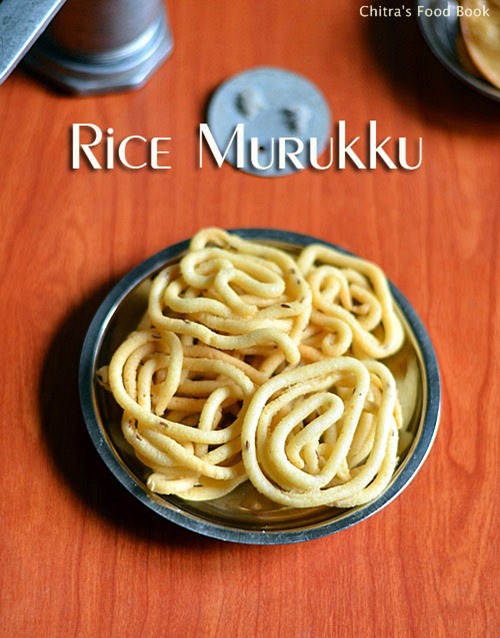
raw rice kai murukku. It tastes super crispy and comes out white in color too. We all loved it a lot. I really don’t know how to name this murukku.You can call it as rice murukku / arisi murukku, Pottukadalai maavu murukku, butter murukku & even as kai murukku because this recipe suits all these categories. So I have just titled this post as basic “ Puzhungal Arisi/Rice Murukku recipe”.
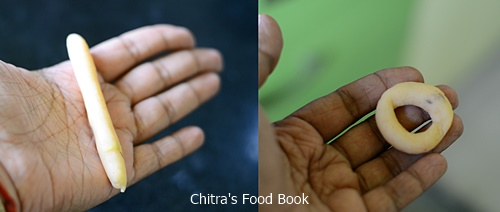
I made a batch of thattai murukku using the same dough. It came out very flavorful. So this is a two-in-one recipe which is a double dhamaka for Diwali. If you are grinding rice for idli batter, you can take a portion of rice batter and try this murukku and thattai. Shalini suggested me to use star shaped mould and make shapes like Chakli/Mullu murukku. As my family is not fond of star murukku, I used my thenkuzhal mould and another small holed mould which I bought recently from Kumbakonam. Raksha loved the thin murukku a lot.
There are certain steps to be followed carefully to make this murukku crispy and white. So check out my “Notes” section before you start this recipe. Ok, Lets see how to make crispy rice murukku recipe for Diwali using idli rice. You can easily prepare this murukku by reserving some rice batter while you grind for making idli,dosa batter.Try n let me know your feedback.


Puzhungal Arisi Murukku/thattu vadai recipe
 Murukku and thattai recipe using idli rice & fried gram flour / pulungal arisi and pottukadalai maavu.
Cuisine: Indian
Category: Snacks
Serves: 15
Prep time: 2H10Min
Cook time: 20Min
Total time: 2H30Min
INGREDIENTS
1 up - 250ml
For murukku
- Idli rice /Par Boiled rice/ Salem rice / puzhungal arisi - 1 cup
- Fried gram flour / Pottukadalai maavu - 1/4 cup
- Softened butter - 1 tbsp (Levelled)
- Hing/Asafetida - 1/4 tsp
- Jeera/Cumin seeds - 1.5 tsp
- Salt & water - as needed
- Cooking oil - to deep fry
For thattuvadai
- Red chilli powder - 1/2 - 1 tsp
- Chana dal - 1 tbsp (Soak in water for an hour)
- Finely chopped curry leaves - few
|
METHOD
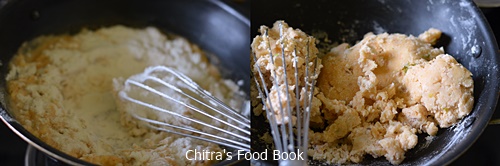
- Wash and soak the idli rice / puzhungal arisi for 2 hours. Drain all the water completely. Grind it to a smooth batter adding little water as much as possible. To use less water,first grind the rice to a coarse powder. Then add water little by little and grind for longer time to make a smooth paste. Remove the batter. If you feel the batter is watery, put it in the cotton cloth for a minute. Cloth will absorb all the excess water but be careful, batter should not become too dry. There should be some moisture.( Ground rice batter should be used immediately).


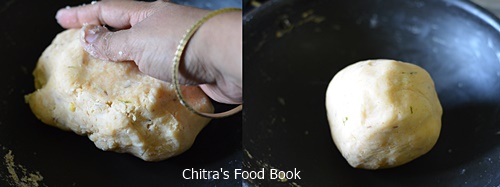
- To this batter add ground fried gram dal powder, softened butter, salt and hing. Mix well till butter incorporates well into the flour. The dough should be soft, non-sticky but not dry. Take a small portion of dough and fill the murukku mould. Cover the remaining dough with a wet cloth to prevent drying.

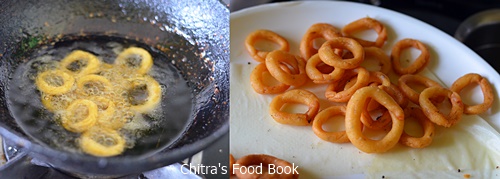
- Heat oil , simmer the flame and press the murukku directly in hot oil or drop the pressed murukku from a ladle. Deep fry both the sides till “ssh” sound and bubbles cease. Adjust the flame whenever needed. Remove and drain the oil in a tissue paper. Cover the unused dough with a wet cloth.

- If you are making thattai, take some murukku batter and add red chilli powder or pepper powder, finely chopped curry leaves and soaked chana dal. Mix well and pat it thin to make a small roundels using a tumbler base. Keep it in a cloth. Pierce it with a fork to avoid puffing. Drop them in oil and deep fry both the sides, remove and drain in a tissue.

Enjoy !
|
Note
- This murukku absorbs more oil when compared to raw rice thenkuzhal. Please keep this in mind.
- The first & most important point is rice should be ground very smooth using as much less water as possible. So grind it for long time adding water little by little. Do not add all the water at a time.
- If you feel the batter has excess water, just put the batter in a cotton cloth for 1-2 minutes and remove. The cloth will absorb all the excess water. U should make murukku immediately after grinding the batter else batter may become sour and color of murukku will change. Murukku drinks more oil too.
- Do not grind the rice batter very thick n dry because after you add butter & gram flour, murukku dough will become even more thick and murukku will break with serrated edges while cooking in oil. So dough should be wet,soft but non-sticky.
- The butter should be soft and at room temperature. Do not use melted butter.The butter has to be well spreaded with the flour. Else murukku won’t come out crispy.
- Do not use butter more than the mentioned quantity, murukku will become oily. Adding little lesser butter is fine but color will change slightly.
- U can replace 1/4 cup of pottukadalai maavu by 1/8 cup of roasted urad dal flour & 1/8 cup of pottukadalai maavu/fried gram flour if you want murukku to be more flavourful like thenkuzhal.
- U can replace butter with ghee or hot cooking oil but iam not sure about the color of murukku.
|

Enjoy making murukku and thattuvadai using this recipe and have a fun filled Diwali celebration!

Continue Reading...

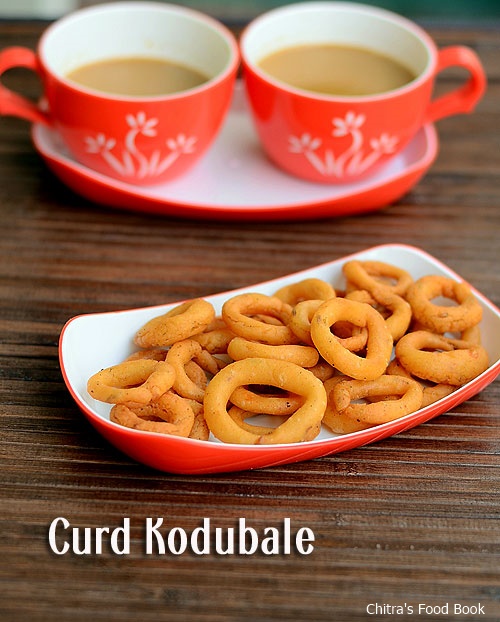
 .I found one and called my friend Archana(school moms group) to confirm the recipe.But she suggested me to try Curd Kodubale(Mosaru kodubale) and shared her family recipe with me. I became double happy and tried it immediately.Ingredients,Preparation,color,taste and texture of this kodubale is completely different from the usual ones.I have heard Curd kodubale is served as a breakfast along with green coconut chutney.I have also tasted them in Food street,VV puram.But Archu told me that they have this as an evening snack along with tea.Breakfast or snack,whatever it may be,the taste is ultimate.The beauty of this recipe is,it doesn’t have any fat like butter,ghee or oil and not even maida in the dough.But I won't say its a low calorie snack as it is deep fried.Its just made of rice flour cooked in Curd + spices mixture.It can be made quickly and it tastes spicy with mild tanginess.What are you waiting for,just try this snack for your family in this weekend and take the credits !
 Lets see how to make this yummy Karnataka special Kodubale recipe.
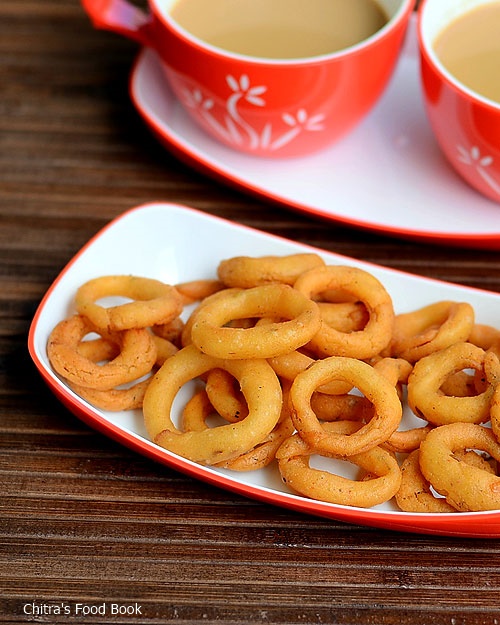
 Karnataka special Snack/breakfast recipe - Curd Kodubale/Mosaru koduable !


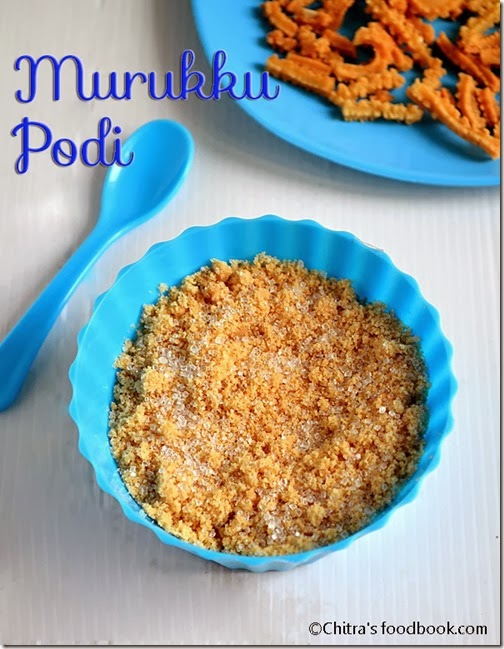

 . Yesterday i tried this with leftover magizhampoo murukku for Raksha & she loved it. More than Raksha , myself and Sendhil relished a lot and we finished the bowl very quickly .Thenkuzhal murukku podi tastes the best according to me. Do try this murukku podi for a change if u have not attempted so far..U may love it like me


