


My mom always use mixie to grind the batter. I too use mixie but I add more water, make the batter watery and prepare bondas instead of vada. I asked the correct quantity of water from my mom. For the past two , three times I am getting a good shaped vada. Now I know the knack of making crispy vada even for lesser quantity of dal.. I should also thank my sil for posting a video of how to make vada .
My mom taught me some alternate methods to bring the vada shape. I’ve tried to give the step by step pics for making vada in different methods. Try whichever is convenient..Please click here if you are interested to watch a video on "HOW TO GRIND VADA BATTER USING MIXIE","HOW TO GRIND BATTER USING GRINDER" and " HOW TO SHAPE VADA USING A SHEET".
I’ve given some tips to adjust the batter consistency, for correct shape & ingredients for onion vada in the notes section.. As my husband hates onion vada, I always make pepper vada and sometimes vegetable vada. We make pepper vada for all occasions. Even today for saraswathi pooja , I made this vada along with rice payasam and channa dal sundal. Usually this pepper vada looks white in color. As I want my vada to be golden brown , I fried in high flame for few seconds before removing it. So please dont think why ur vada looks white and mine looks brown here ;) Also for onion vada , if the color of onion changes to golden brown , it indicates the vada is cooked properly.
Don't forget to check out my latest post with video about medhu vadai recipe using grinder

INGREDIENTS
1 cup - 200ml

Don't forget to check out my latest post with video about medhu vadai recipe using grinder
Don't forget to check out my latest post with video about medhu vadai recipe using grinder

INGREDIENTS
1 cup - 200ml
|
METHOD


  ")
  
|

NOTE
|
Don't forget to check out my latest post with video about medhu vadai recipe using grinder
Technorati Tags: MEDHU VADA,MEDU VADA,MEDHU VADAI,ULUNDHU VADAI,ULUNDHU VADA,URAD DAL VADA,URAD DAL VADAI,VADA,VADAI,HOW TO MAKE CRISPY VADA,HOW TO MAKE FLUFFY VADA,HOW TO SHAPE VADA,urad dal vada recipe,urad dal vada,ulundhu vadai,how to make urad dal vada,medu VADA,medhu vada,urad dal vada varieties,urad dal vada recipes,ulundu vadai,medhu vadai recipe


.jpg)
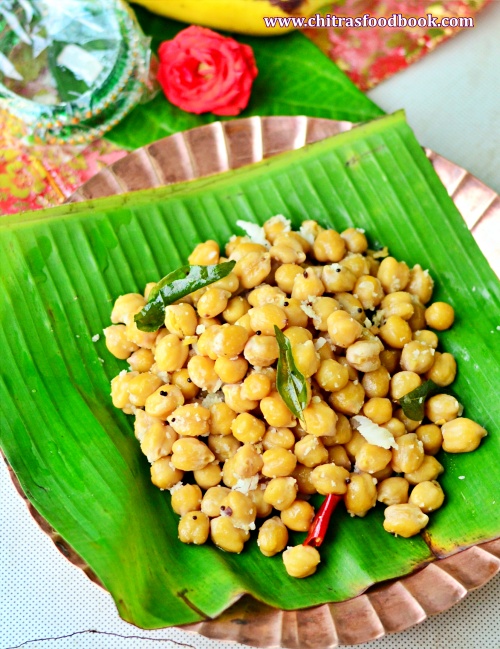
.jpg "Green gram sundal")


