

Both South Indian and North Indian people celebrate this festival at home in a grand manner by offering Lord Krishna’s favorite sweets and snacks. So I thought of sharing all the Krishna jayanthi / Gokulashtami special naivedyam recipes under one page for easy reference.
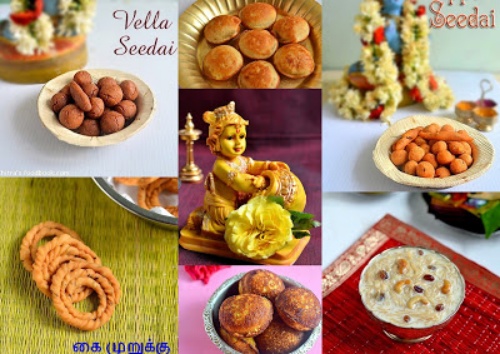
In Tamil nadu, people keep all the varieties of fruits, Butter, Milk, Curd, Aval/Poha mixed with jaggery along with sweet seedai/vella seedai, uppu seedai, kai murukku, sweet appam and Paal payasam for neivedyam/prasadam. I have made a video for these 5 recipes. Do watch it.
In this page, I have shared the links of how to make homemade rice flour, Urad dal flour for making seedai and murukku, Vella seedai/Sweet seedai recipe, Salt seedai/Uppu seedai recipe, Seedai using store bought rice flour, Easy Nei appam/Ghee appam, Kai murukku, Chakli, Thattu vadai recipe and Payasam recipes. I have also shared few Karnataka and North Indian recipes for janmashtami along with some tips to avoid bursting of seedai. Beginners can try some of the easy recipes like kheer and appam from the list.
Generally pooja has to be done at midnight. But we make pooja in the evening after 6 pm. My MIL says butter, milk, curd and rice flakes with jaggery are the most important for offerings even if you are not able to prepare other sweets and snacks because these are Krishna’s Childhood favorites. Here is the picture of our Lord Sri krishna with offerings. Wish you all a very happy Krishna jayanthi.


I have shared the links of all Gokulashtami recipes below. Click on the picture to view the respective recipes. Do visit my Krishna Janmashtami Pooja procedure post if interested.


Other than the above mentioned recipes, you can also make Rice payasam with jaggery, Urad dal vada and Some ladoo varieties if interested.
In this page, I have shared the links of how to make homemade rice flour, Urad dal flour for making seedai and murukku, Vella seedai/Sweet seedai recipe, Salt seedai/Uppu seedai recipe, Seedai using store bought rice flour, Easy Nei appam/Ghee appam, Kai murukku, Chakli, Thattu vadai recipe and Payasam recipes. I have also shared few Karnataka and North Indian recipes for janmashtami along with some tips to avoid bursting of seedai. Beginners can try some of the easy recipes like kheer and appam from the list.
Generally pooja has to be done at midnight. But we make pooja in the evening after 6 pm. My MIL says butter, milk, curd and rice flakes with jaggery are the most important for offerings even if you are not able to prepare other sweets and snacks because these are Krishna’s Childhood favorites. Here is the picture of our Lord Sri krishna with offerings. Wish you all a very happy Krishna jayanthi.

Do check out my Krishna Janmashtami Pooja procedure post if you are interested to know our puja methods. I have made a video on how to make uppu seedai & vella seedai using store bought rice flour, butter murukku, paal payasam and sweet appam using wheat flour. Hope beginners would find it useful. Please watch the video below.

I have shared the links of all Gokulashtami recipes below. Click on the picture to view the respective recipes. Do visit my Krishna Janmashtami Pooja procedure post if interested.

Homemade Rice flour
Homemade Urad dal flour
Sweet Seedai / Vella Seedai
Kai Murukku recipe
Nei appam / Ghee appam
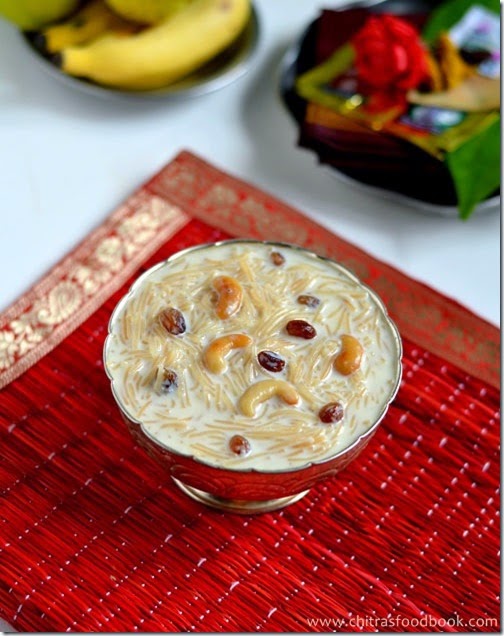
Vermicelli Kheer / Semiya Payasam
Sweet Appam with banana, wheat flour
Aval Payasam with jaggery
Seedai using store bought rice flour


Aval murukku / Poha chakli
Poha Kheer / Aval payasam with sugar
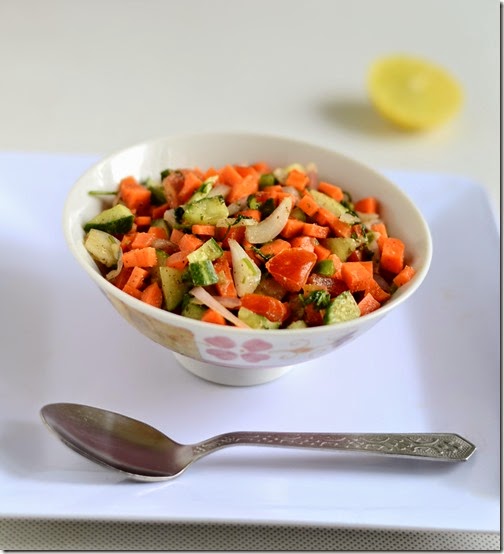
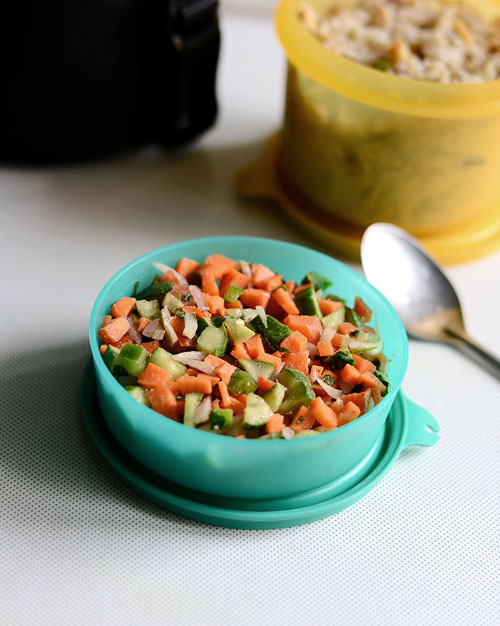
Gopalkala / Dahi Poha
Aval ladoo / Poha laddu

Rava ladoo / Suji laddu
Wheat flour appam – Deep fried
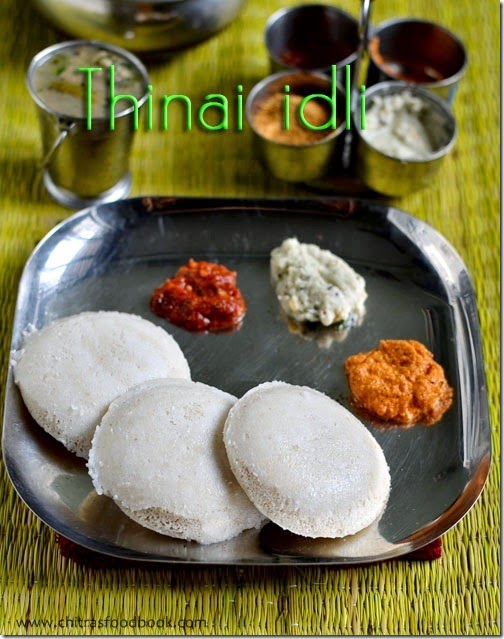
Thinai Nei appam/ foxtail millet sweet appam
Parboiled rice murukku
No cook aval panchamirtham
Easy Paal Kozhukattai with sugar
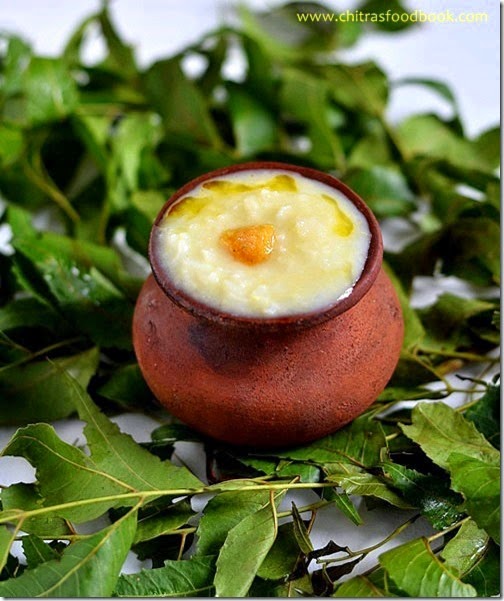
Paal Payasam recipe
Butter murukku
Microwave Rava Kesari
Milk kesari / Paal kesari
Rava Kesari
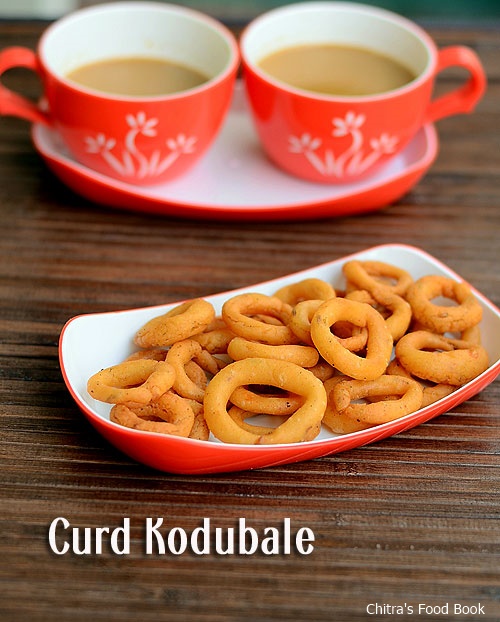
Curd Kodubale
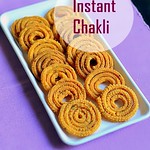
Instant chakli / murukku recipe


Easy Atta Halwa / wheat flour halwa
Suji Halwa / Sooji halwa recipe
Other than the above mentioned recipes, you can also make Rice payasam with jaggery, Urad dal vada and Some ladoo varieties if interested.
TIPS TO AVOID BURSTING OF SEEDAI
Most of us are afraid of making seedai just because it bursts. But when you follow these tips properly, seedai never burst & it comes out super crunchy and tasty. Here are some of the tips I learnt from my mom & MIL to avoid bursting and to make a perfect sweet seedai & salt seedai recipes. Happy Krishna Jayanthi :)
- You must roast the wet flour for few minutes in low flame if you are using homemade processed rice flour. For store bought rice flour, this step is not needed. Roasting is needed for store bought idiyappam flour.
- First important thing to avoid bursting is to “SIEVE” the flour once or twice. U should sieve all the flour ( urad dal flour, rice flour). Sieving the flour properly reduces 90% of bursting.
- Secondly u should not roll the seedai very tightly. U should roll it to a loose ball using three fingers. No problem if its not a proper round..
- One more tip is to prick the seedai with a small needle to avoid bursting.. Dry the seedai in a paper or towel for 20 minutes before frying.This is also very important.
- Beginners can try deep frying few seedai in “small tempering kadai” . If it comes out well , proceed in a big kadai. Color variations may be there slightly. But you can check whether it bursts or disperses in oil..
- If sweet seedai breaks or dissolves in oil , it means jaggery may be more or oil temperature is too high or too low.
- If Seedai bubbles too much after you drop into oil , it shows the fat ( ghee or butter or oil) content is more..So add more rice flour to the dough & make again..
- The color of seedai depends on the color of urad dal flour. If you roast the dal to golden brown, seedai will also turn brown.
- Uniform heating is also important. In my observation , I feel low to medium flame is enough to get a nice colored and crispy seedai.
Check out these links for my sweet seedai & uppu seedai recipes :
WISH U ALL A VERY HAPPY KRISHNA JAYANTHI CELEBRATION.
ENJOY WITH SEEDAI and MURUKKU !!


