Search Chitra's Food Book

October 12, 2014

30 Easy Diwali Sweets For Beginners | Indian Diwali Sweets

easy diwali sweets
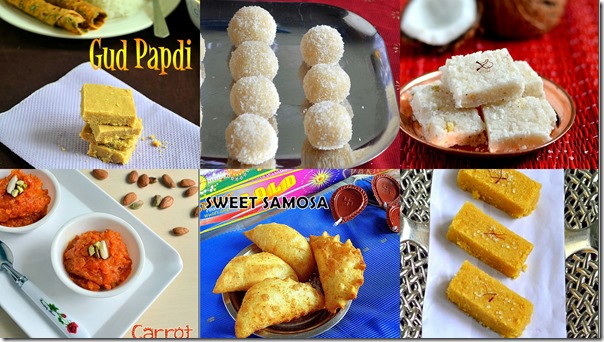
In this post, I have shared the collection of simple and easy South Indian and North Indian diwali sweets / deepavali sweets for beginners under one page for quick reference. For making these sweets, you don’t need expertise knowledge or worry about the consistency of sugar syrup or jaggery syrup. All these recipes are just mix n cook kind. 

I have shared few burfi recipes, halwa recipes, some ladoo recipes and few sweets using condensed milk. Hope you find it useful. Try these easy sweets for this Diwali and have a fun-filled celebration. I am sure these sweets would be loved by everyone including children/kids.

 I am yet to update few of my old easy sweets posts. So I have not included them here. I will add them once I update it. Next week, I will try to share some authentic sweets and savory recipes for Diwali & then I will make a post with good collection of Diwali recipes with our Celebration pictures. Ok, Lets see the list of easy Indian diwali sweets below.

HERE is my full collection of Diwali Recipes with celebration procedures !

I have shared the video links below. Please click to watch it.   


Check out my Indian kitchen basics post on

Easy Diwali sweets


Diwali sweets recipes collection 30 easy diwali sweets for beginners. 

cuisine: Indian
category: sweets
serves: 3
prep time: 10 min
cook time: 20 min
total time: 30 min


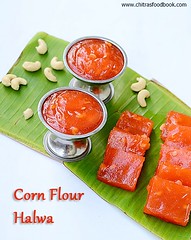
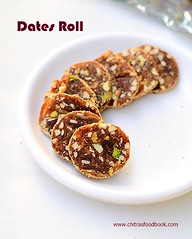
Corn flour halwa/Karachi HalwaDates & Nuts Roll

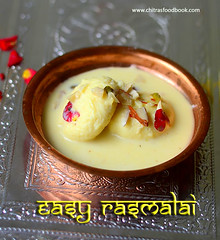
Easy rasmalai under 15 minutes Badam burfi recipe Maa ladoo recipe
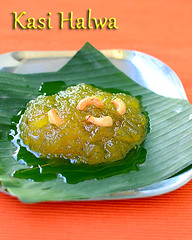
Easy bread halwa recipe Tirunelveli halwa with wheat flour Kasi halwa recipe

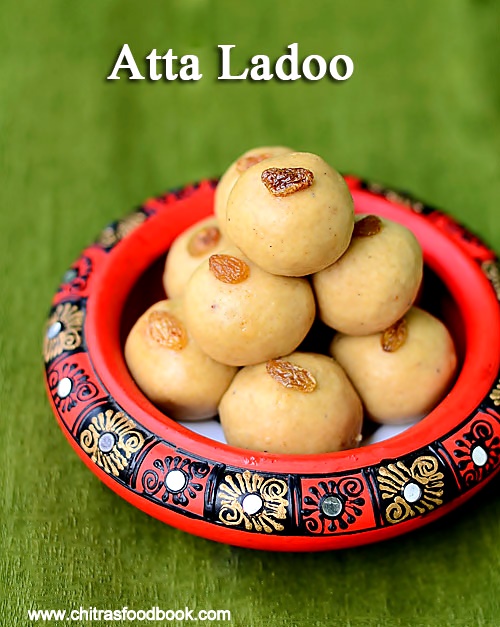
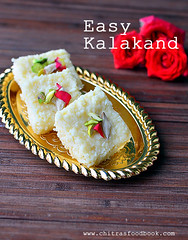
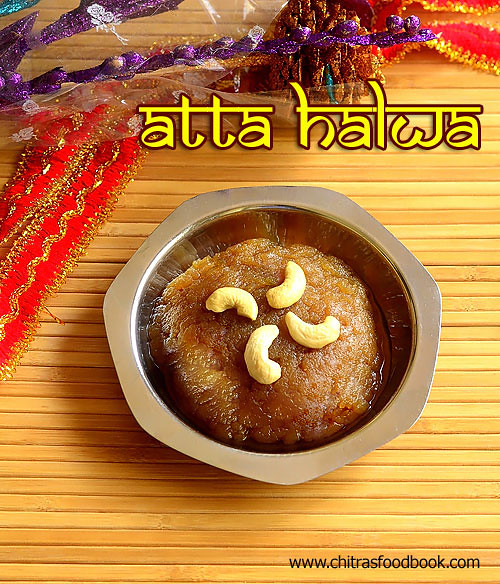
Easy kalakand with condensed milk Instant wheat flour halwa Dates and nuts ladoo 

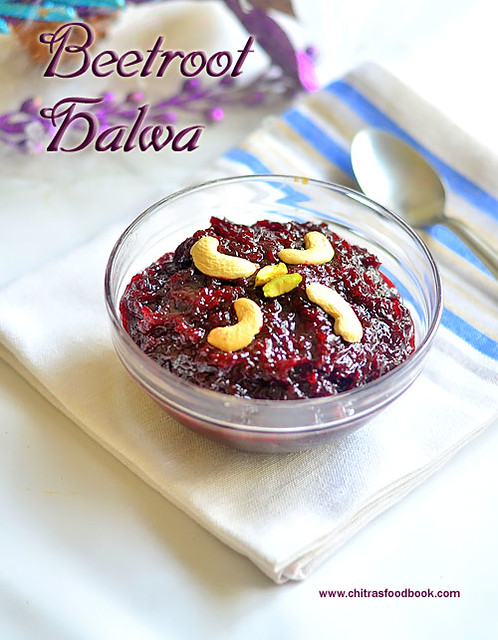
 Instant malpua Mawa ladoo Easy beetroot halwa

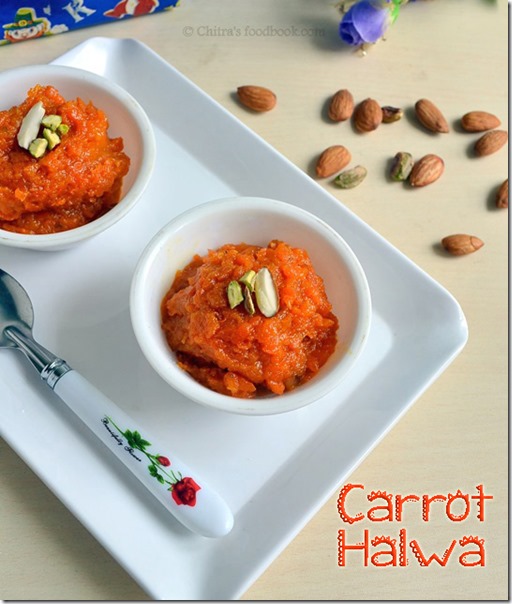
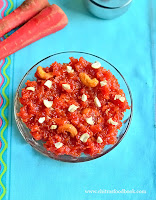
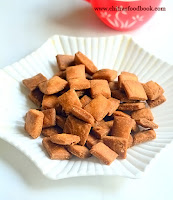
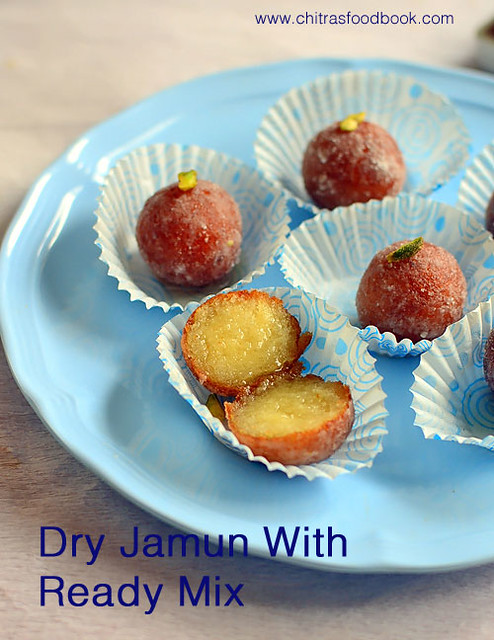
Carrot halwa in pressure cooker Wheat flour shakkarpara Dry jamun with instant gulab jamun mix


Click HERE to view my full collection of Diwali Recipes with celebration procedures!   


technorati tags: ,,,,,,,

Continue Reading...


October 9, 2014

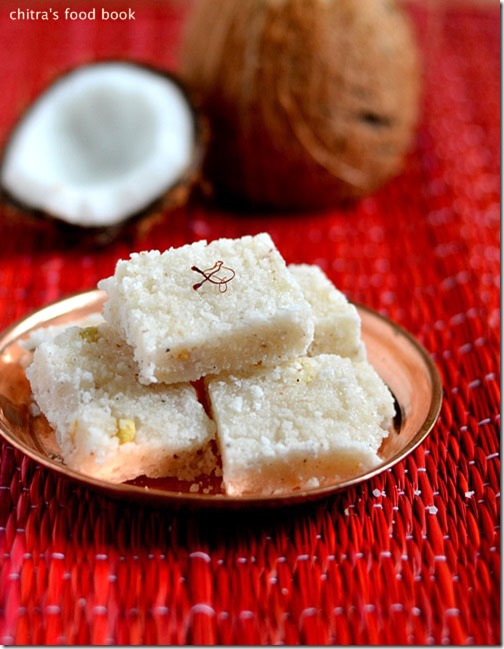
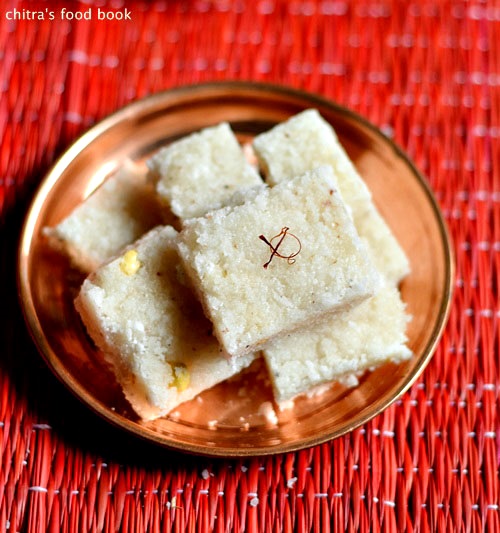
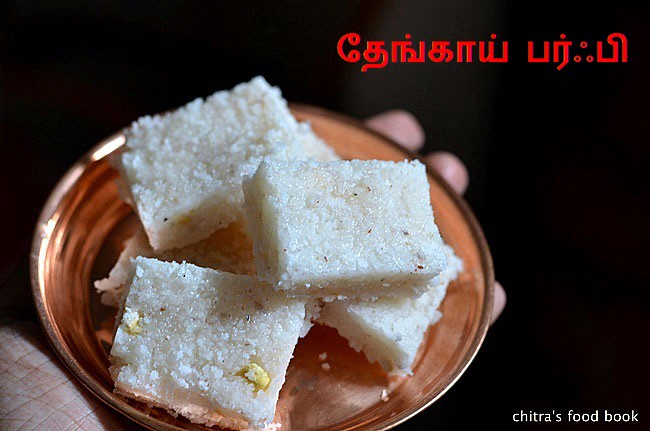
THENGAI BURFI RECIPE- SOUTH INDIAN COCONUT BURFI - EASY DIWALI SWEETS

thengai-burfi
Coconut burfi/Thengai barfi in Tamil & Nariyal barfi in Hindi is one of the easiest burfi recipes that can be made within 10 minutes using three main ingredients. Just a drop of ghee is enough to make this sweet. I started making this burfi last year just to finish off the excess fresh coconut shells (thengai moodi) I got as prasadam from temples. But nowadays our family has become a big fan of coconut burfi and I make it very often. U can find many versions for this coconut burfi using milk, condensed milk (milkmaid) etc. Here I have shared a very easy recipe with easily available ingredients in our home.

Though its cooking procedure is really easy, there are certain things that need to be followed to get a white, juicy, soft coconut burfi. No worries, even a beginner can try it ! I have used little milk, Rava & fried gram dal as per my MIL’s suggestion. U can skip it always. 

Ok, lets see how to make South Indian coconut burfi/thengai burfi recipe with stepwise pictures !Do include this easy burfi in your Diwali menu and treat your family members. As I say in all my sweets posts,do have a look at my “Notes” section if you are a beginner !
Check out my “Easy coconut ladoo” if interersted.


Coconut burfi/Thengai burfi recipe


Coconut burfi/Thengai burfi recipe Easy coconut burfi recipe with 3 main ingredients !
Cuisine: Indian
Category: Sweet
Serves: 5 nos
Prep time: 5 Minutes
Cook time: 10 Minutes
Total time: 15 Minutes


INGREDIENTS


  • Fresh grated coconut - 1/2 cup(heaped)
  • Sugar - 1/2 cup
  • Cardamom seeds - 2 nos (crushed)
  • Milk - 1 tbsp
  • Chiroti rava - 1/2 tsp (completely optional)
  • Fried gram dal - 1 tbsp
  • Ghee - a drop ( to grease the plate)
METHOD

  • Grease a plate with a drop of ghee and set aside. Grate coconut carefully without scraping the brown part of it. This is the first most important point to get white coconut burfi. If you find some small pieces of coconut while you grate, dry grind the coconut gratings to a fine powder. But this step is not necessary if you have fine coconut gratings without any pieces.
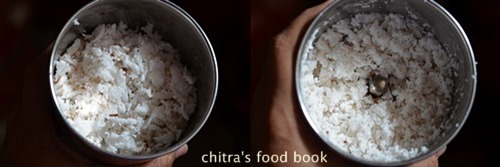
coconut burfi step1
  • Its better to use a non-stick kadai to know the right finishing stage. Aluminium or iron kadai also works great but if you are a beginner,use non-stick kadai.
  • In a wide non-stick kadai, take the grated coconut, sugar, milk and rava (if using). Switch on the flame, keep it medium and mix it.
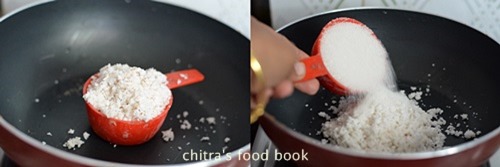
coconut burfi step2
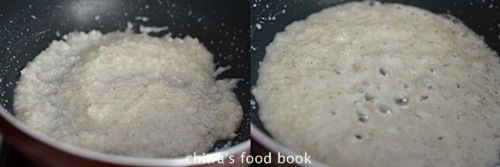
  • As u mix,sugar will melt and the mixture becomes watery. Keep the flame completely low and keep mixing the coconut mixture ( Mixing in low flame is the second important thing to get white burfi). White foamish bubbles will form all over the mixture. Keep stirring the mixture by staying nearby. Mixture will start to become thick. Bubbles will form in the sides of the pan and mixture will leave the sides of pan.
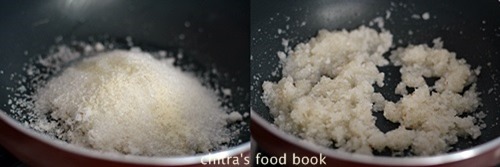
coconut burfi step3coconut burfi step4
  • As soon as the mixture starts to leave the pan, add cardamom powder and mix well for a minute. Mixture will start to form a lump. Lastly add the fried gram dal pieces and give a stir. Remove in the ghee greased plate. No problem if the mixture is slightly wet ( the last important point). It will harden in few minutes as it cools down. 
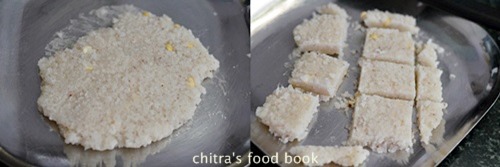
  • Press and level the mixture with back of spatula or butter paper. Then leave it untouched for 2 minutes. Now draw lines using a sharp knife and mark squares or diamond shapes. Let it cool. Remove and enjoy ! U can store this burfi in a box and use it for a week.( Initially burfis look half white but it changes to white as time proceeds)
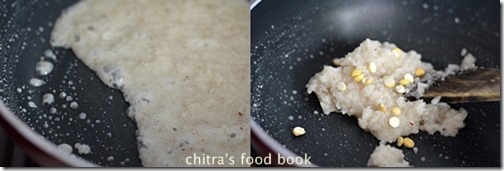
coconut burfi step5coconut burfi step6

Enjoy !

Note

The 4 important points to be noted are:
  1. Brown part of coconut should not be used. Use only white part to scrape off.
  2. Use low flame throughout the entire cooking process for the mixture to remain white till the end.
  3. Remove the mixture as soon as it thickens a bit leaving white bubbles in the sides and becomes a lump. Do not wait for the mixture to become dry completely.
  4. After you drop the mixture in ghee greased plate,level it/smoothen it using a spatula or butter paper to give a smooth look to burfi. Burfi will set in 2-3 minutes.
Draw lines & make shapes immediately after 2 minutes else it will be hard to make shape.

Tips for troubleshooting :
  1. Suppose if you remove the mixture a bit early, it won’t set. It will remain wet for long time. In that case, again transfer it to the kadai & cook it for 1-2 minutes till it thicken a bit.
  2. If you over do the mixture and if it becomes dry and crumbly, no worries. Add 2-3 tbsp of milk and again mix it in the kadai for a minute. It will absorb the milk & become slightly wet. Remove spread and make pieces.
You can use dessicated coconut instead of fresh coconut. But grind it using milk before adding sugar.
U can skip rava and milk while cooking if you don’t like but I used it as per my MIL’s suggestion.
U can use roasted cashew pieces instead of fried gram dal.

Make this easy, juicy coconut burfi & enjoy !


Continue Reading...


October 8, 2014

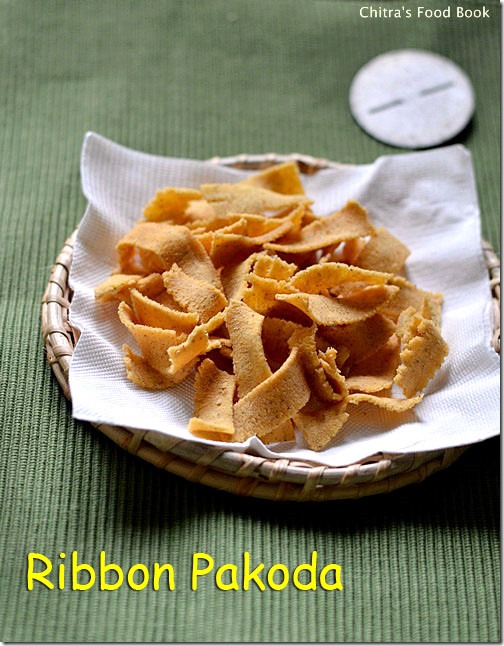
RIBBON PAKODA RECIPE WITH BESAN /OLA PAKODA - EASY DIWALI SNACKS

Ribbon pakoda

Ribbon pakoda is one of the most famous Savouries in Tamil nadu. People call it by different names as Ola pakoda / Oatu pakoda / Ribbon tape / Ribbon flowers / Naada aachu/ Seeval etc. Most of the tamil people make this during Diwali without fail.

Every year my MIL prepare this easy snack recipe along with thenkuzhal & spicy maida biscuit. But I tried this ribbon pakoda recipe on my own for the first time yesterday asking the recipe from my MIL. I also referred Banumathi mam’s (Food Fun Friends group in facebook) recipe, made few changes and came up with this crunchy, white ribbon tape aka ribbon pakoda. 

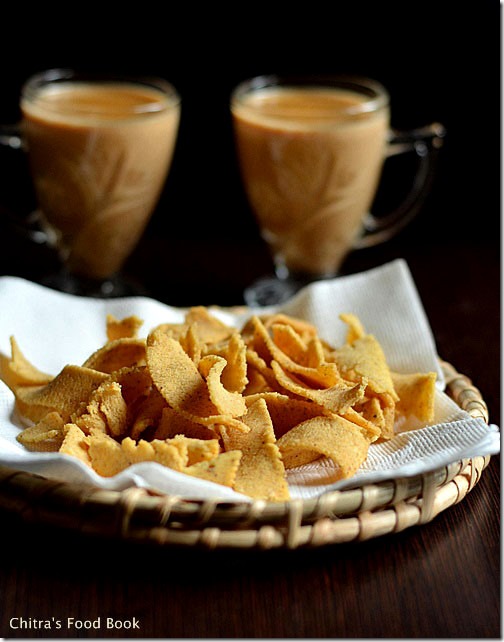
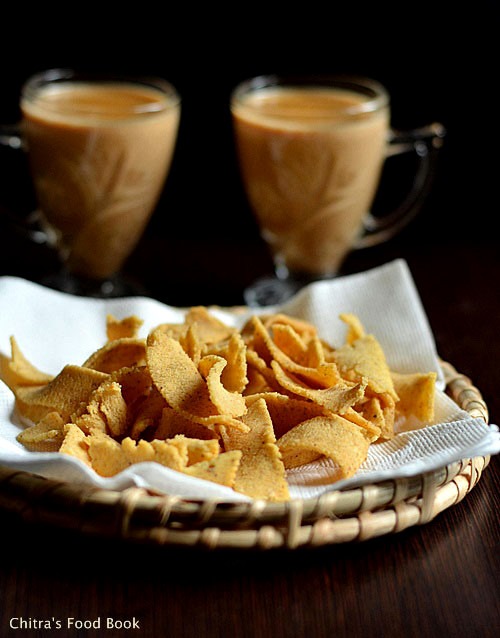
This recipe needs very less butter but it gives crunchy pakoda. As Sendhil is fond of pepper flavor, I used pepper powder instead of red chilli powder. So mine came out white in color. If  you want red colored ones like you get in shops, just replace pepper powder with Kashmiri red chilli powder. I was very happy and completely satisfied in my first attempt itself.  We munched it with tea as evening snack. Tasted great ! 

Do try this yummy, easy snack for Diwali. Not just for diwali, you can make this as an evening snack for your kids when they are back from school. I am sure it will come out very well & everybody will love it. Do refer “Notes” section for beginner’s tips.
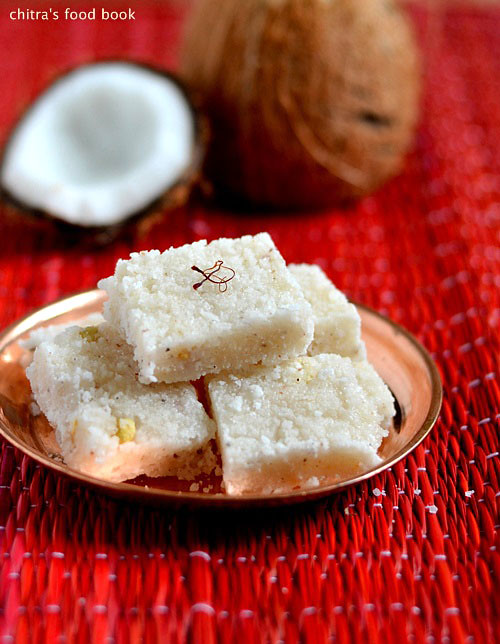
Ribbon-pakoda

Ribbon pakoda recipe


Ribbon pakoda recipe Ribbon pakoda/Ola pakoda recipe for Diwali - Easy,yummy pepper flavored evening snack !
Cuisine: Indian
Category: Snack
Serves: -
Prep time: 5 Minutes
Cook time: 20 Minutes
Total time: 25 Minutes


INGREDIENTS
1 cup - 250ml
  • Rice flour - 1 cup ( I used idiyappam flour)
  • Besan flour/Kadalai maavu - 1/2 cup
  • Melted butter or soft butter - 1 tbsp (at room temperature)
  • Asafetida/Hing - 1/2 tsp 
  • Pepper powder or red chilli powder - 2 tsp
  • Sesame seeds - 1 tsp
  • Salt & water - as needed
  • Cooking oil - to deep fry
HOW TO MAKE RIBBON PAKODA - METHOD
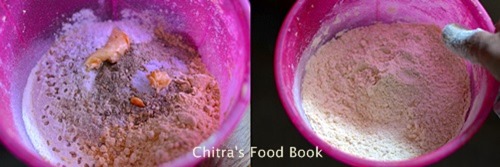
  • In a wide bowl,take the rice flour, besan, hing, pepper powder, salt & butter at room temperature. Mix well. Butter should be mixed well with the flour. You can use Kashmiri red chilli powder instead of pepper powder but color of ribbon pakoda comes out golden brown.
ribbon-pakoda-step1
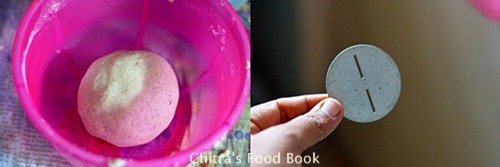
  • Add water little by little and make a smooth, non-sticky dough. Make sure dough is not too tight/dry or too wet. Take the ribbon pakoda mould(achu) and keep a ball of dough in the press.
ribbon-pakoda-step2
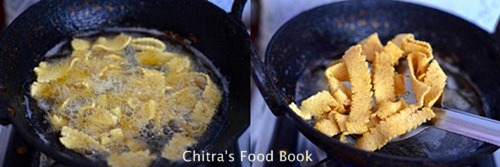
  • Heat oil to deep fry. When the oil becomes hot, drop a pinch of dough. If it rises immediately, temperature is just right. Simmer the flame & press the mould over hot oil in a circular manner. Let it cook in one side till bubbles cease. Flip it and again cook till “ssh“ sound stops. Remove and drain in a tissue.( adjust the flame whenever needed). 
ribbon-pakoda-step3
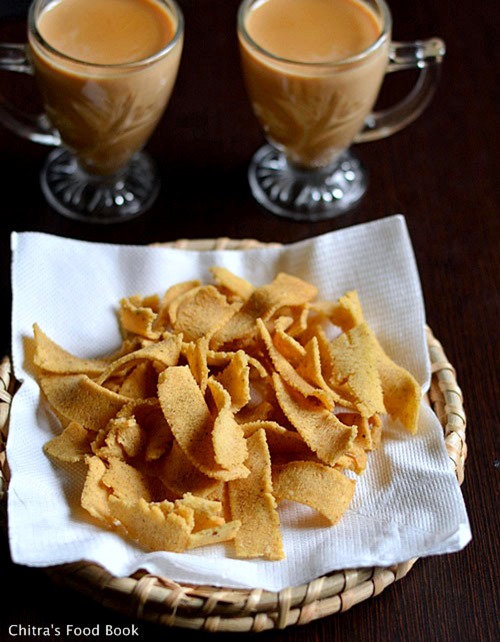
After its cooled down, break into pieces, store in an air tight box and Enjoy ! This snack takes one day to infuse all the flavour and tastes, smells best the next day !
Note

  • You can replace pepper powder with a tsp of red chilli powder & hing with smoothly ground 1.5 tsp of garlic paste.
  • While making dough, do not add more water and make too sticky dough. Ribbon pakoda will break into pieces in oil & you will get serrated edges.
  • If you make very tight dough, it will be very difficult to press. So make it perfect.
  • Do not reduce the quantity of rice flour. U won’t get crispy pakoda.
  • U can replace butter by ghee or hot oil. But butter gives the best result.
  • If you don’t deep fry all the batches properly, it will make the entire snack soggy the next day. So deep fry them by adjusting the flame correctly.
  • It tastes best the next day with all its flavor and crispness. 


Enjoy munching this yummy snack with coffee/Tea !
ola pakoda recipe


Continue Reading...


October 6, 2014

PANEER LADDU RECIPE / MALAI LADOO WITH CONDENSED MILK

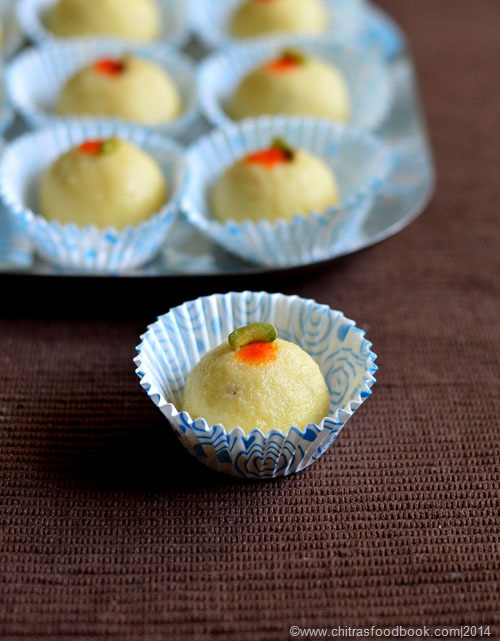
Paneer-laddu

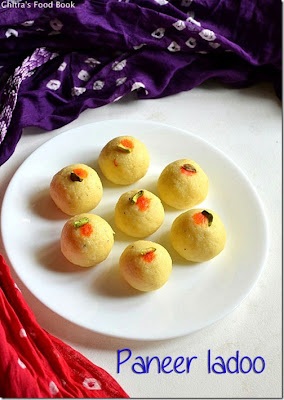
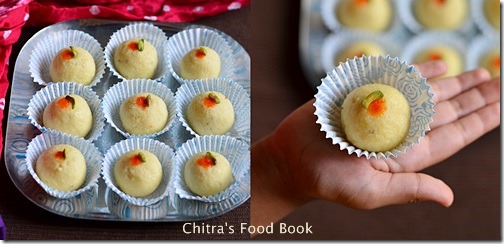
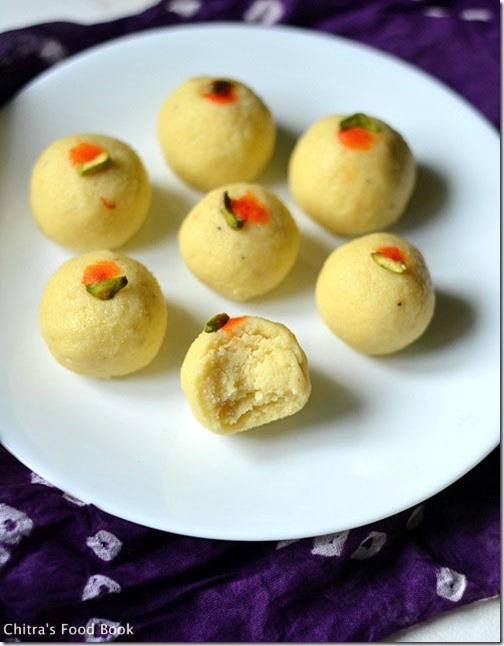
Malai ladoo aka paneer ladoo is one of the most famous sweets in North India. I tried this easy laddu recipe for the first time using my homemade condensed milk .I referred milk maid website and here for this recipe.Its a very easy dessert/sweet that can be made within 10 minutes and it tastes great too! Indian kesar Malai ladoo can be made in different ways.This is one of the easiest method of doing it. All u need is just 3 main ingredients.Even beginners can try this sweet easily.I used store bought paneer.U can use homemade chenna too.Do try this easy n yummy sweet for this Diwali to treat your family and let me know how u liked it. Ok,lets see how to cook this easy Indian dessert recipe-Paneer ladoo.

malai laddu

Paneer laddu/Paneer ladoo recipe


Paneer laddu/Paneer ladoo recipe Easy n delicious paneer ladoo recipe using store bought paneer & homemade condensed milk
Cuisine: Indian
Category: Sweet
Serves: 10 nos
Prep time: 10 Minutes
Cook time: 10 Minutes
Total time: 20 Minutes


INGREDIENTS
1 cup = 250ml
  • Paneer - 200gms (store bought or homemade)
  • Condensed milk – 3/4 cup (-do-)
  • Boiled milk – 1/4 cup(at room temp)
  • Sugar - 1tbsp (optional,add only if u need more sweetness)
  • Elachi/Cardamom seeds - 2 nos
  • Kewra essence – 2 drops ( optinal,i din’t use)
  • Kesar/Saffron threads - few ( add less to get white ladoo)
  • Ghee – 1 tsp (unmelted)
METHOD
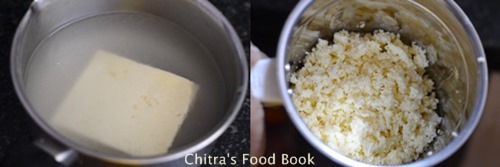
  • If using store bought paneer,immerse it in hot water for 10-15 minutes till it softens.Then crumble it well using your fingers.If using homemade paneer,no need to keep in hot water.Knead the chenna well with your palm & crumble it.
how to make malai ladoo
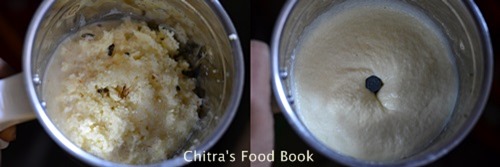
  • Take the crumbled paneer in a mixie jar.To this, add condensed milk,milk,saffron threads and cardamom seeds(without skin). Grind it to a smooth paste.After grinding the mixture,check for taste and add more condensed milk or sugar,grind again and proceed to next step.
Malai-ladoo-1
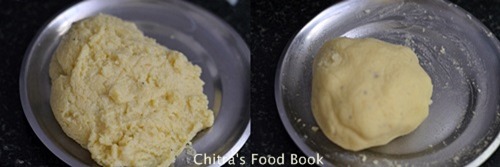
  • In a wide kadai,take the ground paste and add 1 tsp of ghee(refer picture). switch on the flame.Keep the flame medium and stir in regular intervals till the mixture becomes thick and becomes a whole mass leaving the sides of pan.
Malai-ladoo-2
Malai-ladoo-3
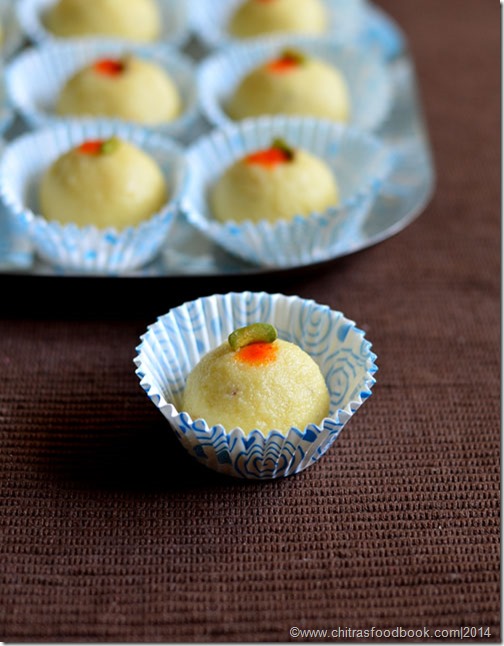
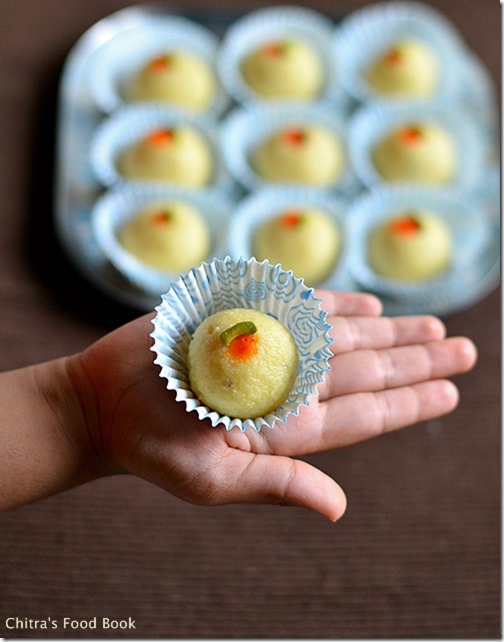
  • Remove in a ghee greased plate and let it warm.Knead the dough well & make a non-sticky mass.Make balls and arrange in a cupcake liner.Decorate it by keeping a colored dot( I used a  pinch of orange food color powder dissolved in little water) and sliced pistachios.
Malai-ladoo-4Malai-ladoo-5

Serve n Enjoy !


Note

  • My ladoos were slightly yellow in shade as I used saffron threads.Skip it to get white colored ladoos.
  • Use  2 drops of kewra essence to get nice flavor.
  • Instead of store bought paneer,u can use homemade paneer too.Homemade chenna makes even more soft ladoo.
  • If using homemade chenna,knead the chena well and then grind with condensed milk.
  • U can use store bought or homemade condensed milk.U can add more condensed milk based on your taste buds.
  • After grinding the mixture,check for taste and add more condensed milk if necessary.
  • Do not keep the dough in flame for long time,ladoo may turn hard.Also remove the dough only after it becomes non-sticky.U can check it by taking a small piece and make a ball.If u are able to shape it well,remove in a plate.


Paneer ladoo

Make this easy n delicious paneer ladoos for this Diwali n Enjoy !
Paneer ladoo with condensed milk

Continue Reading...


October 3, 2014

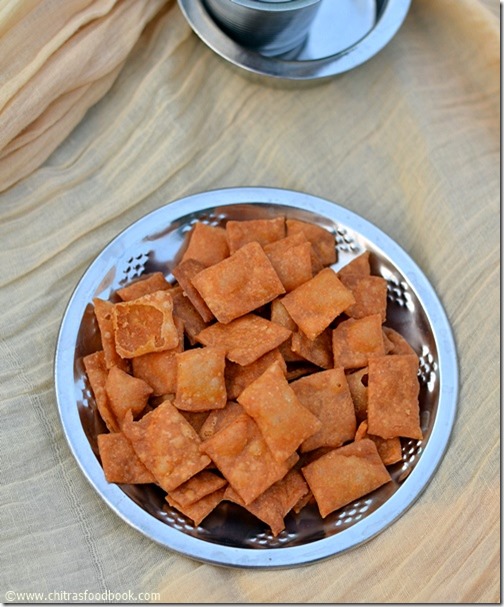
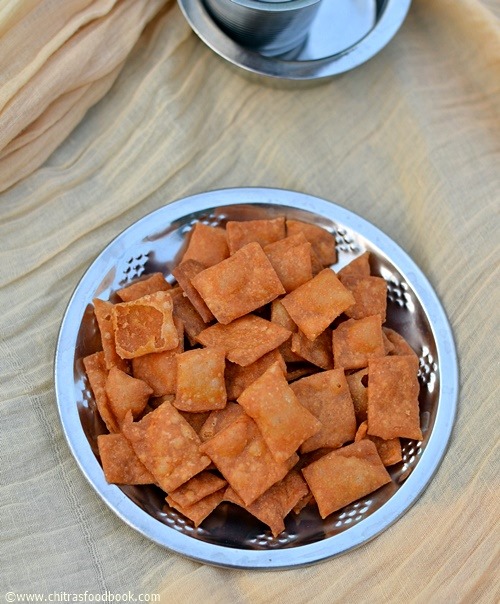
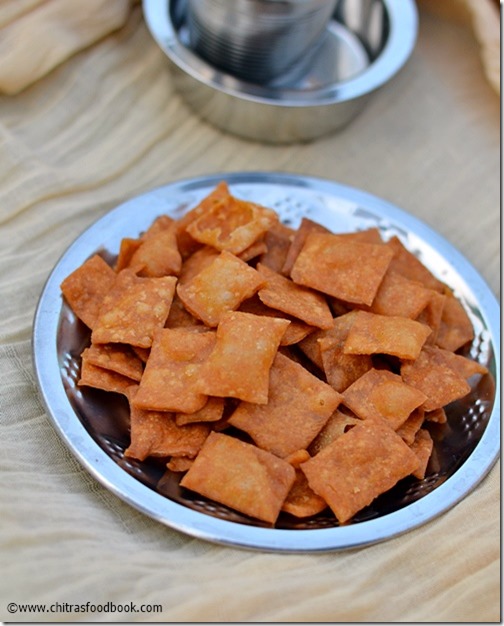
TIRUNELVELI THUKKADA RECIPE - WHEAT FLOUR SNACKS - DIWALI SNACKS RECIPES

spicy-thukkada-recipe
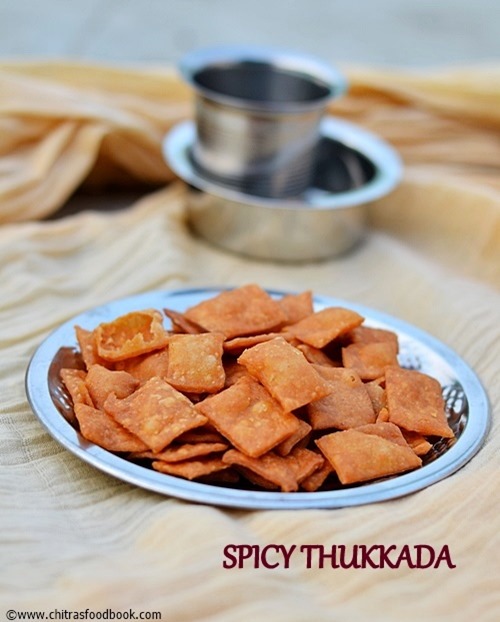
Thukkada is a Tirunelveli special tea time snack made with wheat flour. I came to Salem two days back to celebrate Saraswathi pooja & having a great time here. Yesterday I went to my mom's place for half a day. I had my mom's lunch happily after a long time. I told her to prepare this easy, Tirunelveli famous snack recipe,Thukkada. 

Thukkada is nothing but spicy wheat flour chips. Yes, its made of wheat flour spiced with chilli powder. I saw some versions using garlic and Red chillies paste. But my mom makes it very simple just by adding red chilli powder to wheat flour. She usually make this spicy snack at the time of Diwali along with Thenkuzhal. When I was thinking about easy savories recipes for Diwali, I reminded about this crispy, guilt free snack and thought of sharing here.  You can make it in square or diamond shapes as you wish. 

My MIL also makes a similar snack recipe using maida called as spicy diamond cuts. You can even make sweet thukkada adding powdered sugat. I will share that version soon. Do try this easy, crispy, yummy thukkada  this weekend & to crack this Diwali :) Its very easy to make and comes out crunchy too ! Don't forget to check "Notes" section.

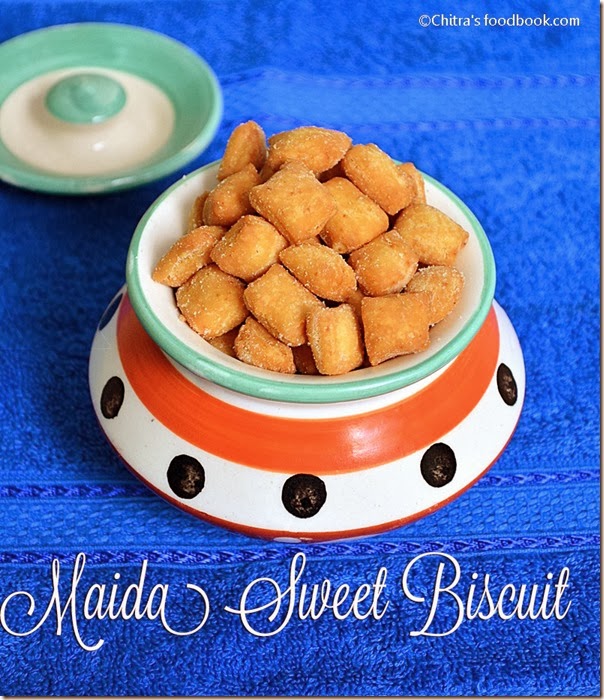
Check out my sweet maida biscuit too.

THUKKADA

Easy, Nellai famous thukkada recipe


Spicy thukkada recipe Easy,spicy Nellai famous thukkada recipe for Diwali !
Cuisine: Indian
Category: Savory
Serves: 50 nos
Prep time: 5 Minutes
Cook time: 15 Minutes
Total time: 20 Minutes


INGREDIENTS
1 cup = 250ml

  • Wheat flour/Atta – 1 cup
  • Red chilli powder – 1 tsp ( heaped ) Levelled for low spice
  • Water and salt - As needed
  • Hot oil or melted butter – 1 tbsp 
  • Cooking oil - to deep fry
  • Hing - a big pinch

METHOD

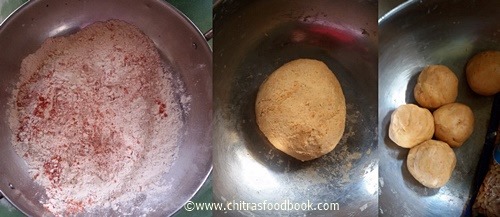
  • In a wide bowl, take the wheat flour, salt, red chilli powder and oil. Mix well, Then add water little by little and make a tight dough.( Add water carefully. If u make the dough sticky n soft, u won't get crispy thukkada & also do not add more flour if the dough becomes sticky, thukkada will become very hard).
thukkada-1

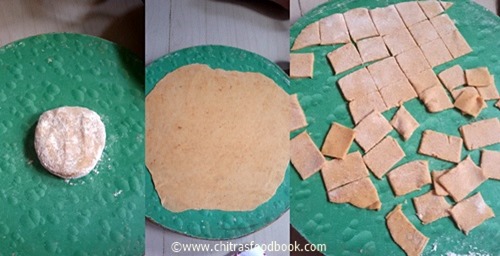
    Let the dough sit for 10 minutes.Then make uniform balls,dust with wheat flour and roll it like a thin chapathi. Use a knife or pizza cutter and cut into diamonds or squares. Place all the pieces in a news paper. No problem if the pieces stick to each other. Just sprinkle gradually. It will separate while frying.
    thukkada-2
     
    Heat oil and deep fry them in batches till bubbles cease completely. U will get golden brown thukkada. Remove in a tissue and let it cool. Deep fry all the batches uniformly .If you don’t fry one batch properly, it will become soggy and it will spoil the entire snack.
    thukkada-3
    Store in a box n enjoy with tea or coffee!  It stays good for months if properly done.


Note

  • U can replace red chilli powder by garlic,chilli paste. To make this paste,grind 5 cloves of garlic along with 4-5 red chillies to a smooth paste.
  • The most important thing to make perfect thukkada lies in the dough. If the dough is too soft n sticky, thukkada will become either hard or soggy. So make the dough tight & perfect. Do not use more flour for dusting. Dust once or twice.

ENJOY THIS SPCIY THUKKADA WITH TEA/COFFEE ! ITS ADDICTIVE !
thukkada-recipe


Continue Reading...