

When I tried this kulambu, I was doubtful whether it will taste bitter. But to my surprise, it came out really tasty without much bitterness. I loved it a lot with plain rice topped with sesame oil. My MIL also liked it very much and told that she will be making it regularly at home.
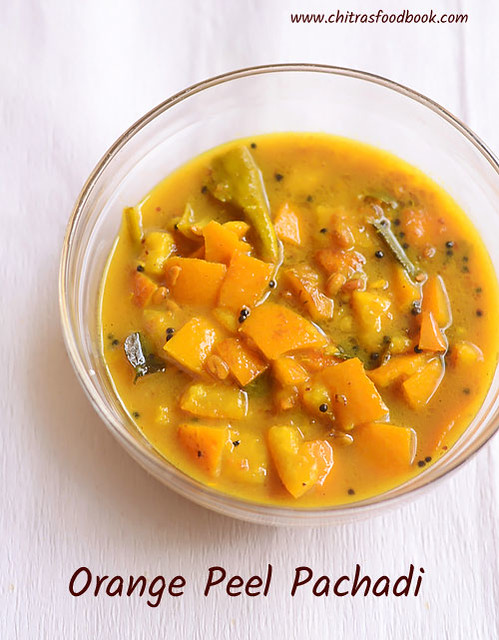
Friends, do try this orange peel kuzhambu next time when you buy oranges. I hope you all know about the amazing health benefits of orange skin. So do not discard the skin. Try this orange peel kuzhambu, you will love it for sure. So lets see how to make kuzhambu using orange skin with step by step pictures.
Check out my other orange recipes below :

How to make gravy with orange skin
INGREDIENTS
Try this easy, yummy Orange skin kuzhambu just for a change and enjoy with plain rice topped with sesame oil. Serve with any kootu and papad !

Check out my other orange recipes below :
Orange peel / Orange Skin kuzhambu for rice
How to make gravy with orange skin
Cuisine: Indian
Category: Orange peel recipes
Serves: 4
Prep time:5 Minutes
Cook time: 10 Minutes
Total time: 15 Minutes
INGREDIENTS
1 cup - 250ml
|
HOW TO MAKE ORANGE SKIN KUZHAMBU
- Wash and chop orange skin into small pieces.
- Heat oil in a kadai. Temper all the ingredients given under “To Temper”.
- Saute orange skin for a minute. Add sambar powder and mix well in low flame.
- Add tamarind extract, salt, turmeric powder, jaggery and boil till gravy thickens & oil floats on top.
- Serve hot with plain rice adding sesame oil.
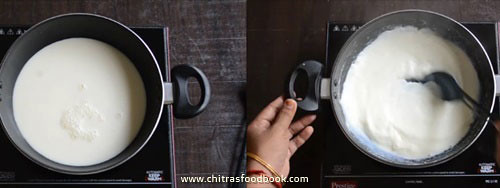
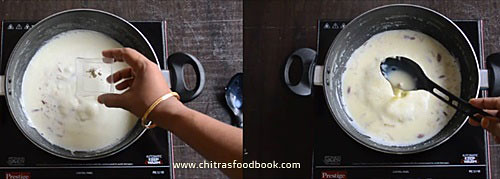
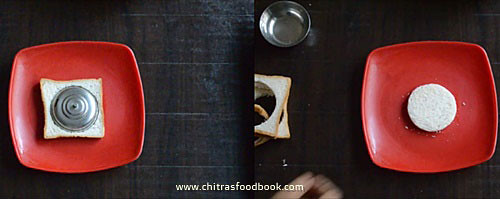
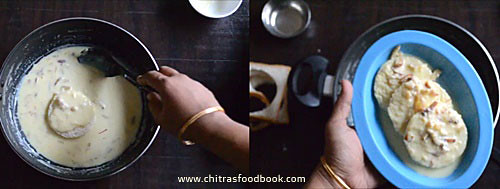
METHOD - STEP BY STEP PICTURES
|


Note
|
Try this easy, yummy Orange skin kuzhambu just for a change and enjoy with plain rice topped with sesame oil. Serve with any kootu and papad !
Technorati Tags: orange skin kuzhambu,orange peel kuzhambu,orange peel kuzhambu recipe,orange skin kuzhambu recipe,orange peel recipes,orange skin recipes,orange recipes


