Search Chitra's Food Book

Showing posts with label DIWALI RECIPES. Show all posts

October 25, 2021

Instant Doodh Peda With Milk Powder, Condensed Milk

doodh peda

Basically I love milk sweets especially milk halwa and doodh peda are my favorites. I love Nandini Doodh peda very much and tried to recreate it at home several times but I couldn’t get it perfect. Then I came across this Instant doodh peda with milk powder and condensed milk in a YouTube channel.

Usually Doodh peda is prepared by boiling and reducing the milk till thick. It takes more time to prepare. But this is a short cut version which gives the end result equal to the shop ones. To shape this peda just like Nandini ones, I bought peda maker from Amazon and tried it. It came out perfect in shape. I loved it and became very happy to see my doodh peda just like store bought ones.

Friends, if you are looking for easy Diwali sweets to prepare under 20 minutes, this is one recipe. Even though it takes less time to cook, you need to wait atleast for one day to get the perfect sweet stall taste because doodh peda takes more time to set. It stays good for a week with refrigeration and two days without refrigeration.

Do try this easy, yummy instant doodh peda recipe with milk powder and condensed milk. You will love it like me. Lets move on to the recipe with step by step pictures and a video. 

doodh peda


Doodh peda recipe with milk powder and condensed milk


Doodh peda recipe with milk powder and condensed milk

Doodh peda recipe with milk powder and condensed milk - Easy Diwali Sweet with milk powder.


Cuisine: Indian
Category: Sweet
Serves: 8
Prep time: 5 Minutes
Cook time: 20 Minutes
Total time: 25 Minutes


INGREDIENTS
1 cup = 250ml
  • Milk powder - 1 cup
  • Boiled milk - 1/2 cup ( at room temperature)
  • Condensed milk - 1/2 cup
  • Cardamom powder - 1/2 tsp
  • Ghee - 2 tbsp
  • Peda maker / Peda mould
HOW TO MAKE DOODH PEDA WITH MILK POWDER
  1. In a wide bowl, mix the milk powder and milk to a smooth paste.
  2. Heat ghee and add the condensed milk. Mix well.
  3. Add the milk powder paste and mix well.
  4. Cook till the mixture becomes thick and leaves the sides of pan.
  5. To check the doneness, take a pinch and roll it. It will be non sticky.
  6. Switch off the flame and transfer to a greased plate immediately.
  7. Let it become warm. Make shapes with peda mould and enjoy !

METHOD - STEP BY STEP PICTURES
  • In a wide bowl, take the milk powder and add the boiled milk at room temperature. Milk should not be hot or warm.

  • Mix with a whisk till no lumps and becomes smooth paste. Set aside.
  • instant doodh peda recipe
  • Heat ghee in a non stick kadai. Add the condensed milk and mix well. Add milk powder paste and mix well.
  • instant doodh peda recipe
  • Cook in low to medium flame till it becomes thick and leaves the sides of pan. It becomes a whole mass.
  • instant doodh peda recipe
  • When you take a pinch and roll it, it will be non sticky. Now switch off the flame and transfer to a ghee greased plate. 
  • instant doodh peda recipe
  • Let it become warm. Now take a tbsp full of dough and press it. Make round shape and press the peda mould on it. Peda is ready. Let it rest over night. It tastes best the next day.
  • instant doodh peda recipe
        instant doodh peda recipe

            Enjoy !

          Note

          • You can add powdered sugar instead of condensed milk. You can add 1/3 cup of powdered sugar in that case. Check for taste and add more if needed.
          • Make sure you cook the peda mixture till it becomes a whole mass.
          • Do not cook in high flame. It may burn in the sides or it becomes hard and chewy.

          Easy, yummy Doodh peda is ready to enjoy ! Stays good for 2 to 3 days in room temperature.

          Instant doodh peda


          Continue Reading...


          October 12, 2021

          Sweet Aval Mixture | Sweet Poha Chivda With Jaggery

          sweet poha chivda

          Every Thursday and Friday, we do Guru pooja and Lakshmi pooja at home in a simple manner. Thinking about what to make as prasadam / neivedyam every week is a big task for me. Even though I know many prasadam recipes like sweet pongal, Kesari, Payasam etc, I always look for simple and healthy naivedyam recipes that can be prepared easily.

          For this year Navarathri, I have come to Salem and spending some good time with my in-laws as we don’t have Golu celebration this year. Still we make some sweets and sundal varieties on all these 9 days and offer God. Today my MIL prepared this easy sweet aval mixture for Thursday guru pooja neivedyam.

          Its a very simple sweet mixture recipe. There is no deep frying and my MIL had used jaggery instead of sugar. So this is a super quick and super healthy recipe you can munch on for your evening snacks. I am sure kids will love it a lot.

          All you need is Poha / Aval, Sesame seeds, Roasted chana dal and jaggery for this recipe. Its so tasty and crunchy to eat. Friends, If you are looking to make some simple sweet mixture along with sundal for this Navratri and Diwali, you must try this recipe. Even bachelors can make this easily. Everyone will love it.

          Ok friends, lets jump on to this easy sweet poha chivda / Aval mixture with jaggery in simple steps.

          sweet aval mixture

          Sweet aval mixture / Sweet Poha chivda


          Sweet aval mixture / Sweet Poha chivda

          Sweet aval mixture / Sweet Poha chivda recipe for Pooja prasad / Neivedyam


          Cuisine: Indian
          Category: Sweet
          Serves: 4
          Prep time: 10 Minutes
          Cook time: 10 Minutes
          Total time: 20 Minutes


          INGREDIENTS
          1 cup = 250ml
          • Thick Aval / Poha / Pressed rice - 1/2 cup
          • Black or white sesame seeds - 1 tbsp
          • Roasted chana dal / Gram dal / Pottukadalai - 2 tbsp
          • Grated or powdered jaggery - 1/4 cup ( adjust as per you need)
          • Ghee - 1 tbsp
          • Cardamom - 2 (crushed or powdered)
          HOW TO MAKE SWEET AVAL MIXTURE
          1. Heat a kadai and dry roast the sesame seeds till it splutters.
          2. Collect in a plate. Add a tsp of ghee and roast a fistful of poha till it puffs up and become crispy. Remove in the plate.
          3. Repeat the same procedure for 1/2 cup of poha. Collect in the plate.
          4. Switch off the flame and add in the roasted gram dal. Let it roast in the heat of kadai. Collect in the plate.
          5. Let everything cool down. Lastly add grated jaggery and crushed cardamom.
          6. Mix well and serve immediately for best taste. Store in an air tight box and consume within a day.
          METHOD - STEP BY STEP PICTURES
          • Heat a kadai and dry roast the sesame seeds till it splutters. Remove in a plate.

          • Heat 1 tsp of ghee. Add a fistful of poha / thick aval and roast patiently it turns white and puffs up well. If you try to break it, it will be crunchy. Remove in the sesame seeds plate. 

          • Again add 1 tsp of ghee. Add fistful of poha and roast till crispy and puffy. Remove in the plate. Repeat the procedure until all the poha is roasted.

          • Switch off the flame and add the roasted chana dal. Mix well. Let it roast in the heat of kadai. Remove in the plate.

          • Let everything cool down. Lastly add the crushed cardamom and grated jaggery. Mix well and serve immediately for best taste.

          Note

          • For variations, you can add powdered sugar instead of jaggery.
          • You can also add some ghee roasted cashews.
          • I have not deep fried the poha to make a low calorie version. You can also deep fry in oil and ghee mixture to make it rich.
          • As it is not deep fried, this mixture turns soggy soon. So store it in an air tight box and consume within a day.


          Try this easy sweet aval mixture and enjoy at home.

          Sweet aval mixture


          Continue Reading...


          December 23, 2020

          Neureos / Nevri – Goan Neuros Recipe - Goan Christmas Sweets

          nevris recipe

          Neureos/ Nevris / Nevri / Neuro is a Goan special Christmas sweet. In Tamil nadu we call this as sweet somas. In North India, its popularly known as Gujiya. But the fillings and method varies for all these sweets.

          This Goan special neureos in a must and should try sweet for Christmas in Goa and other parts of India. Its tastes crispy outside with a sweet filling inside. Filling for neureos can be prepared in two ways. One with desiccated coconut and another one with roasted moong dal.

          As this is my first attempt in making this sweet, I tried stuffing with desiccated coconut, rava / semolina and nuts. It came out so well. We all loved it. I have made it thrice so far. Every time it came out well without disappointing me. You can store this sweet in an air tight container for a week and consume it. But I would recommend to use it before 2 to 3 days.

          Every year I am trying some Goan Christmas sweets and posting in my blog. I am happy that I tried this yummy sweet this year.

          Friends, do check out my Kormolas and 

          Kulkul sweets too !


          Goan nevris


          Neureos / Nevri Recipe


          Neureos / Nevris Recipe

          Neureos / Nevri recipe - Goan Christmas sweet !


          Cuisine: Goan
          Category: Sweet
          Serves: 8
          Prep time: 1 Hour
          Cook time: 20 Minutes
          Total time: 1 Hour 20 Minutes


          INGREDIENTS
          For dough (1 cup = 250ml)
          • All purpose flour / Maida - 1 cup
          • Semolina / Coarse rava / Bombay rava - 1 tbsp (roasted or unroasted)
          • Clarified butter /ghee - 1 tbsp
          • Salt - 2 pinches
          • Water - as required
          For filling/ stuffing
          • Semolina / coarse rava - 1/4 cup
          • Sugar - 1/3 cup
          • Grated coconut / Desiccated coconut - 1/4 cup
          • Clarified butter /ghee - 1 tbsp
          • Dry grapes / raisins - 2 tbsp
          • Finely Chopped cashew nuts - 2 tbsp
          • Cardamom powder - 1/4 teaspoon
          • White sesame seeds - 1 tbsp (optional) 
          • Khus khus / poppy seeds - 2 tbsp (optional)
          HOW TO MAKE NEUREOS/ NEVRIS
          1. Mix maida, rava, ghee and salt. Add required water to make a thick, smooth dough.
          2. Cover and rest for an hour. Make stuffing in the mean time.
          3. Heat ghee in a kadai. Roast cashews and raisins. Add rava, khus khus, sesame seeds and roast for few minutes.
          4. Add sugar, desiccated coconut / dry coconut powder, cardamom powder and mix well in low flame for a minute. Switch off the flame and cool down completely.
          5. Take the dough and shape lemon sized balls. Roll it to a small disc. Keep the stuffing in the center. Apply water on the corners. Fold into half moon shape.
          6. Cut the edges and make shapes. Heat oil to deep fry.
          7. Add 2 to 4 nevri and cook in medium flame till golden brown on both the sides.
          8. Remove from oil and drain in a perforated vessel. Fry the remaining and set aside to cool.
          9. Store in an air tight box and consume within 2 to 3 days for best taste. 

          Goan neuros

          METHOD - STEP BY STEP PICTURES
          • Take a bowl and mix maida, rava, ghee and a pinch of salt. Mix well to spread the ghee with flour. Add water gradually and make a smooth but thick dough. Dough should not be too soft or sticky. Please remember this point. Thick dough gives you crispy neureos.
          • Goan neureos recipe
          • Cover the dough with a cloth and let it rest for an hour. In the mean time, lets make the stuffing / filling part.
          • Goan neureos recipe

          • To make neureos filling, heat ghee in a kadai. Roast the cashew pieces and dry grapes till golden. Add the rava,  khus khus, sesame seeds (optional) and roast for few minutes in medium flame. Make sure you don’t burn anything.
          • Add sugar and mix well in medium flame. Add dry coconut powder or desiccated coconut powder and mix quickly. Switch off the flame. You don’t have to melt the sugar. If you mix quickly and switch off the flame, stuffing will be in powder form only. Let it cool down completely else stuffing will ooze out while frying.( If you want to use powdered sugar, add at the end after switching off the flame. Rava and coconut should not be hot while adding sugar). 
          • Goan neureos recipe
          • Now take the dough and make lemon sized balls. Take one ball, dust in maida or apply little oil and roll to make small disc of palm size. Place 1 tbsp stuffing in the center. Apply water in the corners and fold the nevri into half moon shape.
          • Goan neureos recipe
          • Now use a samosa cutter or pizza cutter or a knife and remove the extra portions. You can press with a fork to make designs or make it simple like half moon shape. Make all the nevri and arrange in a plate without touching each other.
          • Goan neureos recipe

          • Heat oil in a kadai. Drop a pinch of dough and check if it rises to the top immediately. Now keep the flame completely low and drop 2 to 3 nevris based on the size of kadai and quantity of oil. You can also fry one at a time like I did.
          • Increase the flame to medium and cook patiently till it turns golden on one side. As soon as you drop the neureos in oil, it puffs up. Splash oil over the top of neureos and cook in low to medium flame till it turns golden in the bottom.
          • Now flip and cook the other side till golden and bubbles cease completely. Make sure you cook it patiently in low to medium flame till golden in color to make crispy neureos. It will also stay crispy for few days when stored in an air tight box.
          • Remove from oil and keep in a perforated vessel to drain excess oil. Let it come to room temperature. Then store in an air tight box and handle with clean hands to avoid becoming soggy. It stays good for 2 to 3 days at room temperature. Do not refrigerate. 
          • Goan neureos recipe
            Enjoy !


          Note

          • For stuffing, you can also use powdered sugar. In that case, you should not add while the rava and coconut is hot. You should mix when its cold after roasting.
          • Do not make the dough soft and sticky. Neuroes will become soft after frying. Make a tight, thick dough.
          • Deep fry patiently in low to medium flame to make crispy nevris.
          • Khus khus/ poppy seeds and sesame seeds are ususally used. But you can skip if you don''t have it.


          Try this yummy, Goan special Neureos for this Christmas and enjoy !

          Neureos recipe

              
          Continue Reading...


          November 6, 2020

          90’s Kids Sweet–Halkova Recipe / Palkova / Maida burfi Recipe

          halkova recipe

          To celebrate this Diwali 2020, today I have shared an easy, yummy, nostalgic sweet recipe that kindles our school days memories. Yes, its a 80’s – 90’s kids favorite sweet fondly known as Palkova / halkova. We used to call this as Maida burfi. When we were young, we used to buy this 25p/ 50 paise sweet from the petty shop (Petti kadai) near our school and house. Nowadays its very rare to find petti kadai and 2k kids are not even aware of this sweet. So I thought of making this sweet in my home and enjoy.  Even though this is titled as palkova, this is no way related to a milk sweet. Milk or milk powder is not used in this recipe. As it looks white in color, it is called as palkova I guess.

          During this lock down, I came across this halkova recipe in my Instagram feed, tried and posted by @starving.tummy Vinesh. When I saw the picture, I was tempted to know the recipe and DM’ ed him. He was so sweet and he shared this perfect recipe immediately. With just 3 major ingredients, this petty shop palkova can be prepared under 15 minutes. Its completely a beginners sweet. There is no sugar syrup consistency or mixing process unlike our usual Maida burfi. It is so simple to make. Original recipe called for using Dalda / Vanaspathi but I used ghee in my first attempt and dalda in my second try. We loved the ghee ones more. 

          Anyone can make this halkova easily without any fuss. Friends, do try this easy, yummy, halkova / palkova / Maida burfi recipe for this Diwali 2020 and enjoy !


          Palkova recipe

          90's kids petty shop sweet - Halkova / Palkova / Maida burfi


          90's kids petty shop sweet - Halkova / Palkova / Maida burfi

          80's - 90's kids favorite petty shop sweet - Palkova / halkova/ easy maida burfi recipe


          Cuisine: Indian
          Category: Sweet
          Serves: 35
          Prep time: 5 Minutes
          Cook time: 10 Minutes
          Total time: 15 Minutes


          INGREDIENTS
          1 cup = 250ml
          • All purpose flour / maida - 1 cup
          • Powdered sugar - 1 cup
          • Melted ghee or dalda - 1/2 cup 
          • Cardamom powder - 1/4 tsp
          HOW TO MAKE HALKOVA RECIPE
          1. Heat ghee in a kadai for few seconds. Add maida and roast in low flame for 8 to 10 minutes without changing the color.
          2. Maida gets roasted and resembles a semi thick paste. Switch off the flame. Transfer to a bowl.
          3. Let it come to room temperature. Add cardamom powder.
          4. Add powdered sugar gradually and mix well to make a thick dough.
          5. Take a ghee greased bowl lined with butter paper and press the dough to make square shape.
          6. Let it set for an hour in room temperature or in refrigerator.
          7. Then loosen the sides and invert the bowl in a plate.
          8. Cut into small squares and store in an air tight box. It tastes the best from the next day.
          9. Store in an air tight box and enjoy up to one week.
          METHOD - STEP BY STEP PICTURES
          • Powder 1/2 cup + 2 tbsp sugar and measure 1 cup from it. Set aside. 
          • 90's kids sweet palkova
          • Take melted ghee in a kadai and heat it for few seconds. Add Maida. Roast it well for 8 to 10 minutes in low to medium flame without changing the color of maida. Maida turns like a semi thick paste after roasting. Switch off the flame and remove the kadai. Transfer the roasted maida to a mixing bowl and cool down. I kept in the kadai itself. 
          • 90's kids sweet palkova
          • Let the maida paste cool down to room temperature. It should be warm enough to handle with your hands. It should not be hot. Add cardamom powder and half of powdered sugar. Mix well and add the remaining powdered sugar gradually.
          • 90's kids sweet palkova90's kids sweet palkova
          • Mix well to make a smooth, thick dough. Take a bowl. Line with butter paper. Grease with ghee and transfer the dough to it. Press to make shape. Let it set for an hour on counter top or refrigerate it. It takes 30 minutes to set in refrigerator. Remove the bowl and keep it outside. If it's too hard to cut, wait for sometime to bring down to room temperature otherwise burfi may crumble while you cut it. 90's kids sweet palkova

          • Loosen the sides with a knife gently. Invert the bowl to a plate and pat it. It will fall easily. Now cut into small squares and arrange in an air tight box. It tastes the best from the next day. You can store and use up to one week. Enjoy !
          • 90's kids sweet palkova

          Note

          • To make white colored burfi, maida should be roasted patiently in low flame without changing its color. 
          • Do not forget to line the bowl with butter paper for easy removal. 
          • If you use dalda, texture and taste of burfi varies slightly. Also burfi sets quickly than the ones made with ghee.
          • Make sure, you don’t change the color of maida while roasting. Burfi won’t come white in color.
          • For variations, you can add a tbsp of milk powder along with powdered sugar.
          • If you cut the burfi before its set completely, it may crumble into small pieces.

           Try this easy, yummy palkova / maida burfi recipe and enjoy !

          90's kids sweet palkova

          Continue Reading...


          November 2, 2020

          35 Diwali Snacks Recipes | South Indian Dry Snacks For Diwali

          Diwali snacks

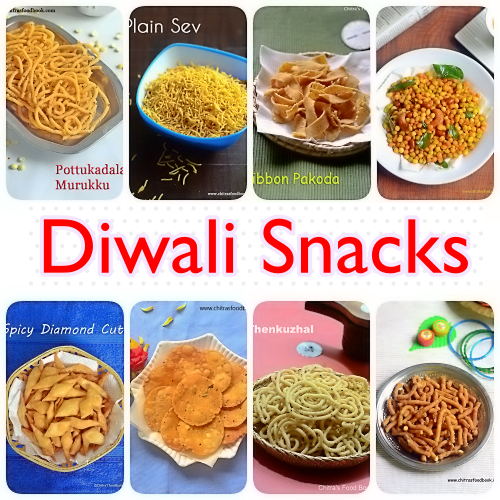
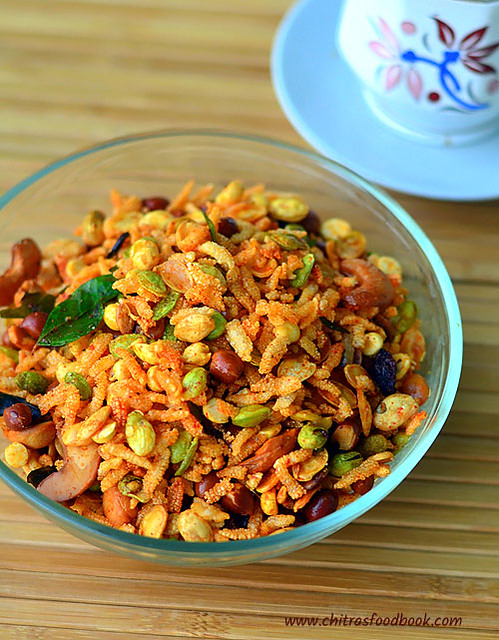
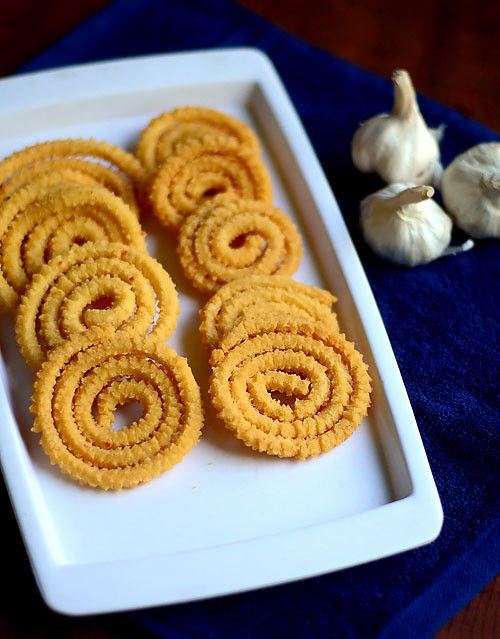
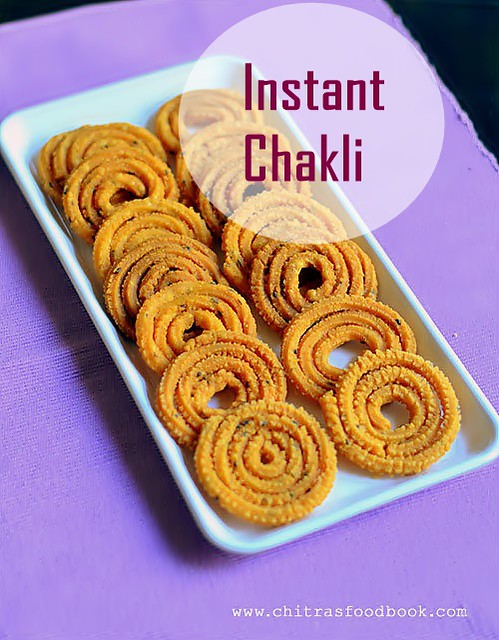
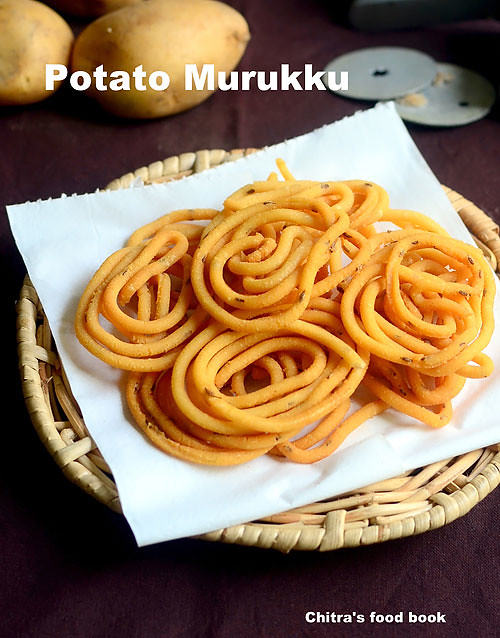
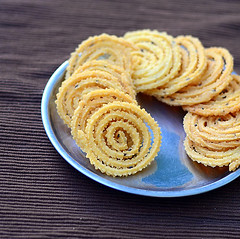
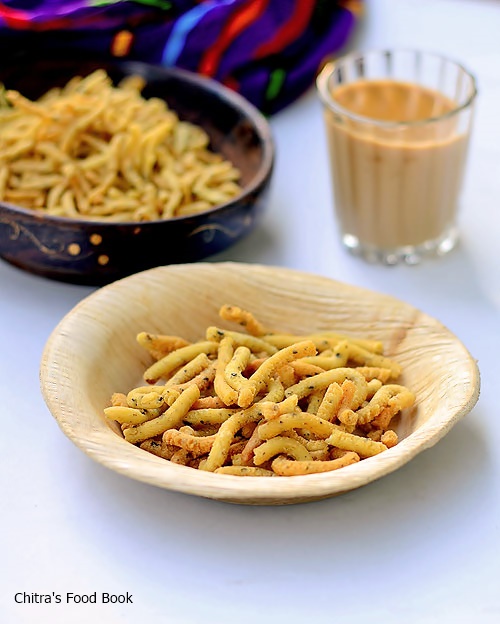
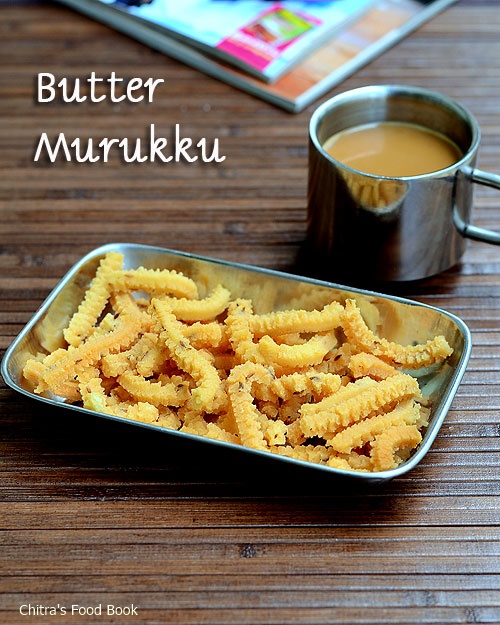
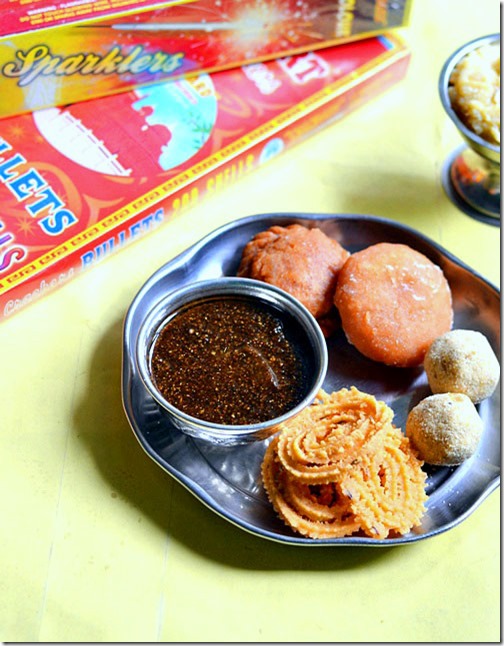
          In this post, I have shared the collection of simple, easy and top South Indian Diwali snacks / deepavali dry snacks like murukku recipes, mixture recipes, ribbon pakoda, kara sev, kara boondi, thattai, Tirunelveli special snack thukkada, mixture biscuit, maida biscuit etc which is commonly prepared in Tamilnadu and in most of our houses for Diwali. I have shared this snacks list under one page for quick reference. Hope you find it useful. 

          This year I am planning to make Madras mixture/ South Indian mixture recipe. I will include that as soon as I post in my blog. Ok friends, do try these easy snacks for this Diwali and have a fun-filled celebration. I am sure these snacks would be loved by everyone including children/kids.

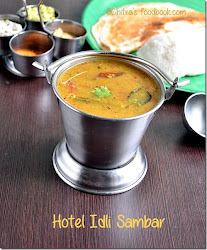
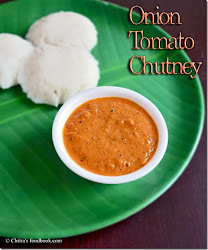
          Ok, Lets see the list of easy Indian Diwali snacks below. I have also shared some Diwali day neivedyam recipes like Idli, vada, bajji, sambar and chutney for your reference. Last but not the least, 2 diwali special legiyam recipes to enhance the digestion.

          HERE is my full collection of Diwali Recipes with celebration procedures !

             
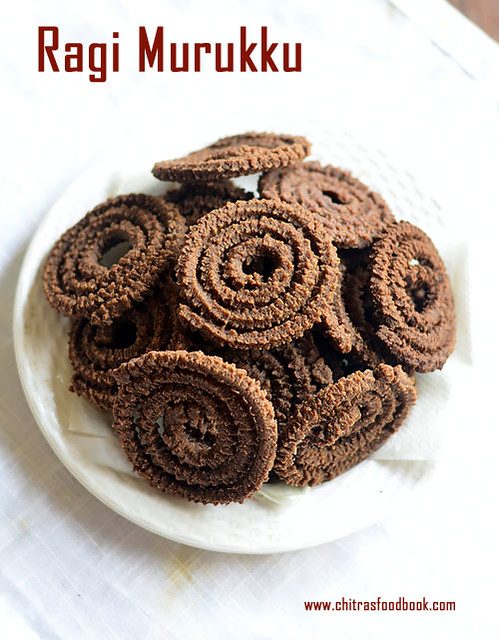
          Also check out my murukku varieties post .

          Diwali snacks


          Diwali snacks recipes collection 25 easy diwali snacks recipes

          cuisine: South Indian
          category: Snacks
          serves:  3
          prep time: 10 min
          cook time: 20 min
          total time: 30 min


          DIWALI SNACKS RECIPES


          Manapparai Murukku recipe Magizhampoo murukku

          Kara sev recipe Pulippu murukku


            urad dal murukku

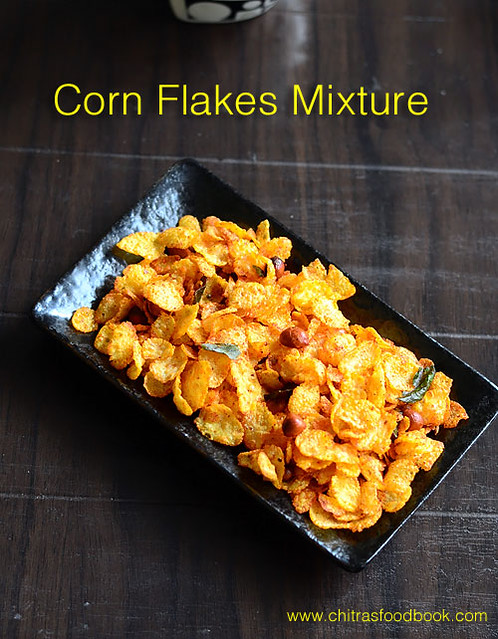
          Garlic ribbon pakoda corn flakes mixture


          DIWALI DAY NEIVEDYAM RECIPES 


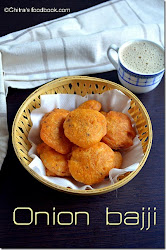
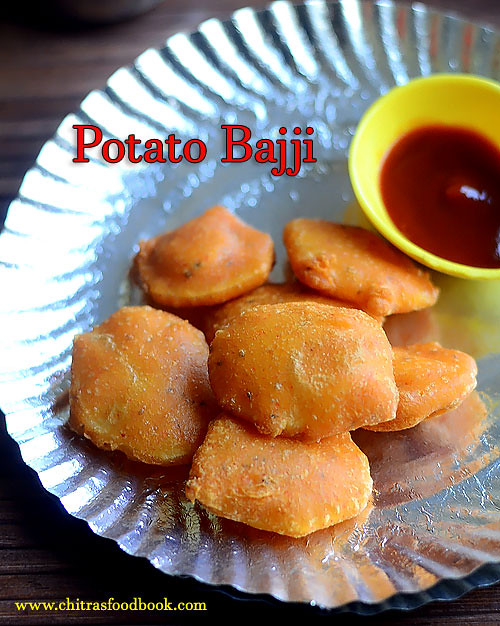
            Potato bajji


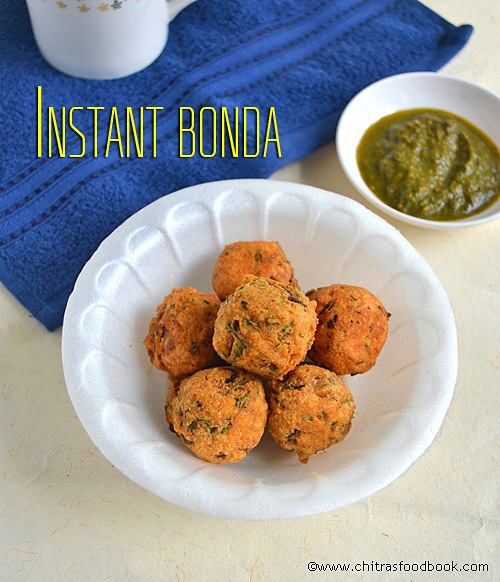
          masala vada Instant bonda 


          SIDE DISHES FOR DIWALI BREAKFAST 


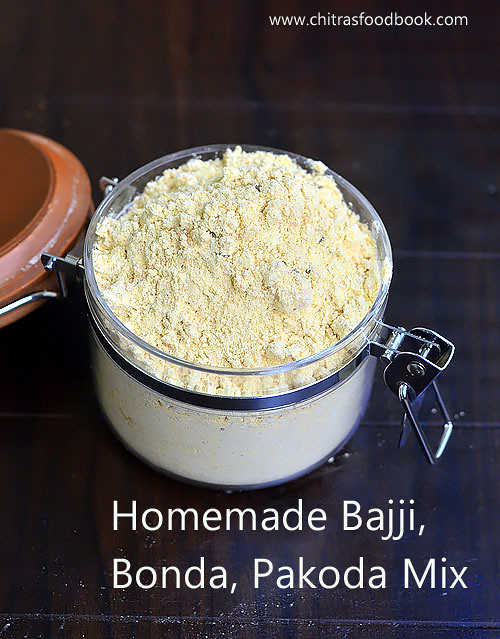
          bajji bonda mix


          Last but not the least, Inji legiyam & Diwali marundhu recipes for easy digestion of diwali snacks & sweets :)

            Diwali legiyam

          Wish you all a very happy & safe Diwali celebration. Hope you try these recipes & mail me your feedback !

          Click HERE to view my full collection of Diwali Recipes with celebration procedures!

          Continue Reading...