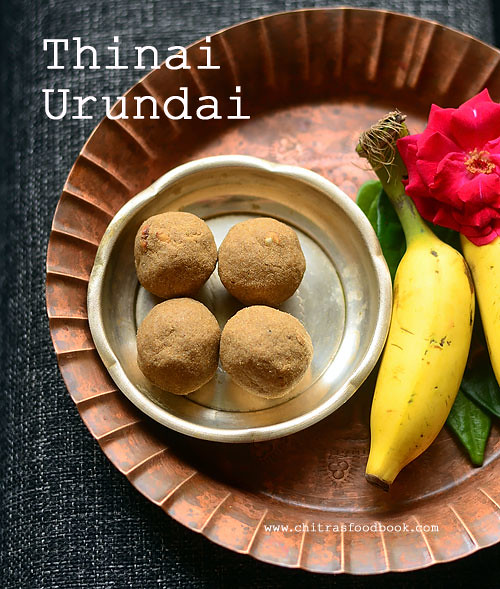
Thenum Thinai Maavum is one of the most popular neivedyam recipes offered to Lord Muruga in Tamil nadu. Yesterday I made Thinai maavu urundai ( Foxtail millet flour laddu in English)for the first time on account of Skanda shasti. You can offer this for Karthigai deepam festival too. I should thank my neighbor for suggesting me to try this.
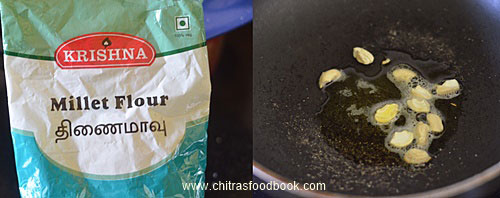
Traditionally speaking, foxtail millet (Thinai arisi) is dehusked, roasted, ground to a fine powder and then mixed with honey. But nowadays we get readymade foxtail millet flour( Thinai maavu) in all the organic & popular departmental stores. As I had a pack of flour in hand, I made these balls/ urundai very quickly and easily.I referred
Viji’s blog for the idea.
For variations, thinai urundai can be made with jaggery instead of honey.It is called as thinai maavu laddu. Honey or jaggery, both make this dish more healthy when combined with Thinai flour. Do try this healthy Thinai urundai/ Foxtail millet balls with honey for a change. You will like it !
Check out my detailed post on
Health benefits of millets and my other
millet recipes too !

Thinai urundai recipe
 How to make Foxtail millet honey balls / Thenum thinai maavum - Neivedyam recipe for Lord Murugan!
Cuisine: South Indian
Category: Sweet
Serves: 4
Prep time: 5 Minutes
Cook time: 5 Minutes
Total time: 10 Minutes
1 cup - 250ml
- Thinai maavu/ Foxtail millet flour - 1/2 cup
- Ghee - 1 tbsp
- Cashews - few
- Honey - 1.5 - 2 tbsp
- Cardamom powder - 1/4 tsp
|
METHOD
- In a kadai, melt ghee and roast the cashew pieces. When it starts to turn golden brown, add the measured 1/2 cup of thinai maavu /Foxtail millet flour and roast in medium flame for few minutes. Let it cool down completely. ( If you don't have foxtail millet flour, you can dry roast whole foxtail millet till aromatic. Powder , sieve and use it).
- Do not add honey when the flour is hot. The balls will become chewy to taste. After the flour is completely cooled down, add honey to the roasted flour. Mix well and make balls.

- Arrange in a plate and offer to Lord Murugan. Get his blessings!

Enjoy ! |
Note
- Do not add honey when the roasted flour is hot. It should be cooled down completely.
- Add more honey based on your liking.
- In place of honey, you can use powdered jaggery.
- If you don’t want to make as balls, you can just mix the flour with honey and eat as it is.
|
Healthy, Thinai urundai with honey. You can make this at least once in a while to reap its health benefits !
Continue Reading...


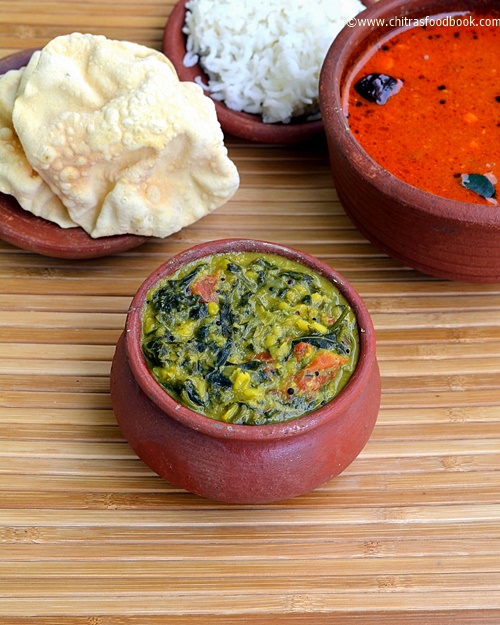
 . Lets see how to make banana stem gravy for rice with step by step pictures !
 How to make vazhaithandu kuzhambu/ Banana stem gravy for rice