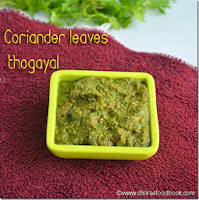
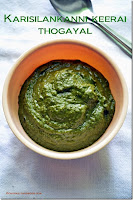
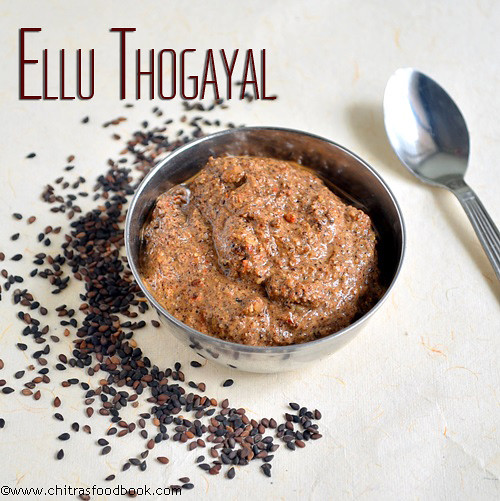
In this collection you can find thogayal recipes /chutney recipes for rice like Paruppu thogayal, Coriander leaves thogayal/Kothamalli thuvaiyal,pudina thogayal/Mint thogayal, Poondu thuvaiyal/Garlic thogayal, curry leaves thogayal/Karuvepilai thuvaiyal, Thengai thogayal/Coconut thuvaiyal, Pirandai thogayal, Karisilankanni thogayal, chow chow thogayal, radish thogayal & banana stem thogayal recipes for rice pepared by Tamil people.
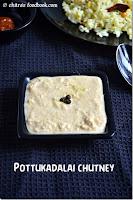
Thogayals/ Thuvaiyals are very popular among South Indians especially for Tamil people. Some people like to mix with plain rice and eat and some loves to have it as a side dish for curd rice & sambar rice. In my family, everybody loves thogayal a lot. Everyday our lunch menu starts with a thogayal recipe. I came to know about varieties of thogayal recipes only after my marriage. Before marriage, my mom used to make thengai thogayal to mix with plain rice & pottukadalai thogayal as side dish for lemon rice and that too she makes it very rarely in weekends.
But after marriage, when I tasted few thogayal recipes prepared by my MIL,it was very new and tasted delicious for me. My MIL makes all the thogayals perfectly with well balanced taste. The ratio of tamarind,salt and chillies are very important to make a perfect thogayal otherwise it will taste spicy or tangy. So whenever my MIL visits me, I tell her to make varieties of thogayal recipes like paruppu thogayal, peerkangai/ridge gourd thogayal,coriander thogayal,pudina thogayal, Poondu thuvaiyal, curry leaves thogayal and many more. I refrigerate them in an air tight box and enjoy it for more than a week.
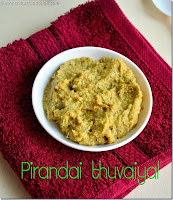
As Sendhil loves thogayal sadam a lot, I pack it for his lunch box too along with some stir fry/poriyal recipes. If I have few thogayals in hand, it is a big support for me as it makes the lunch box job much easier. In my blog, I have posted nearly 12 thogayal recipes for rice so far. It includes some healthy thogayal recipes like pirandai thogayal, Karisilankanni keerai thogayal as well. I wanted to have a collection of them in one post for my easy reference and for people who look for varieties of thogayal recipes for their daily lunch. I am yet to post few more like inji thogayal/ginger thogayal & peerkangai thogayal. I will share them in near future and add it here.
Most of the recipes are without coconut. So you can grind, saute in oil and store them in refrigerator for more than a week too. I hope these thogayals would be very handy and useful for bachelors & working women who wants quick lunch or dinner. Do try these thogayal varieties for your lunch & lunch box. It tastes yummy. Do leave your feedback if you try any of these. I would be more happy. Thanks for visiting this page.
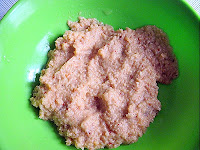
Thogayal recipes
 Collection of thogayal recipes / chutney for rice - Varieties of thogayal/ thuvaiyal / chutney recipes for rice !
Cuisine: Indian
Category: Thogayal
Serves: 3
Prep time: 10 Minutes
Cook time: 15 Minutes
Total time: 25 Minutes
INGREDIENTS
- Coriander leaves/Kothamalli
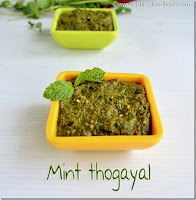
- Mint leaves/Pudina
- Curry leaves
- Pirandai
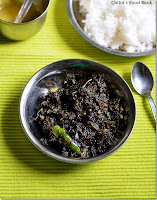
- Karisilankanni leaves
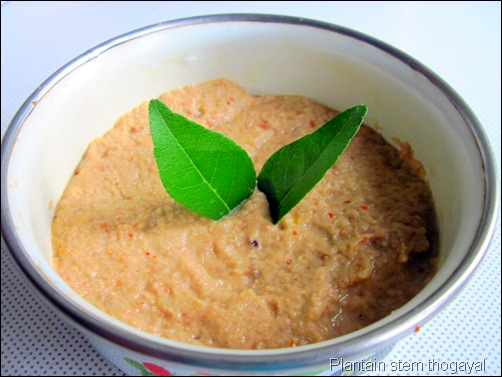
- Banana stem
- Chow chow/Chayote
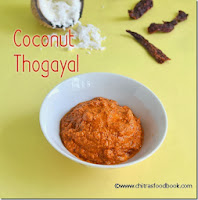
- Coconut
- Red chillies
- Toor dal,Moong dal
- Urad dal
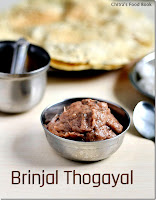
- Brinjal
- Tamarind
- Jaggery
- Pepper corns
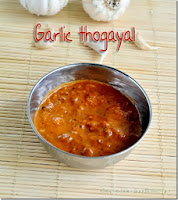
- Garlic cloves
- Cooking oil
- Mustard seeds
|
Technorati Tags:
Thogayal recipes,
Thogayal varieties for rice,
thogayal for rice,
thuvaiyal recipes,
thuvaiyal varieties,
thogayal with coconut,
thogayal recipe south indian,
thogayal recipe tamil,
coriander thogayal.kothamalli thogayal,
Pudina thogayal,
mint thogayal,
thengai thogayal,
poondu thogayal,
paruppu thogayal
Very good recipes Tags:
Thogayal recipes,
Thogayal varieties,
thogayal for rice,
thogayal recipe south indian,
thogayal recipe tamil,
coriander thogayal.kothamalli thogayal,
Pudina thogayal,
mint thogayal,
thengai thogayal,
poondu thogayal,
paruppu thogayal
Continue Reading...


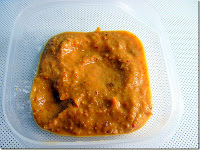
 Capsicum masala recipe - A simple side dish for chapathi


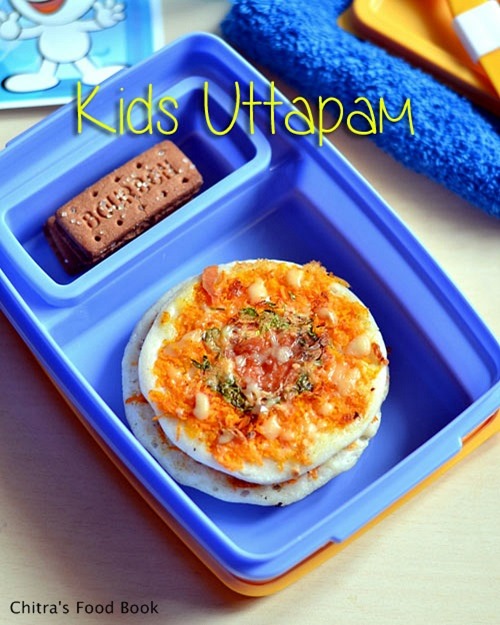

 .So i made this cheesy tri color uttappam for her lunch box.After coming from school,she happily said all her friends asked by seeing the colors “Is that national flag dosa??
 “.She had proudly told No, its my mom’s dosa
 .This dosa recipe was a huge success with my daughter and i am making it very often for her lunch box with some variations(Refer notes).I usually add more carrots & less cheese as she likes to eat carrot in dosas and i don’t want her to consume more cheese.So this dosa tastes little sweetish.She likes to have this dosa with idli podi.Adjust the quantity of cheese n carrot and replace coriander with capsicum & even tomatoes based on your kids wish.U can also make this dosa for your kids after they come back from school as an evening snack.They will love to have it hot hot.So here you go,easy and colorful kids lunch box recipe – Cheesy veg mini uttapam.I am happy in sending this recipe to Indus ladies
  .Friends,do send in your entries and get a chance for your recipe being published in a E-book.Both Bloggers and non-bloggers can participate.Please click the logo for more details.


