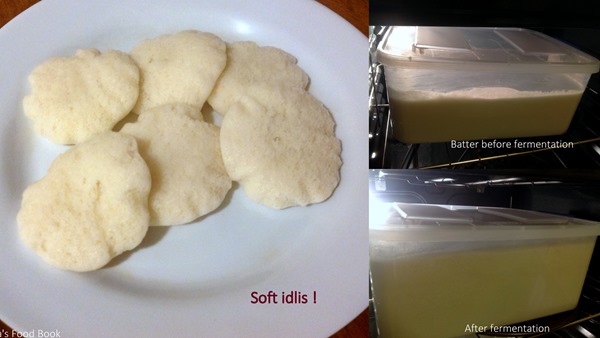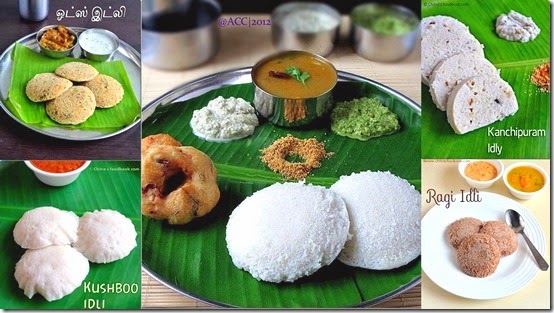

Here is a collection of 20+ Idli varieties / different types of idli recipes from my website. I am a big big fan of idli recipes. Before and after marriage, my taste towards food has changed drastically but idli is the only dish that makes my breakfast / dinner time happy. Idli is nothing but steamed rice cake.It is easily digestible, ideal for travel, steam cooked, oil free, very light and moreover very tasty when had with chutney & sambar as side dish. I bet no south Indian breakfast recipe(especially in Tamil nadu) can beat this simple idli recipe, agreed?. So I keep searching & trying varieties of idli recipes.
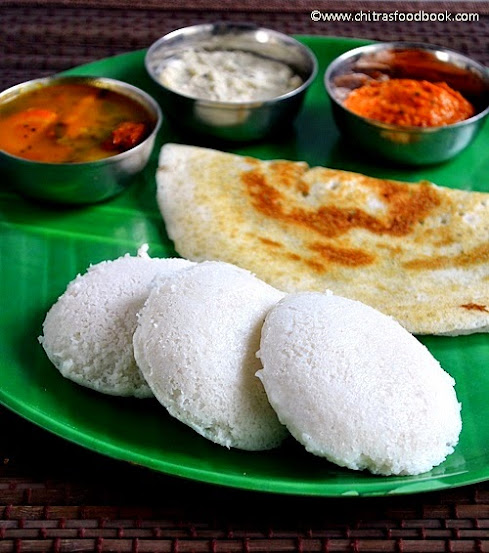
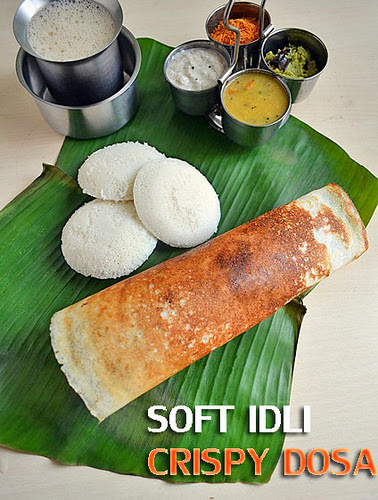
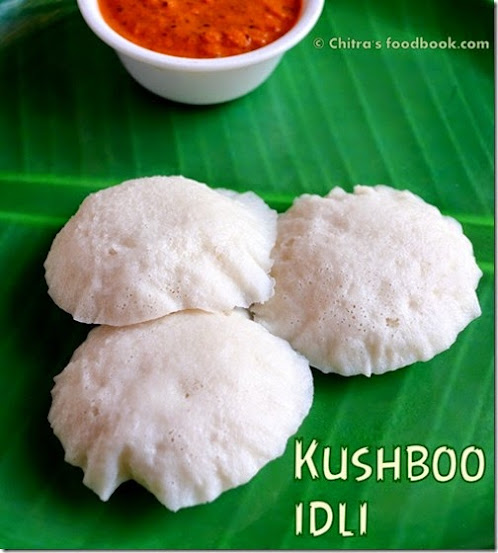
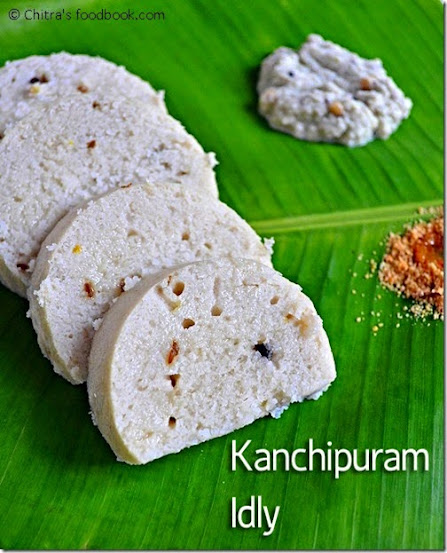
Be it oats or any millets, I can have it in idli form more than porridge or upma. In this collection, you can find 4 types of idli, dosa batter recipes which gives you soft idli & crispy dosa. Among these 4, 2 recipes are idli, dosa batter using grinder, one using mixie & one is with idli rava in mixie. Other recipes are Rava idli, Kanchipuram idli, Kushboo idli, Oats idli, Barely idli, brown rice idli, Ragi idli, Jowar idli, Kerala Red rice idli, Karnataka special Thatte idli, Karnataka idli rava idli, Black rice idli, Black urad dal idli, Bamboo rice idli, Millet idli etc. I have plans to post more idli recipes in future. I will keep updating this page whenever I post here.
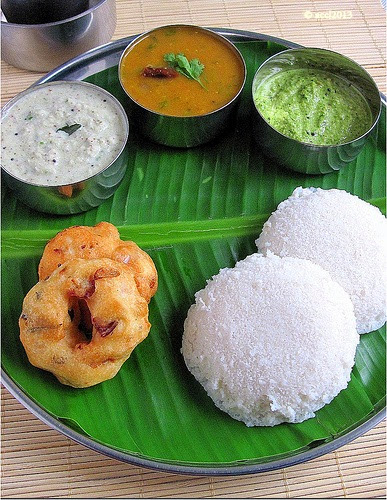
Do try these idli varieties for breakfast or dinner and enjoy the variations. Even bachelors can try these as most of these batter can be ground using mixie. For people who live in abroad, fermenting idli batter is very difficult. So I have made a separate post for that with tips. Please check that link in the end. Soon I’ll try to share a collection of dosa recipes & left over idli recipes. Ok, lets see the 18 different types of Idli recipes.
Idli varieties
 18 varieties of idli recipes for breakfast/Dinner
Cuisine: Indian
Category: Breakfast
Serves: Serves 4
Prep time: 2-4hours ( exclude fermentation)
Cook time: 20 Minutes
Total time: 3h20m
INGREDIENTS
|
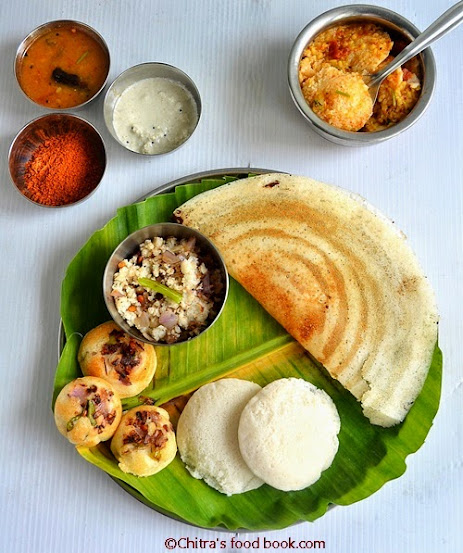
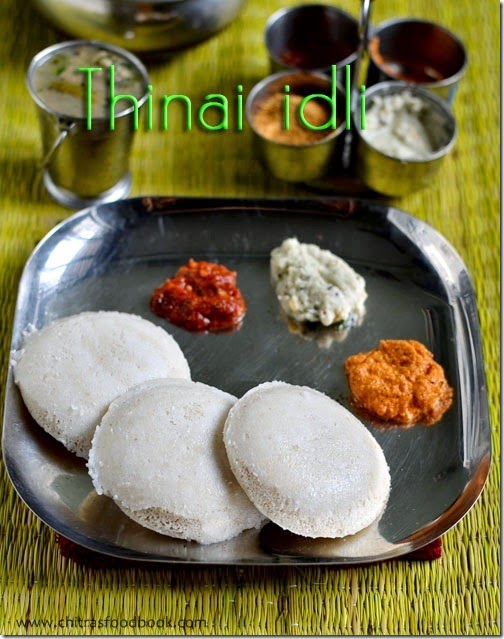
Idli Varieties for Breakfast/Dinner
Click on the image or text to see the respective recipes.


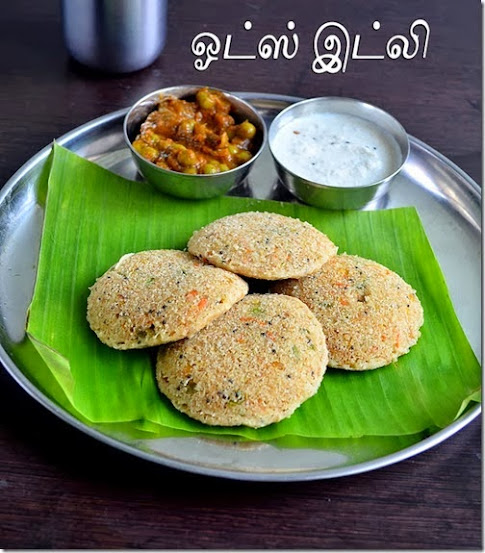
Oats barley idli recipe


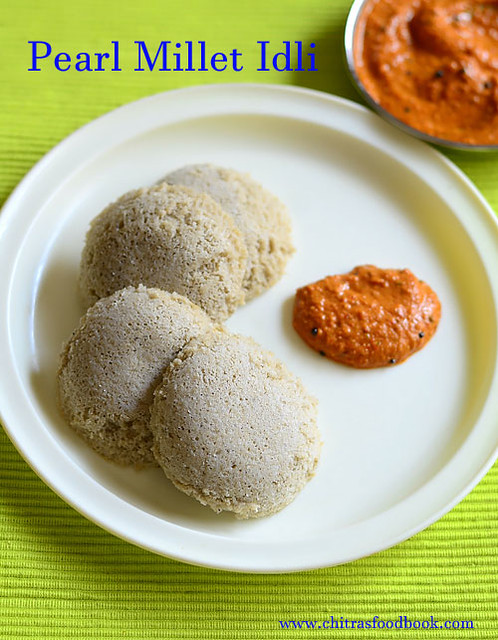
Bajra / Kambu / Pearl millet idli

Black Urad dal idli dosa

Karnataka idli using idli rava

Black rice idli
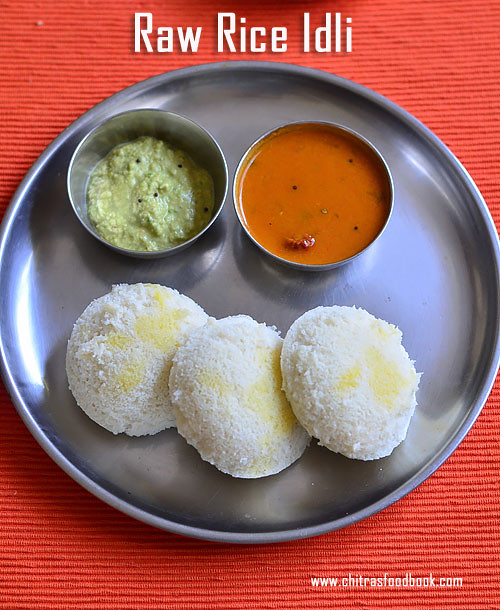
Raw rice idli / pacharisi idli

Ration rice idli dosa

Bajra / Kambu / Pearl millet idli
Black Urad dal idli dosa
Karnataka idli using idli rava
Black rice idli
Raw rice idli / pacharisi idli
Ration rice idli dosa