Search Chitra's Food Book

August 3, 2015

Punjabi Kadhi Pakora Recipe - How To Make Kadhi Recipe


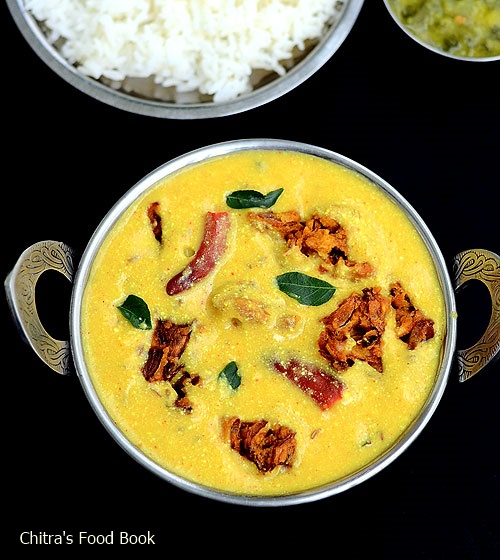
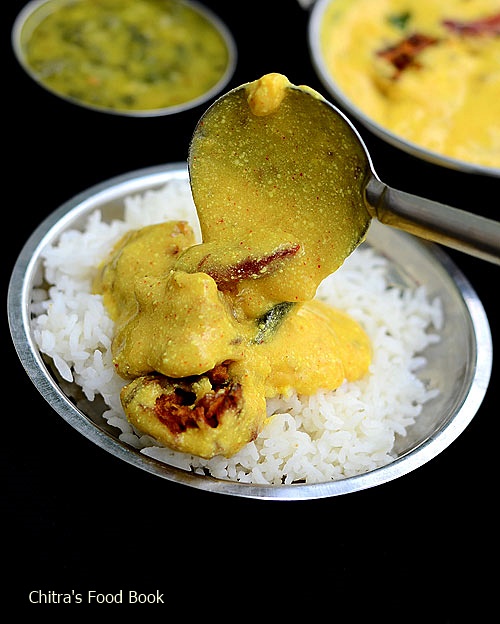
Punjabi dahi kadhi with pakora recipe – I have tried it once when I made Punjabi thali and that was very long back.Recently I watched this authentic Punjabi kadhi recipe in you tube video by Chef Harpal Singh Sokhi.I got tempted and tried it along with easy dal palak.I will share dal palak recipe soon.The chef had explained so well that I was able to clearly understand the difference between Gujarati , Punjabi and Maharashtrian kadhi recipes.I was happy that I tried one of the best kadhi recipes.It was very nice & we loved with pakora.I did not add fenugreek leaves/Methi in pakora as mentioned in the original recipe.Instead I made it very simple using onions.So here you go Punjabi Kadhi recipe with pakora – Lets see how to make itHappy.

Punjabi kadhi Pakora


Punjabi kadhi Pakora Punjabi kadhi pakora recipe - Authentic recipe with stepwise pictures
Cuisine: North Indian
Category: Gravies
Serves: Serves 3
Prep time: 10 Minutes
Cook time: 20 Minutes
Total time: 30 Minutes


INGREDIENTS
For pakora
  • Big onion - 1 no
  • Gram flour/Besan - 1/4 cup
  • Red chilli powder - 1/2 tsp
  • Carom seeds - 1/4 tsp
  • Asafetida/Hing - a pinch
  • Turmeric powder - a pinch
  • Cooking soda - a pinch
  • Salt - as needed
  • Water - very little to sprinkle
For kadhi
  • Sour curd - 1 cup
  • Besan flour - 2 tbsp
  • Ginger+garlic+green chilli paste – 1 tsp( inch ginger,4 cloves garlic,2 chilli)
  • Red chilli powder - 1 tsp
  • Turmeric powder - 1/4 tsp
  • Salt & water - as needed
To temper for kadhi
  • Cooking oil or mustard oil - 2 tbsp
  • Fenugreek seeds - 1/8 tsp
  • Red chilli - 1 no
  • Pepper corns - 1/4 tsp
  • Cloves - 1 no
  • Big onion - 1 no ( finely chopped)
  • Ginger - 1 inch piece (-do-)
  • Curry leaves - few
  • Coriander leavs - to garnish
METHOD
  • Slice the onions thinly.Mix all the ingredients in a bowl for making pakora.Do not add water.Mix all the ingredients well and leave it aside for 10 minutes.After 10 minutes,onions leave water.So mix it well and if required sprinkle 1 tbsp of water.Lastly add the cooking soda and mix well.Heat oil in a kadai and sprinkle the pakora in oil.


  • Deep fry both the sides.Remove when the pakora turns golden brown.Drain in a tissue paper.If you want thick pakoras,add more water.I made it thin and crispy.So I used less water.

  • Whisk the sour curd to a thick paste.To this add salt,turmeric powder,red chilli powder,besan flour ,G&G&G paste and 2 cups of water.Mix without lumps.
  • Heat oil in a kadai and splutter methi seeds,cloves,pepper corns,curry leaves,red chilli. Saute the onions,ginger bits and add the curd mixture.Let it boil for few minutes.Kadhi will thicken.So add some water if needed and boil the kadhi for more time.
  • The raw smell of besan should go off completely.So boil the mixture in medium flame for 10-12 minutes.The color of kadhi will darken as it boils.Adjust the consistency as per your wish.Add the fried pakoras at the end and switch off the flame.Garnish with coriander leaves.Serve hot with plain rice.
Enjoy !

Note

  • Add more water as per the consistency u like.But Punjabi kadhi is meant to be thick compared with other state kadhi.
  • Pakora can be made adding chopped methi leaves too.
  • While tempering addition of ginger & methi seeds are very important.So don’t skip it.
  • Add more water in the pakora mixture if u want thick pakoras.I made it thin and crispy.so I used less water.

Enjoy Punjabi Kadhi Pakora with plain rice.It tastes yummy !


Continue Reading...


July 31, 2015

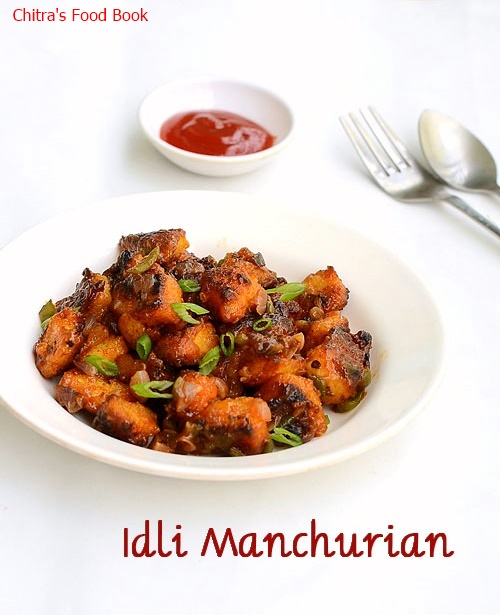
Idli Manchurian Recipe - Idly Manchurian - Leftover Idli Recipes

Idli manchurian recipe
I have tried South Indian style Chilli idli, Idli fry, Kaima idli even idli upma using left over idli.But Idli Manchurian is the one I wanted to make for long time.Yesterday I cooked some extra idlis just to make this manchurian.I made it for my daughter in the evening after she came back from the school.She loved it to the core and showed a big thumbs upDancing.Generally kids love any deep fried snacks.I don’t have to say about the taste of fried idlis.So this recipe would be a sure hit among the kids and adults as well.This recipe is a combo of Indian & Chinese Manchurian recipes.While I was clicking the pictures,I couldn’t resist my temptation to grab some from the plate.DroolingIt was so flavorful! Do try this idli manchurian recipe for your kids as evening snack.I am sure you won’t even get a single piece to tasteTongue.Ok,Lets see how to make fried Idli Manchurian recipe with stepwise pictures.
Continue Reading...


July 30, 2015

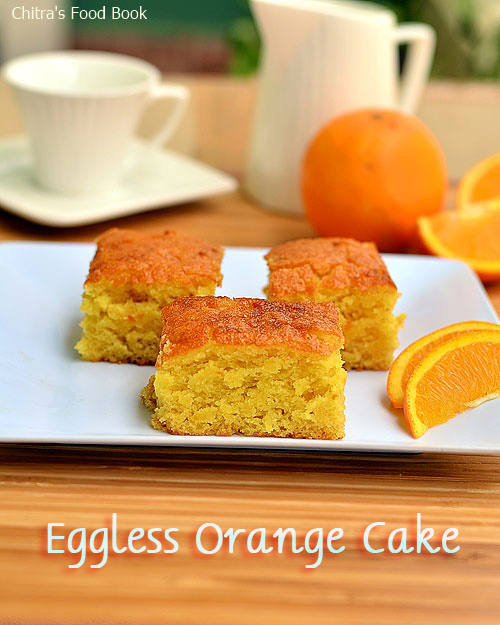
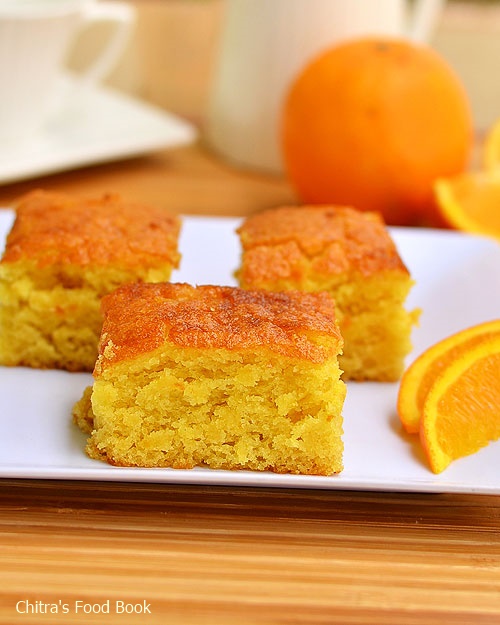
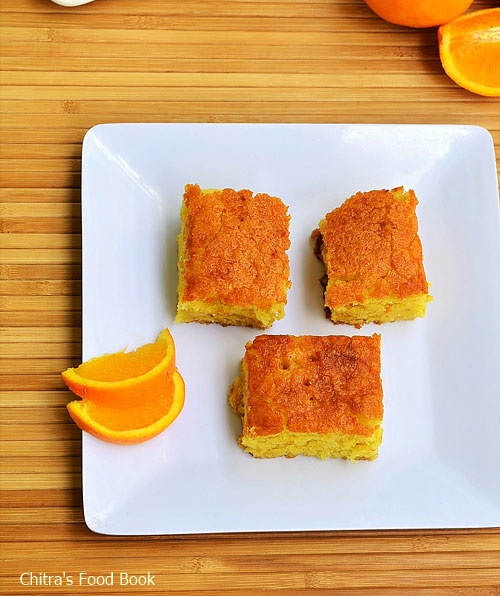
Eggless Orange Cake Recipe Without Condensed Milk

eggless orange cake recipe 
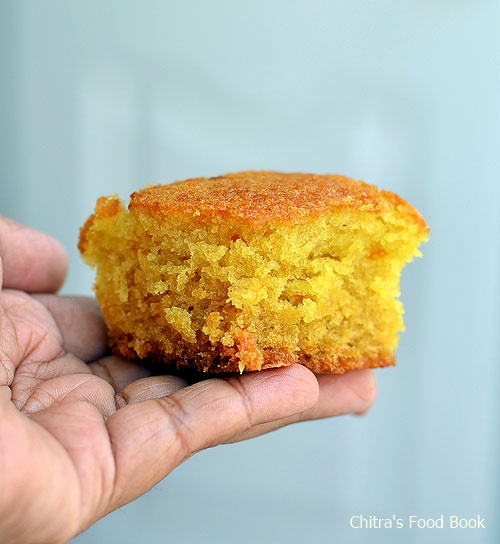
I usually make eggless orange biscuit cake and its our family favorite too. But this time I tried an eggless, butter less orange sponge cake recipe using fresh orange juice.This recipe is without condensed milk, curd and it’s a vegan version too. I referred this recipe and used cooking oil to achieve the softness. Cake came out very well with bursting orange flavor. I loved its color, texture, flavor and above all it was like pillow soft to touch and eat. I was completely satisfied with the result and patted myself for this successful baking

I am happy and double confident that this cake is going to be a super hit among my family members. I am waiting for Raksha to come back from school and taste it. I guess this cake can be made with wheat flour too. I must give a try. Lets see how to make this easy, low fat vegan orange cake recipe with stepwise pictures.

Eggless orange cake recipe


Eggless orange cake recipe Eggless orange cake recipe without egg, butter, cream, condensed milk and curd.
Cuisine: Indian
Category: Baking
Serves: 10
Prep time: 10 Minutes
Cook time: 30 Minutes
Total time: 40 Minutes


INGREDIENTS
1 cup = 240 ml
  • All purpose flour/Maida - 1.5 cups ( Heaped)
  • Baking powder - 1/2 tsp
  • Baking soda – 1 tsp
  • Sugar - 3/4 cup
  • Orange juice - 1 cup (Use fresh juice for best results)
  • Cooking oil - 1/3 cup ( use odourless oil, I used sunflower oil)
  • Salt - a pinch
  • Orange zest - 1/2 tsp (Use grated skin)
METHOD
  • In a wide bowl, sieve the maida, baking powder, soda and salt. Mix well. Add the orange zest to it. ( I grated the skin of orange and mixed with the flour) Set aside. Grease a baking pan with oil or butter and sprinkle the maida all over the pan. Keep aside.

  • In another bowl, mix the sugar,oil and orange juice. Use a whisk and stir the mixture until the sugar dissolves well.
  • Add the flour to the oil mixture and mix it with a spatula or whisk in one direction. Do not over beat the mixture. Cake will not rise.The batter should fall like a ribbon. This is the right consistency.
  • Preheat the oven in convection mode at 180c for 10  minutes. Pour the batter in the baking pan and pat its bottom once for even distribution of batter. Now bake the cake in convection mode at 180c for 30-35 minutes. Check the cake by inserting a tooth pick in the center of the cake after 30 minutes. If it comes out clean or with little crumbs, cake is done. If you find the wet batter in the tooth pick, bake the cake for 2-3 minutes more. Invert the pan in a plate after the cake is cooled down. Cut into slices and enjoy with Tea.
Note
  • Please adjust the timing based on the convection oven..
  • You can replace oil with softened butter.
  • You can also use store bought orange juice but cake flavor will be less.
  • No need to use water,curd or milk.Orange juice would do.
  • Do not invert the cake as soon as you bake. Cake will break. If the cake doesn’t fall off easily, bake it for 2 more minutes.


Enjoy this cake for your tea time. Tastes awesome !

Continue Reading...


July 28, 2015

Sundakkai Vathal Podi, Thakkali Poricha Kuzhambu Recipe - South Indian Lunch Menu For Stomach Problems

Actually I had to share a biryani recipe in my Sunday lunch series today. Sorry for disappointing you all with this post. Last 3 days I was in Rameswaram for temple visit. We had good darshan but unfortunately we all got stomach problems due to some food allergy. By God’ grace, our trip was successful and reached Bangalore yesterday.

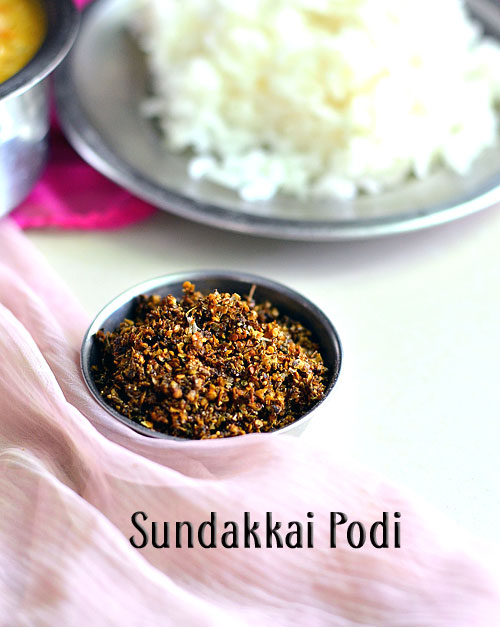
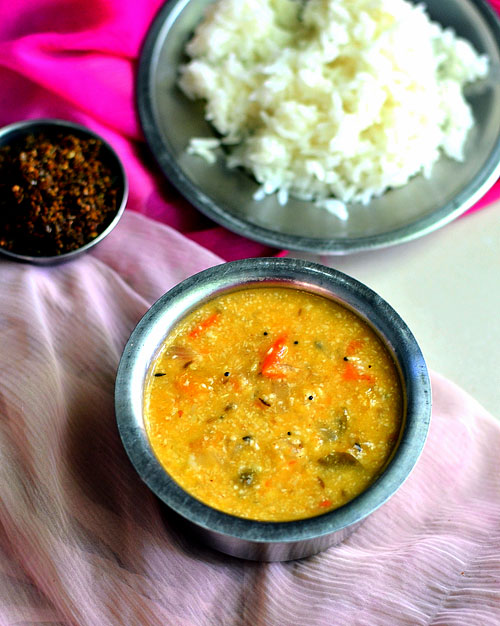
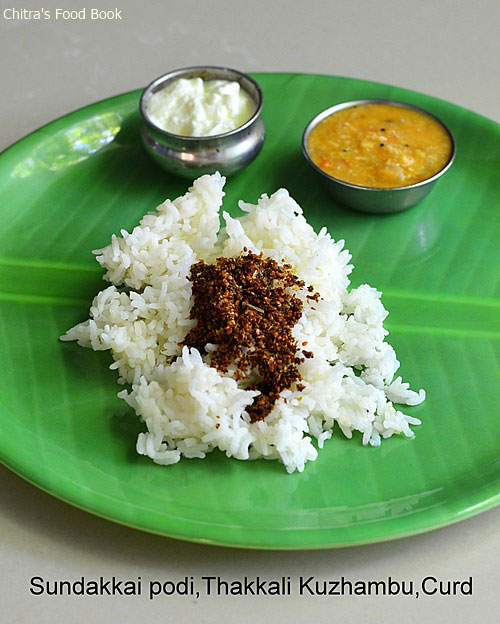
As our stomach is completely upset, we wanted to avoid spicy foods for some days. So this afternoon I made Sundakkai Vathal podi (Dried Turkey berry powder) & Spice less, no tamarind thakkali poricha kuzhambu (tomato gravy without tamarind) along with Paruppu sadam (moong dal tadka) & thayir sadam for our lunch. I guess most of you just make dal & rasam during sick days but this is our standard lunch menu whenever we recover from any health ailments.

Sundakkai/Turkey berry is a good antibiotic to kill the ameoba in stomach. Pepper & cumin seeds used in this powder helps to improve appetite and aids digestion. Tomato is an energy booster basically. Coconut, cumin seeds/jeera and onions acts as a coolant for the upset stomach and helps for digestion. 

Moong dal and curd/buttermilk helps to cure stomach inflammations. To sum up, this South Indian Lunch menu would be soothing and tasty for an upset stomach & bitter tasting tongue. Do try this menu for a change. U may like it. Not just sick days, you can consume Sundakkai podi at least once in a week to keep your stomach clean if you eat hotel food regularly. Lets check out the recipes of sundakkai podi and thakkali poricha kuzhambu below. Last but not the least, I will surely share my biryani post sometime in this week.
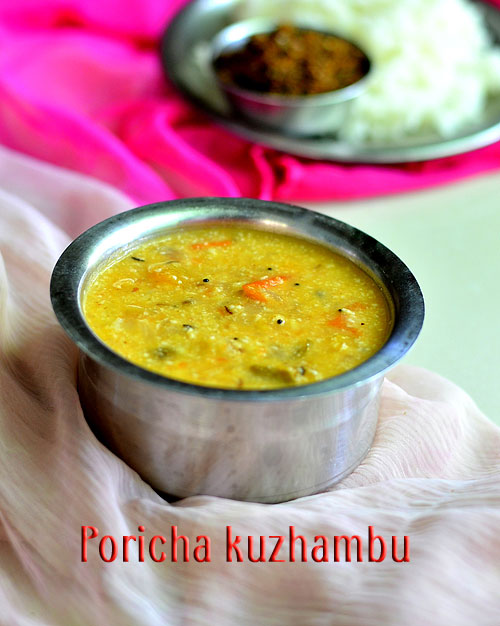
South Indian Lunch Menu For Stomach Upset

South Indian Lunch Menu ideas South Indian Lunch Menu idea for persons with stomach problems
Cuisine: South Indian
Category: Lunch Menu
Serves: Serves 3
Prep time: 10 Minutes
Cook time: 20 Minutes
Total time: 30 Minutes


INGREDIENTS

SUNDAKKAI PODI/TURKEY BERRY POWDER
  • Turkey berry-20 nos 
  • Pepper corns – 10 nos
  • Cumin seeds/Jeera – 1/2 tsp
  • Garlic cloves – 2 nos
  • Salt – as needed
  • Cooking oil – 2 tsp
NO TAMARIND TOMATO GRAVY 
  • Cooking oil - 1 tbsp
  • Mustard seeds - 1/2 tsp
  • Urad dal - 1 tsp
  • Chana dal - 1 tsp
  • Cumin seeds - 1/4 tsp
  • Green chilli – 2-3 nos (slit)
  • Tomato - 3 nos( finely chopped)
  • Small onion/Big onion – 15 nos/1 no
  • Moong dal – 1 tbsp
  • Curry leaves – few
  • Turmeric powder – a pinch
  • Hing/Asafetida – a pinch
  • Coriander leaves - to garnish
  • Salt & water – as needed
To grind
  • Grated coconut- 1/4 cup
  • Cumin seeds/jeera – 1/2 tsp
METHOD
  • Sundakkai podi : Heat oil in a kadai & saute the turkey berries/sundakkai. Add cumin seeds, pepper corns and roast everything well till you get a nice smell of roasted turkey berries. Powder everything together adding salt & finely chopped garlic. Mix with plain rice adding ghee.

  • Thakkali poricha kuzhambu : Heat oil in a pressure cooker base. Splutter mustard seeds, urad dal, chana dal, cumin seeds. Saute onions, curry leaves, green chillies and tomato till it turns mushy.
  • Add water,moong dal,turmeric powder,salt and pressure cook for 2 whistles in low flame. In the mean time, grind the coconut+jeera to a smooth paste adding little water. After the steam is released from the cooker, add this paste and boil well. Gravy will thicken. So add water and salt accordingly. Serve with plain rice adding few drops of ghee.
For paruppu, pressure cook dal adding a pinch of hing, turmeric powder and mash it. Do the seasoning at the end and serve with rice & ghee.

Start your lunch with paruppu sadam continue with podi, poricha kuzhambu and finish with curd rice or drink buttermilk. Enjoy this healthy and spice less lunch menu.


Try this simple lunch menu during sick days. U can recover quickly !


Continue Reading...

July 24, 2015

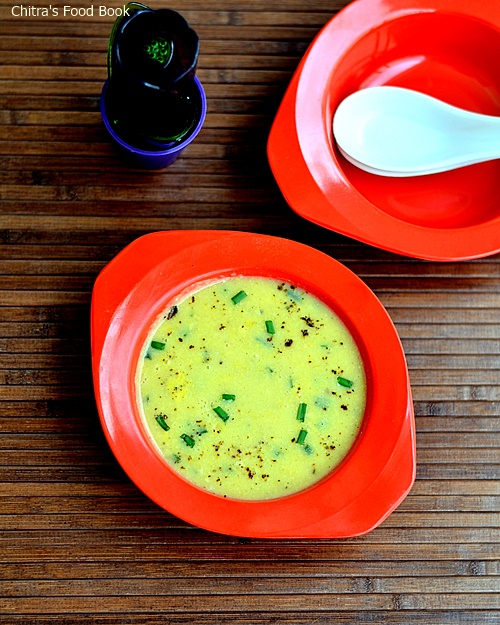
Sweet Corn Soup Recipe With Fresh Corn, Milk - Indian Soup Recipes

sweet corn soup with fresh corn
Sweet corn soup with fresh corn, milk and corn flour with step by step pictures. I never thought sweet corn soup is so easy to make until I try it on my own.We are a big fan of tomato soup recipe. Whenever we visit restaurants ,our order would be one and only tomato soup. So I make the same at home too. I never thought of making other soup recipes. Recent days I have been getting requests to post more soup and weight loss recipes. Especially my school friend Jayarani has been urging for long time to do it. So I started with this easy sweet corn soup recipe. I referred a cook book and tried this restaurant style sweet corn soup recipe. Sendhil and Raksha loved it a lot. I was surprised when Raksha asked me for second serving. Generally sweet corn soup is prepared with creamy canned sweet corn along with boiled vegetables. But this recipe called for freshly boiled sweet corn. Its a mix of Indian and Chinese versions. I was happy that I could serve a healthy soup recipe other than the usual tomato soup. Lets see how to make this yummy sweet corn soup recipe with step by step pictures.
Continue Reading...


July 22, 2015

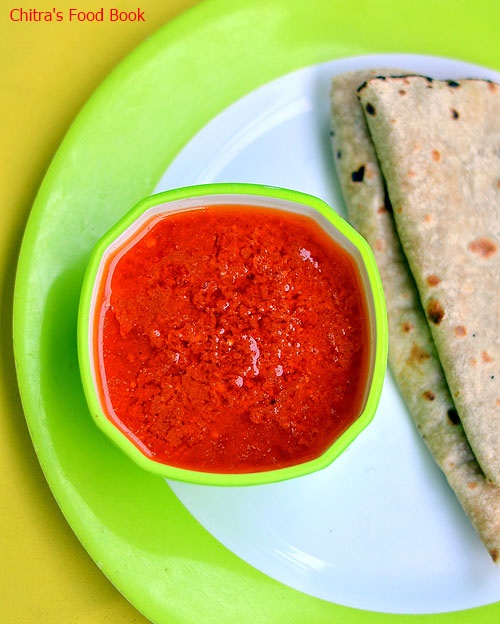
Tomato Garlic Chutney Recipe For Chapathi, Paratha - Thakkali Poondu Chutney Recipe

tomato garlic chutney recipe for chapathi

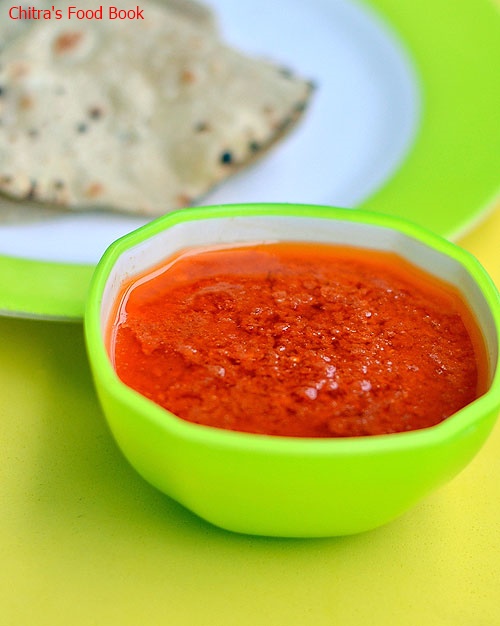
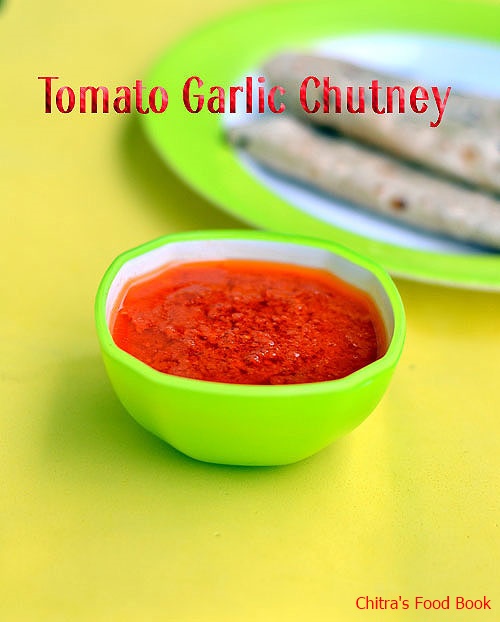
When I feel lazy to make a side dish for chapathi/ roti, this tomato garlic chutney recipe comes to rescue. We call it as thakkali poondu chutney in Tamil. My MIL makes it often for roti and stuffed paratha. It’s a very simple and easy chutney recipe with just 3 main ingredients & a good option to cook on a lazy day. The flavor of raw garlic would be dominant in this chutney. Try this recipe only if you like the taste of raw garlic. We usually make this chutney for chapati and Aloo paratha. You can try this for idli, dosa too. Its your choice finally. Ok, lets see how to make this quick and easy side dish recipe for chapathi - Tomato garlic chutney recipe.

Check out my other 60 chutney recipes for idli,dosa if you are interested.

tomato chutney for chapathi

Tomato Garlic Chutney Recipe for chapathi


Tomato garlic chutney recipe Tomato garlic chutney recipe - Easy side dish for roti, idli, dosa
Cuisine: Indian
Category: Side dish
Serves: Serves 2
Prep time: 2 Minutes
Cook time: 5 Minutes
Total time: 7 Minutes


INGREDIENTS

  • Tomato - 2 nos (I used Bangalore tomato)
  • Red chillies - 2 nos (Add 4 for more spiciness)
  • Garlic cloves - 15 nos
  • Gingely oil/Sesame oil - 3 tbsp
  • Salt & water -as needed
METHOD
  • Grind the tomato, chopped garlic cloves, red chillies adding salt and enough water. Do not grind it too watery.
Tomato garlic chutney recipe
  • Heat gingely oil in a kadai till its smoking point.When the oil starts to smoke, simmer the flame and add the ground paste. Mix well and switch off the flame. Flame should be off. Let the chutney be in the hot oil for sometime. The color of chutney will change and it will thicken slightly.
Tomato garlic chutney recipe
  • Remove in a bowl and serve with roti, stuffed paratha or idli,dosa as per your choice.
Tomato garlic chutney recipe
Enjoy !
Note
  • You can add more garlic cloves based on your liking.
  • We don’t season this chutney.If you wish,u can temper with mustard seeds and urad dal.
  • Gingely oil is must here.It should be smoking hot to get the nice flavor in this chutney.
Check out my 35 chutney recipes for idli,dosa if you are interested.
    
Make this easy chutney recipe for roti on a lazy day and take rest !

side dish for roti


Continue Reading...


July 20, 2015

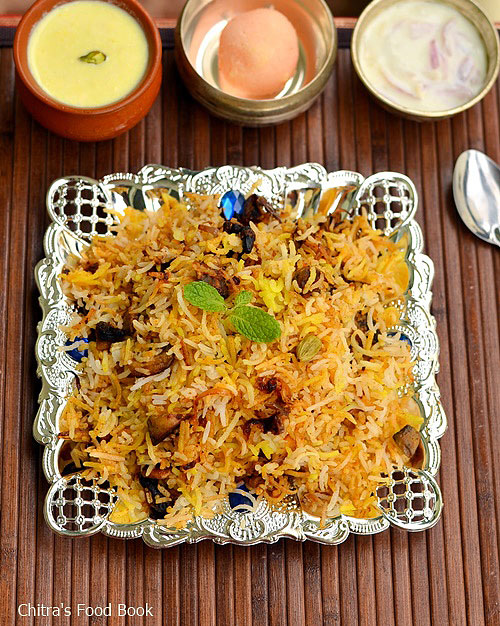
Pakistan Biryani Recipe-Ramzan Special Mushroom Biryani Recipe-Sunday Lunch Recipes Series 24

  
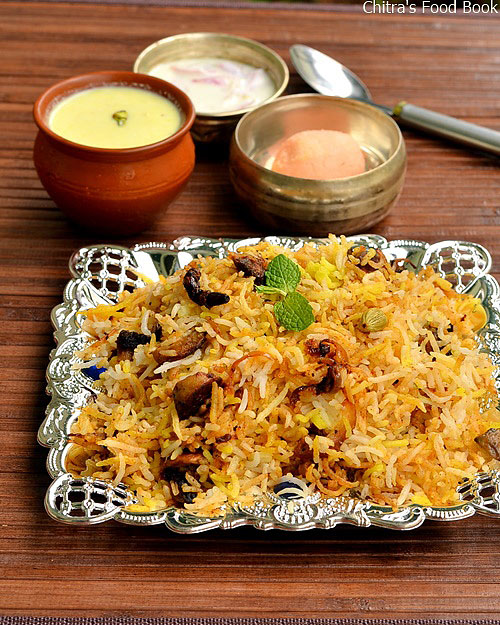
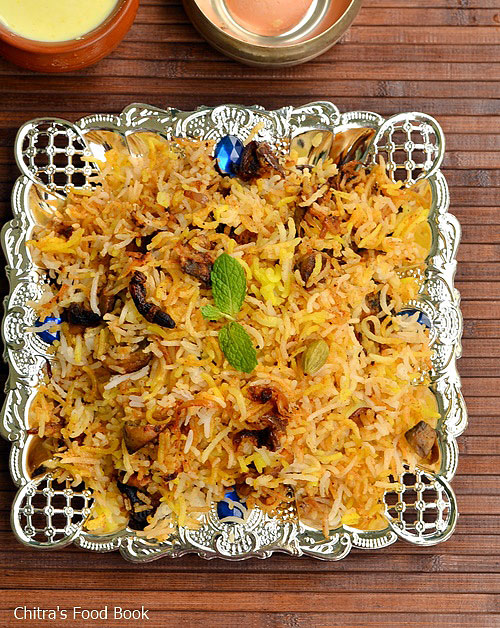
I tried Pakistani style biryani recipe for the first time on account of Ramzan festival.I hope all my Muslim friends and readers had a great Ramadan celebration by relishing chicken & mutton biryani feastHappy.Actually I had planned to make this post on Ramzan day but I couldn’t do it as I had an unexpected guest at home for lunch.So I made this biryani yesterday to share it here.I have tried and shared many non-veg biryani recipes replacing chicken or mutton with soya chunks/meal maker,potato and other vegetables.Its been years since i shared mushroom recipes in my blog.So I took this as a chance and tried Pakistan Chicken biryani using mushrooms.I referred this recipe and made it..It came out really well.I loved it to the core.The procedure and the masala used in this biryani is very similar to Hyderabad DUM biryani  but with a small twist.Just scroll through the ingredients list to see it.It would be unique & interestingHappy. 
Please check my other Sunday Lunch Recipes Series recipes here.


Pakistan Biryani Recipe


Mushroom biryani Recipe Pakistani style biryani using mushrooms - Vegetarian version
Cuisine: North Indian
Category: Lunch Recipes
Serves: Serves 3
Prep time: 30 Minutes
Cook time: 20 Minutes
Total time: 50 Minutes


INGREDIENTS

  • Basmati rice - 1 cup ( 200 gms,India Gate)
  • Water -  6 cups
  • Whole garam masala – 1 each(cinnamon,cloves,cardamom & black stone flower)
For marination
  • Mushroom – 6 nos 
  • Fried big onion slices- few
  • Raw Papaya paste – 1 tbsp( I used fruit paste)
  • Curd – 1/4 cup
  • G&G paste – 1/2 tsp 
  • Red chilli powder - 1/2 tsp
  • Garam masala powder - 1/2 tsp
  • Salt - as needed
For the gravy
  • Cooking oil -  3 tbsp
  • 1 cinnamom,2 cloves,1 cardamom,1 bayleaf
  • Big onion - 2 no ( 1 to fry)
  • Tomato - 1 no
  • G&G paste - 1 tsp
  • Red chilli powder – 1/2 tsp
  • Dhania powder – 1 tsp
  • Garam masala powder – 1/2 tsp
  • Sugar – 1/2 tsp
  • Salt & water - as needed
  • Saffron soaked Milk - 1/4 cup
  • Coriander leaves & mint leaves – 2 tbsp
METHOD
  • Wash and soak the basmati rice for 30 minutes.Cook the rice in 6 cups of water adding whole garam masala,a drop of oil and salt.Remove the rice when it is cooked 3/4 th.Keep in a plate and let it cool.

  • Wash and clean the mushroom.Please check this link for cleaning procedure.Chop into cubes.Marinate the mushrooms using all the ingredients given under”to marinate”. Mix well and set aside for 30 minutes.Slice the big onion and fry using 3 tbsp of oil in a kadai.Remove when it is roasted well.Add few onions to the marination mixture and keep the remaining aside in a plate.
 
  • For the gravy,use the onion roasted oil. Saute the whole garam masala and onion.Add g&g paste and mix till raw smell leaves.Lastly add the tomato and saute until mushy.Add the red chilli,dhania,garam masala powder.Mix well.Add the marinated mushroom mixture and add a cup of water.Let it boil till mushroom cooks well.

  • After the mushroom cooked well,boil the mixture till gravy becomes thick.Make sure there is very less water in the gravy.Now spread the cooked basmati rice and sprinkle the roasted onions,soaked saffron milk and chopped mint+coriander leaves. Add a tbsp of oil. around the sides of kadai.Close the kadai with the lid tightly and simmer the flame completely.Let it be under DUM for 15 minutes till u get a nice masala smell.
  • Remove the lid and fluff the rice with a fork. Serve hot with raita !
Enjoy !
Note
  • Adjust the quantity of spice powders as per your taste.
  • Adding papaya paste gives a nice flavor.
  • You can also replace garam masala powder with biryani masala powder.
Try this Pakistani style biryani for a change.U will love it.
I served with raita and dessertsHappy

Continue Reading...