

In my family, we love to eat sundal recipes but not often. So when my MIL told me to include legumes, I found making some curry, gravy for roti or kuzhambu recipes for rice by adding pulses is the best way to make my family eat it. So I started preparing varieties of curries and gravies for rice, roti and even for idli, dosa. This South Indian style green gram curry is our recent favorite. Green gram also known as Mung bean in English, Pachai payaru in Tamil, moong sabut/mung sabut in Hindi, Cheru Payru in Malayalam, Hesaru kaalu in Kannada, Pacha Pesalu pappu in Telugu is a very healthy pulse with high fiber and nutrient values.
Recent days I have been eating mung sprouts salad for weight loss.So I tried this pacha payaru curry recipe from a Kerala YouTube channel “Garam masala” with the leftover sprouts mainly for Sendhil and Raksha. I made it with slight modifications to suit our taste buds. It came out really well with a mild sweet taste of sprouted green gram. We all loved it very much. It was a good side dish for roti/ chapathi , idli, dosa and rice.
As the yield of this gravy is more, we had this gravy for dinner and the next day’s breakfast & lunch as well. For variations, this curry can be made with mixed sprouts or with soaked green gram dal, chana or cowpeas. I am happy that I have got a healthy, yummy green gram dal curry recipe to include in our regular diet. Ok Friends, lets see how to make this healthy mulai kattiya pachai payaru curry/ sprouted green gram dal gravy with step by step photos and a video !
Check out my Green gram dosa, green gram rice upma and green gram sundal recipes !
Check out my Green gram dosa, green gram rice upma and green gram sundal recipes !

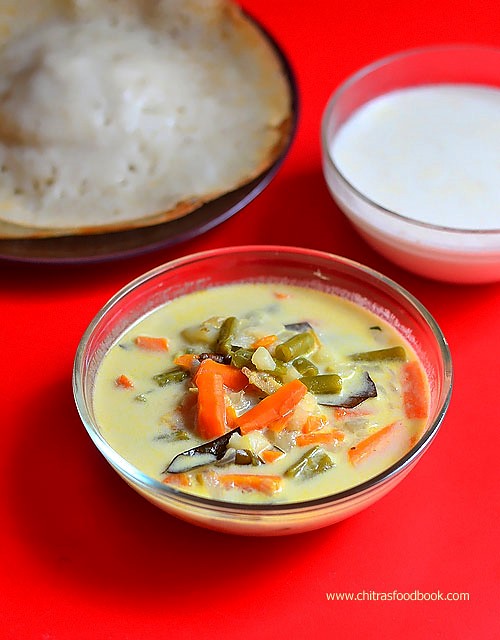
Sprouted Green Gram Curry Recipe - Pachai payaru kuruma
 Sprouted green gram curry recipe - Mulai kattiya Pachai payaru kuruma for roti, rice, idli and dosa
Cuisine: Indian
Category: Side dish For Roti
Serves: Serves 4
Prep time: 10 Minutes
Cook time: 20 Minutes
Total time: 30 Minutes
INGREDIENTS
1 cup - 250ml
|
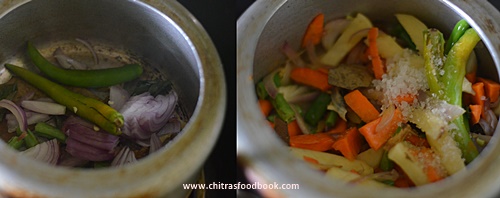
HOW TO MAKE GREEN GRAM GRAVY - METHOD
|


Note
|
Do try this healthy, flavorful green gram curry for roti and rice. Enjoy !

Technorati Tags: Green gram curry,sprouted green gram curry recipe,pachai payaru gravy recipe,green gram curry for chapathi,pachai payaru kuruma for chapathi,sprouts gravy for chapathi,green gram gravy for chapathi,sprouts side dish for chapathi,pachai payaru gravy for chapathi,green gram masala for chapathihi,green gram recipes,sprouts recipes,side dish for roti


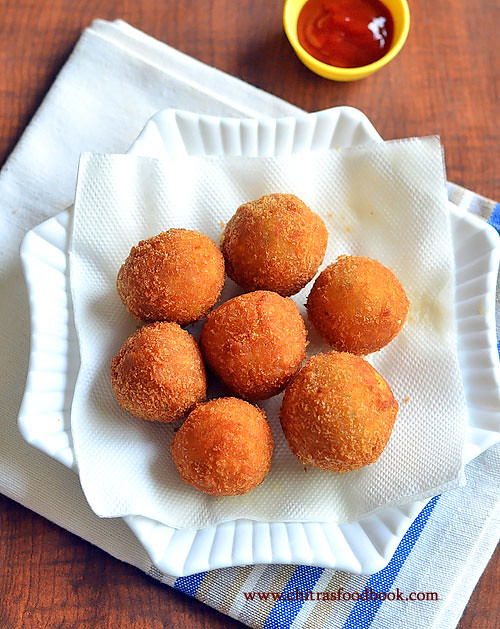
 .Overall this recipe is a big hit in home. Friends, do try this recipe either with Indian masala or Italian seasoning based on your kids liking. Follow the same procedure and make this yummy, crispy corn cheese balls to celebrate kids birthday party, get together, kitty parties to serve as a starter. The dough can be made in advanced and refrigerated till use. All the kids would easily fall for this cheesy snack
 . For variations, these balls can be made like nuggets. Ok, Lets see how to make this easy corn cheese balls with step by step photos, tips and tricks and a video !