Search Chitra's Food Book

January 13, 2018

Iyengar Sakkarai Pongal – Iyengar Style Sweet Pongal Recipe In Pressure Cooker

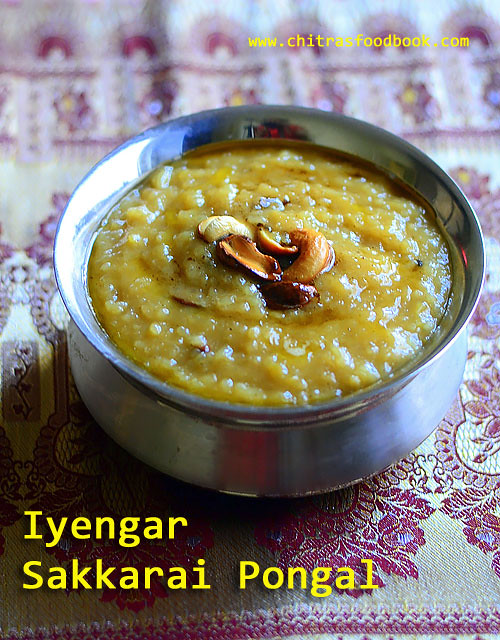
Iyengar sakkarai pongal
Iyengar style sweet pongal / Sakkarai pongal recipe was in my try list for long time. Recently I bought a cookbook named “Iyengar Pandigai Samayal “ from Kumbakonam. All the Iyengar specialty recipes are discussed in that book according to the festival. I found a traditional Sakkarai Pongal recipe prepared using a pot ( bronze pot/ Venkala paanai). 

When I saw that recipe, I immediately called my school friend Sumi who is the only source for my Tamil Iyengar Recipes in my website to confirm the recipe and ingredients. She shared all the most important tips to get perfect Perumal temple style Sakkarai Pongal. Thank you so much Sumi.  I became very happy and tried it for my Thursday Guru Pooja Neivedyam yesterday. It came out finger licking good. But for your help, this post would not have come up today :). 

My friend told me to prepare this pongal in a bronze pot to get the authentic flavor and taste. But my pot is too big to make small quantity. So I used a pressure cooker to ease my job. My job was done in less than 30 minutes.

Friends, I have shared all the tips shared by my friend Sumi if you like to try the authentic version like temples. If you wish, you can prepare in a bronze pot like temples or use your cooker to make it quickly. Choice is yours ! But taste wise pot pongal is the best. 

Next year during pongal festival,  I will try to buy a small pot and make a separate & detailed post. Now lets see how to make Iyengar style sakkarai pongal recipe / Sweet pongal recipe with step by step pictures and video.
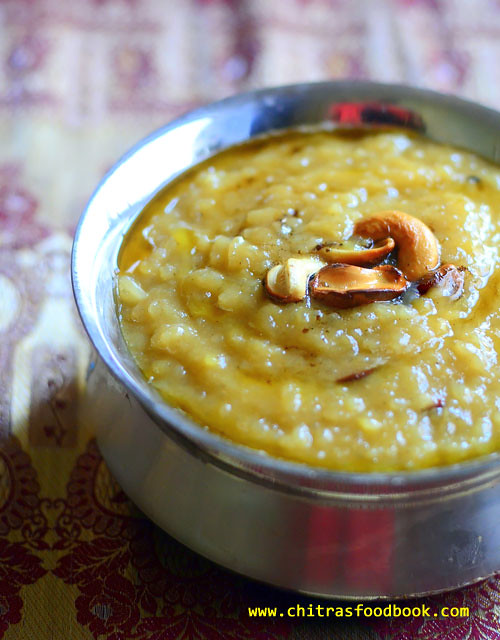
Sweet pongal recipe Iyengar

POINTS TO NOTE

  1. To make temple style pongal, you should cook the rice & dal in an open pot, preferably in a bronze pot as it helps to retain the heat longer & maintain the consistency of pongal.
  2. Addition of Pachai karpooram/ edible camphor is a must in Iyengar Pongal.
  3. They also use freshly made ghee from butter to roast the cashews and add to pongal for neivedyam. They do not use the ghee used for regular cooking. So the taste & flavor of fresh ghee matters a lot.
  4. Never use boiled rice. Always use good quality Sona masoori rice for best taste.
  5. Do not use basmati rice as well.
  6. Roasting moong dal is an optional step. Some people add it as such.
  7. My friend told me to soak rice & moong dal in milk & water for 15 to 30 minutes to cook quickly.  But I din’t soak it as I used pressure cooker.
  8. Milk should be used in Iyengar pongal. Some people cook the rice only with milk. But I have used a combination of water & milk as suggested by my friend.
  9. The quantity of milk may vary based on the consistency of pongal. So reserve some boiled milk and add it while serving if needed.
  10. I have used rice & jaggery in the ratio of 1: 2. Some people use 1:1.5 for mild sweet taste. It all depends on your taste buds.

Iyengar Sakkarai Pongal - Sweet Pongal recipe


Iyengar Sakkarai Pongal - Sweet Pongal recipe How to make Iyengar style sweet pongal recipe / sakkarai pongal with milk & jaggery.
Cuisine: South Indian
Category: Iyengar recipes
Serves: 3
Prep time: 5 Minutes
Cook time: 20 Minutes
Total time: 25 Minutes


INGREDIENTS

1 cup - 250ml
  • Raw rice - 1/2 cup ( Good quality Sona Masoori rice)
  • Yellow moong dal - 2 tbsp 
  • Boiled milk - 1 cup
  • Water - 1.5 cups
  • Powdered Jaggery - 1 cup ( Use 3/4 cup if using paagu vellam)
  • Water- 1/2 cup ( to melt jaggery)
  • Ghee - 2 to 3 tbsp ( I used 2 tbsp butter to roast nuts)
  • Cashew nuts - Few
  • Cardamom powder - 1/2 tsp
  • Edible camphor / Pachai karpooram - A pinch

HOW TO MAKE IYENGAR SAKKARAI PONGAL

  1. In a pressure cooker base, heat 1 tsp ghee. Roast moong dal for a minute.
  2. Add raw rice to it and roast for another minute. Wash them.
  3. Add water + milk to the cooker along with a pinch of salt.
  4. Pressure cook in very low flame for 2 whistles.
  5. Mash the cooked rice & dal. Boil and melt jaggery adding water and strain the syrup.
  6. Add jaggery syrup, 1 tbsp ghee to the mashed rice. Mix well and boil till semi solid in consistency. Switch off flame.
  7. Add cardamom powder, a pinch of edible camphor and cashews roasted in ghee.
  8. Mix well and remove from flame. Garnish with more cashews if you like and serve hot !

METHOD - STEP BY STEP PICTURES

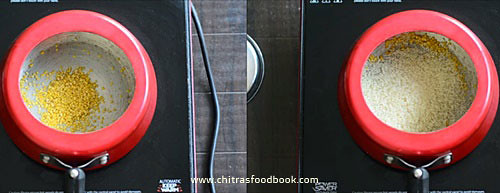
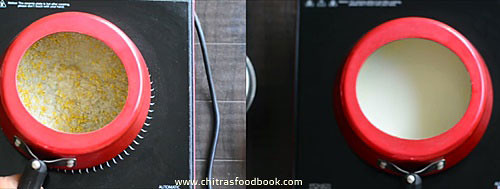
  • In a pressure cooker base, heat 1 tsp of ghee. Roast yellow moong dal for a minute. To this, add rice and roast for one more minute. Remove the cooker and wash the rice + dal. Drain the water and keep it back in flame.

  • Add milk + water to the washed rice, dal mixture. Add a pinch of salt as well. Mix well.
    Iyengar sweet pongal
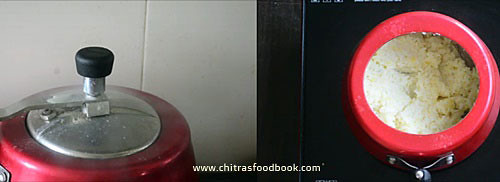
  • Pressure cook in very low flame for 2 whistles.Open the cooker after steam is released. Mash the rice and dal very well with a ladle or masher. Make sure rice + dal is mashed properly. Add more boiled milk or water if needed. Mix well. Keep the cooker aside.
    Iyengar sweet pongal
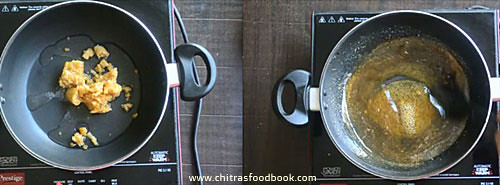
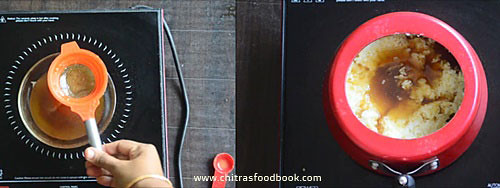
  • In a kadai, boil and melt jaggery adding water. Strain the syrup in a wire mesh. (If the jaggery tastes too sweet, you can reduce to 3/4 cup)
    Iyengar sweet pongal
  • Add the syrup to the mashed rice and mix well. Add little more hot water or milk if the pongal is too thick at this stage. Add 1 tbsp ghee to avoid sticking of rice to the bottom of cooker.
    Iyengar sweet pongal
  • Mix well and boil till pongal comes to semi solid in consistency. Do not cook till too thick. It will harden as it cools down. So make it semi thick.  Remove from the flame.
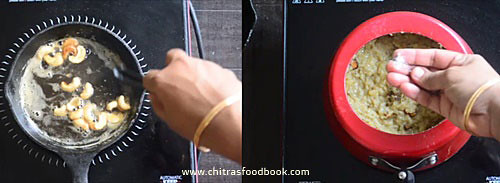
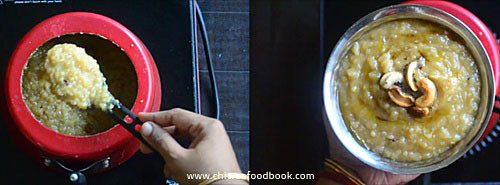
  • Roast cashews in the remaining 1 tbsp ghee and add to pongal. (  I used fresh butter, melted to make ghee and roasted the cashews as suggested by my friend.) Add cardamom powder, a pinch of edible camphor and mix well. Add 1 tbsp more ghee and few more roasted cashews for garnishing. Serve hot !
    Iyengar sweet pongal
    Iyengar sweet pongal


    Enjoy !

Note

  • The ratio of rice & water depends on the quality of rice. Old rice takes more water. For pongal festival, we buy new rice ( pudhu arisi).So it takes less water. I used 1:5 ratio of rice and water. You can also use 1:4 or 1:6 based on the rice.
  • Similarly the quantity of jaggery depends on the type of jaggery. If you use paagu vellam, you can add 1:1.5 ratio of rice & jaggery else use 1:2 as I did to get nice color and taste.
  • If you feel the sweetness is more, you can add more boiled milk or hot water to reduce the sweetness.
  • Edible camphor is the most important to get temple flavor.
  • You can also add powdered nutmeg and roasted cloves if you like.
  • Do not reduce ghee than the mentioned quantity. You must add more ghee to get ghee dripping pongal else pongal looks dry.
Try this easy, yummy Iyengar style Sakkarai pongal for this Pongal festival at home and enjoy !
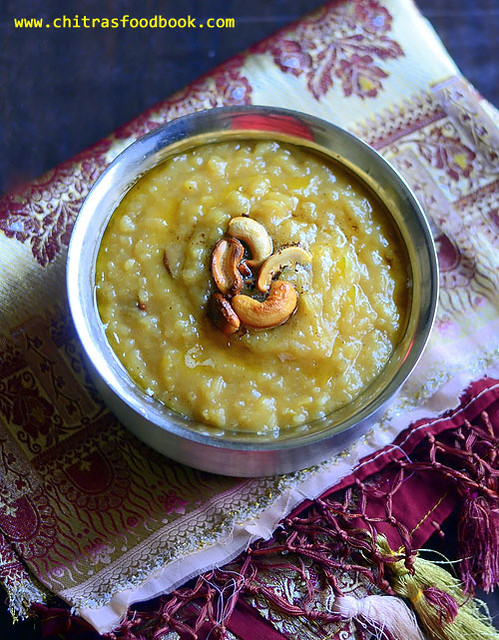
Iyengar sakkarai pongal
Continue Reading...


January 9, 2018

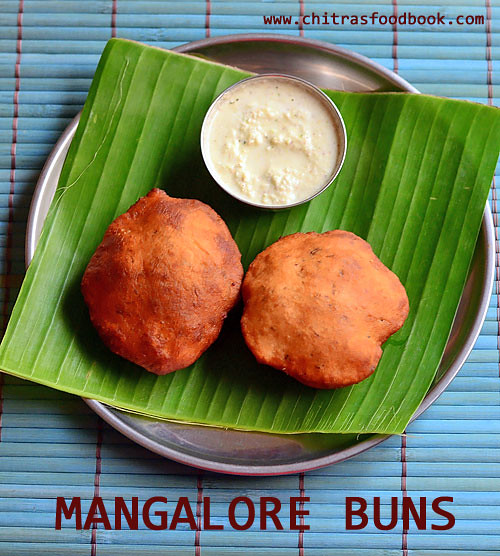
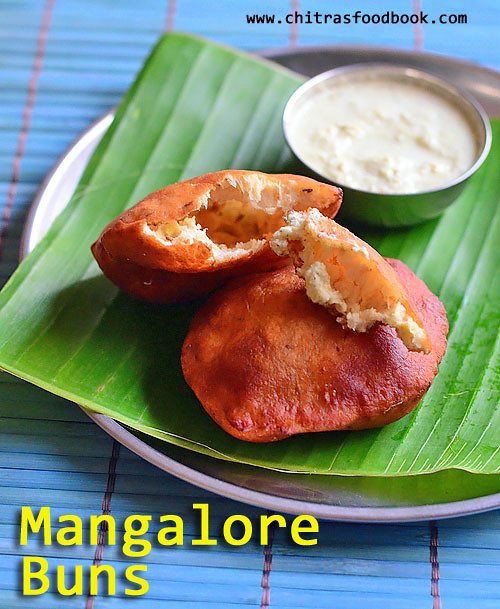
Mangalore Buns Recipe With Coconut Chutney – Banana Poori Recipe

 Mangalore buns 
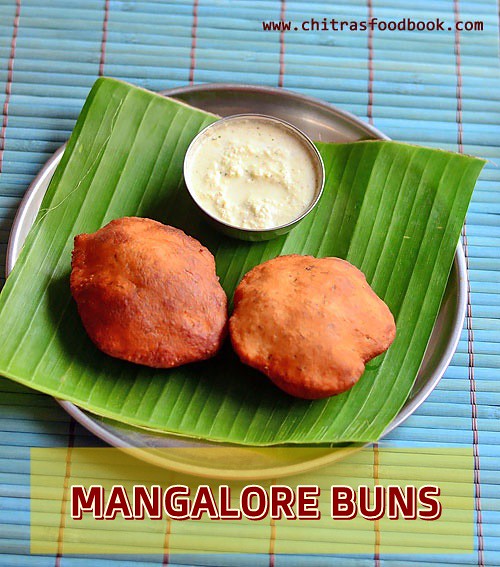
Mangalore buns recipe @ Banana poori served with coconut chutney as side dish is one of the most popular breakfast combo in Karnataka. I have tasted this few times in hotels like Anna Kuteera, SLV etc. Mangalore buns is a kind of  Poori/ puri made with all purpose flour, banana, sugar and curd. As this poori tastes soft, spongy with a mild sweet taste, its called as buns. Mangalore buns cannot be prepared instantly. Its dough should be fermented for at least 4 to 6 hours or overnight to get the best results. Recently I prepared it for our breakfast along with coconut chutney by watching few YouTube video. It came out very well. We liked it very much. Its a unique, Karnataka style breakfast recipe. Friends, do try this banana poori / Mangalore buns at home. You will love it for sure. Ok, lets see how to prepare Mangalore buns recipe with step by step pictures and video.

Do check out my collection of 10 Poori varieties & 20 Side dish for Poori

Have a look at my Instant Mangalore Bonda recipe as well.


Mangalore buns with coconut chutney

Mangalore buns recipe - Banana Poori


Mangalore buns recipe - Banana Poori With Coconut chutney Mangalore buns recipe with coconut chutney as side dish. - Karnataka special breakfast recipe
Cuisine: Indian
Category: Breakfast
Serves: 6 to 8 no.
Prep time: 6 Hours
Cook time: 5 Minutes
Total time: 6 Hours 5 Mins


INGREDIENTS
For Mangalore buns
1 cup - 250ml
  • All Purpose flour - 1 cup
  • Ripen Banana - 1 no ( I used 2 small yelakki banana)
  • Sugar - 1 tbsp (Add 1.5 tbsp for more sweetness)
  • Curd - 1.5 tbsp  (Add 2 tbsp if needed)
  • Salt - 1/2 tsp
  • Cumin seeds - 1/2 tsp
  • Cooking soda / baking soda – 1/4 tsp
  • Cooking oil - To deep fry
Coconut chutney
  • Grated coconut – 1/2 cup
  • Green chillies – 3 to 5 nos (Adjust based on spice level)
  • Tamarind – a small pinch
  • Curry leaves – 3 leaves (optional)
  • Coriander leaves - 1 tbsp
  • Fried gram dal – 1 tbsp
  • Garlic cloves – 2 no.
  • Salt & water – as needed
METHOD
  1. In a wide bowl, mash the banana with a fork.
  2. Add curd, sugar, salt, all purpose flour and mix well
  3. Make a dough without adding water.
  4. Cover and keep it aside for minimum 6 hours.
  5. Knead it well and make thick, round poori.
  6. Deep fry it both the sides till golden brown.
  7. Remove in a tissue paper. Serve hot with coconut chutney.
METHOD - STEP BY STEP PICTURES
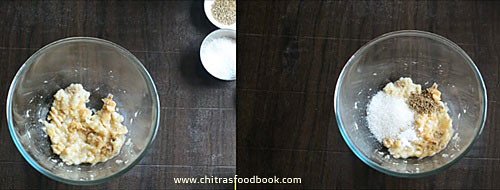
  • In a wide bowl, mash the ripen banana with a fork or hands. Do not grind in a mixie.  
    Mangalore buns
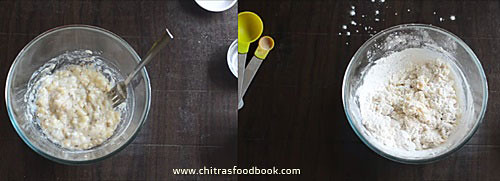
  • To this, add salt, sugar, cooking soda, cumin seeds and curd.Mix well to make a paste.
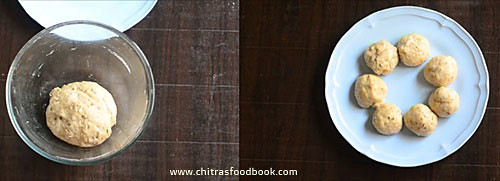
    Add all purpose flour gradually and mix well to make a dough. Do not add water. Add little curd if needed. Knead for few minutes. Dough should be thick. Cover the dough and rest for minimum 6 hours or overnight. 
    Mangalore buns
  • Grease your hands with little oil and knead the dough for few minutes. Make small balls of uniform size. Dust the ball with maida and roll it to small, thick poori of palm size. Arrange in a plate.
    Mangalore buns
    Mangalore buns
Mangalore buns
  • Heat oil and drop a pinch of dough. If it rises to the top immediately, drop one poori. Splash oil over the puri and press gently. It will become puffy. Flip it and cook the other side till golden brown. Remove in a tissue paper and drain it.
    Mangalore buns
    Mangalore buns
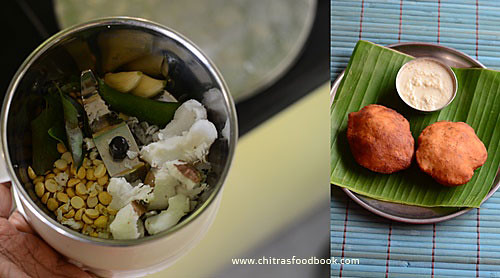
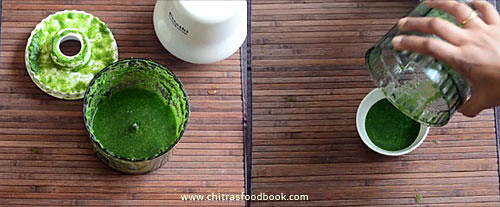
  • Grind all the ingredients given under “Coconut chutney” to a smooth paste adding required water. You can temper the chutney if you like. Serve hot poori with coconut chutney.
    Coconut chutney for mangalore buns
    Enjoy !
Note

  • You can add more sugar if you like more sweet taste.But color of poori would be dark. 
  • Do not use water to make the dough.Add little more curd if needed.
  • Resting time of minimum 6 hours is needed. Overnight is also fine.
  • If you rest the dough for lesser time, Poori will come out hard and chewy.
  • For variations you can add equal quantity of wheat flour and maida. But poori comes out bit dense in texture.

Try this yummy, Karnataka special Mangalore buns with coconut chutney for your breakfast.
Tastes Yummy !
Mangalore buns recipe
Continue Reading...


January 5, 2018

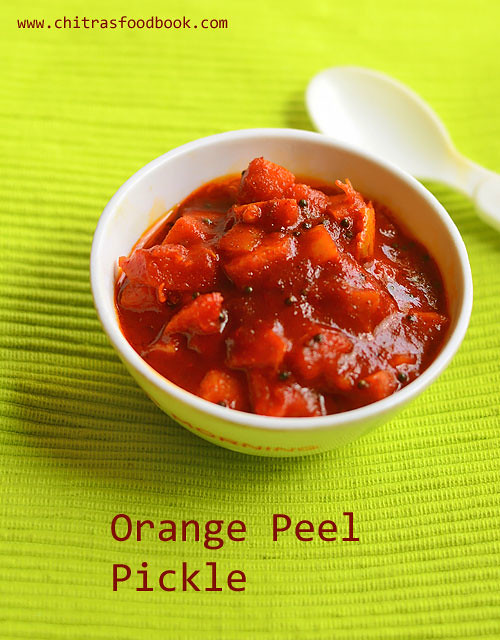
Orange Peel Pickle – Instant Orange Skin Pickle Recipe

Orange peel pickle
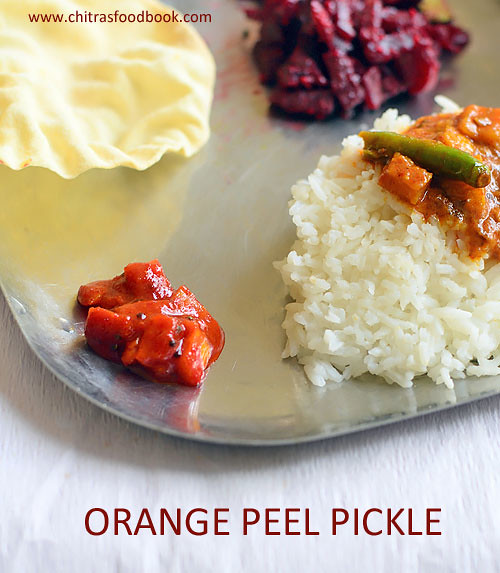
Orange peel pickle is one of the easy and yummy pickle recipes that can be prepared instantly. It doesn’t need any soaking or setting time. You can taste it immediately. When my MIL prepared this instant pickle recipe with kamala orange skin, I never expected that it would taste so good with curd rice. We loved it a lot. 

Actually we prepared orange skin pachadi and orange skin pickle at the same day. Even though both tasted good with its own taste, my vote is for this pickle. I must thank my MIL for teaching me this easy pickle recipe. You too give a try and let me know how you liked it. Ok, lets see how to make orange peel pickle with simple and easy ingredients.
 
Check out my other orange recipes :

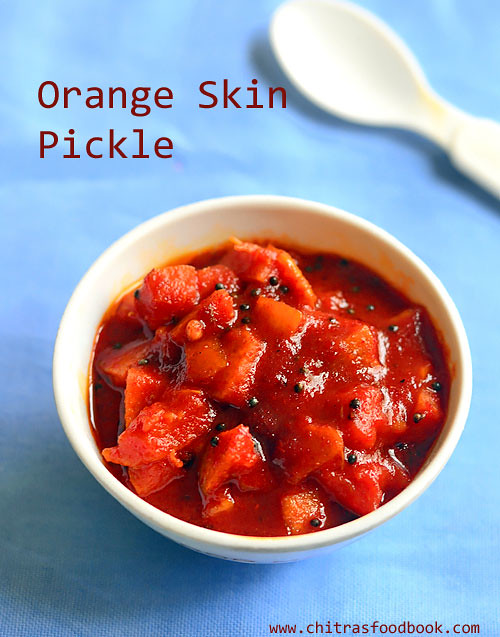
Orange skin pickle

Orange Peel Pickle Recipe


Orange Peel Pickle Recipe How to make Instant pickle recipe using Orange skin
Cuisine: Indian
Category: Pickle recipes
Serves: 1/4 cup
Prep time: 10 Minutes
Cook time: 20 Minutes
Total time: 30 Minutes


INGREDIENTS
1 cup - 240ml
  • Orange Skin - 1/4 cup
  • Red Chilli Powder – 1.5 tsp
  • Powdered Jaggery – 1 tbsp
  • Small sized Lemon - 1/2 no
  • Roasted Methi seeds powder – 1/8 tsp
  • Turmeric powder – 1/4 tsp
  • Water – 1/2 cup
  • Hing – 1/4 tsp
  • Salt - A needed
To Temper
  • Cooking oil or sesame oil – 1 tbsp
  • Mustard seeds - 1/2 tsp
HOW TO MAKE ORANGE SKIN PICKLE
  1. Wash and chop orange skin into small pieces.
  2. Pressure cook in high flame for 2 whistles adding little water.
  3. To the cooked orange pieces, add red chilli powder, hing, turmeric powder, methi powder, jaggery and salt.
  4. Boil in a kadai adding water. Switch off the flame and add lemon juice. Mix well.
  5. Temper mustard seeds and add to the pickle. Store in a clean box after pickle cools down.
  6. Stays good for a month when stored in a refrigerator.
METHOD - STEP BY STEP PICTURES
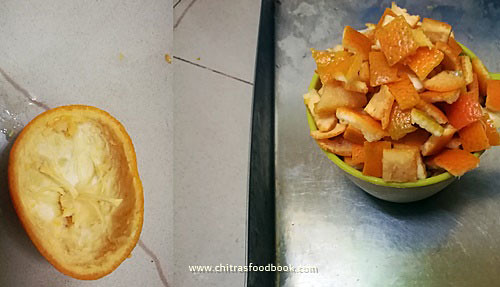
  • Wash the orange skin and chop into small pieces. Pressure cook it adding little water in high flame for 2 whistles.Open the lid after steam is released. Drain the excess water if any. Keep the cooked orange pieces in a bowl.
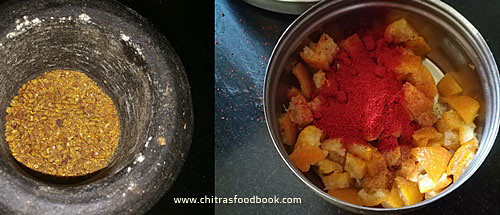
  • Dry roast methi seeds till it starts to turn golden brown. Powder it using a mortar and pestle and set aside.
    Orange peel pickle
  • Add red chilli powder, turmeric powder, hing, methi seeds powder, crushed jaggery and salt.Mix well.
    Orange peel pickle
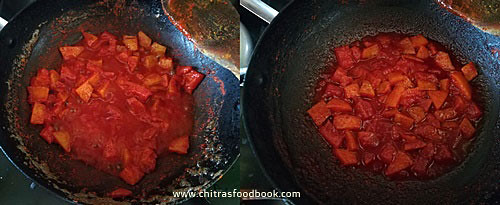
  • Add this mixture to a kadai and add 1/2 cup of water. Mix well and boil in low flame for few minutes till the raw smell of spice powders vanish. Add little more water if pickle looks too thick while boiling. Check for taste and add more red chilli powder, jaggery or salt if needed.
    Orange peel pickle
  • Switch off the flame when the pickle looks semi solid because it thickens when it cools down. Switch off the flame and add the juice of half of a small lemon. 
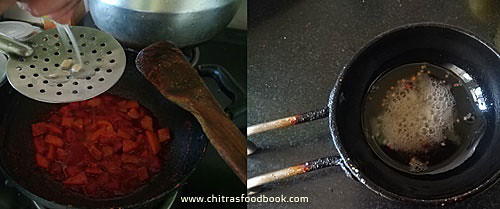
  • In a small kadai, temper mustard seeds in oil and add to the pickle. Mix well and let it cool down.
    Orange peel pickle
  • Let it cool down and store in a clean glass bottle. Use clean spoon every time while you handle. It stays good for a month if refrigerated.
    Enjoy with curd rice !

Note

  • Adjust the quantity of red chilli powder as per your taste..
  • You should cook the orange pieces before adding spice powders else it will become chewy and hard while cooking.
Try this yummy orange skin pickle and enjoy with rice ! Don’t forget to check out my other orange peel recipes.
Orange skin pickle


Continue Reading...


January 3, 2018

Green Chutney For Chaat Using Preethi Turbo Chop

Green chutney for chaats

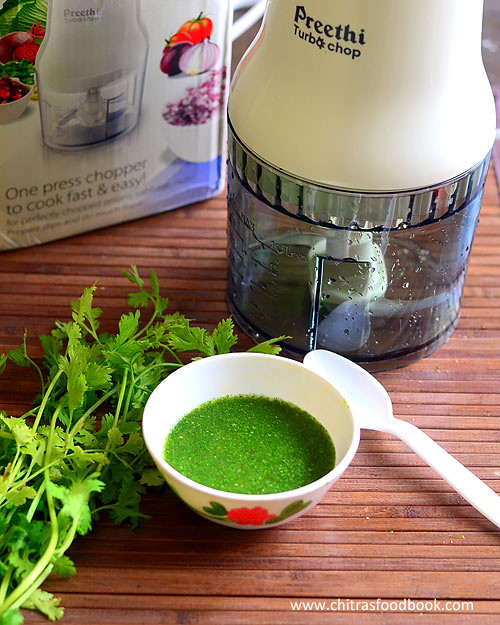
Green chutney recipe can be prepared in many ways based on the requirement. Today I have shown how to make green chutney for chaats with simple ingredients. I prepared this chutney using Preethi turbo chop I received recently for a review. When I got a request to review this product, I accepted it happily as Preethi is one of my favorite brands for kitchen appliances. I have been using Preethi products for more than 10 years and it would be my first choice for mixer grinders.
 
Preethi turbo chop

USES OF PREETHI TURBO CHOP

Preethi Turbo Chop is a handy, electric vegetable chopper that perfectly chops the vegetables very finely in no time. It has a 450W powerful motor and sharp blade. So it takes less than a minute to chop onion, tomato and other veggies finely. It also helps to grind chutneys, dips, sauce and puree tomato, onion and coconut masala for gravies. Its an ideal gadget for Indian cooking. Basically Indian cooking needs lots of chopping works. This useful gadget makes our job much easier. Chopping gets done in one touch operation which saves lot of time. Working women, bachelors and people who wants to spend less time in chopping during busy morning hours would find this gadget very helpful. Price is also reasonable. As I already have Philips Chopper and blender, I could easily compare both the products. Preethi turbo chop is easy and fast to use than other brands.

You can find this product in PREETHI KITCHEN APPLIANCES WEBSITE, WITH A

 DISCOUNTED RATE AT AMAZON & FLIPKART.

Preethi turbo chop

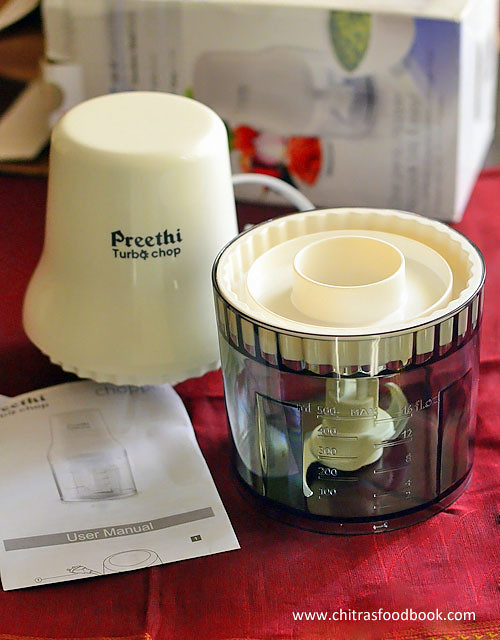
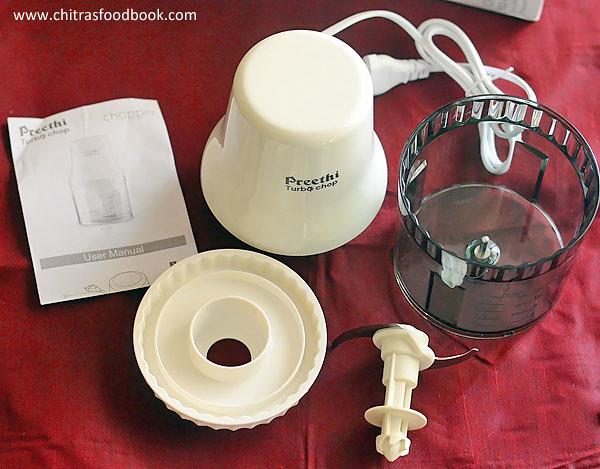
PARTS OF PREETHI TURBO CHOP

Washable and food grade Lid
Transparent, food grade Bowl with measurements
One Sharp blade
A Motor unit
Plug and instruction manual.

FEATURES OF PREETHI TURBO CHOP
  • Powerful Motor
    It has 450 Watts powerful motor in this category
  • One Touch Operation
    It does operations like Chopping, Puree, and Grinding in less than a minute
  • Quality
    The blade is made up of food grade stainless steel - Laser sharp blades gives superior chopping performance
    It is a food grade material
    Blade is a stainless steel material for longer life
  • Reliability
    Easy View - Transparent bowl enables us to have complete control over chopping process
    1 Year Warranty
    Life Long Free Service
TECHNICAL SPECIFICATIONS
Model No. : Turbo Chop
  • Voltage: 230V AC 50 Hz
  • Power Consumption: 450 Watt
  • Capacity: 0.7 Ltr Bowl
  • Warranty: 1 Year
WHERE TO BUY THIS PRODUCT

You can find this product in PREETHI KITCHEN APPLIANCES WEBSITE & WITH A DISCOUNTED RATE AT AMAZON & FLIPKART

PROS & CONS

PROS
  • Preethi turbo chop looks small & handy. So it occupies less space in kitchen counter.
  • Chops the vegetables very finely in less than a minute.
  • Chops the nuts & dry fruits too.
  • It works really great if you want to grind masala to a coarse paste.
  • Perfect for making salsa.
CONS
  • You should do it only in batches if you are chopping in large quantity.
  • For smooth paste, it takes more than a minute to grind. At that time, the motor body gets heated slightly.
  • It would have been better if the product has a wiper/whipping blade for whipping curd & milkshakes.
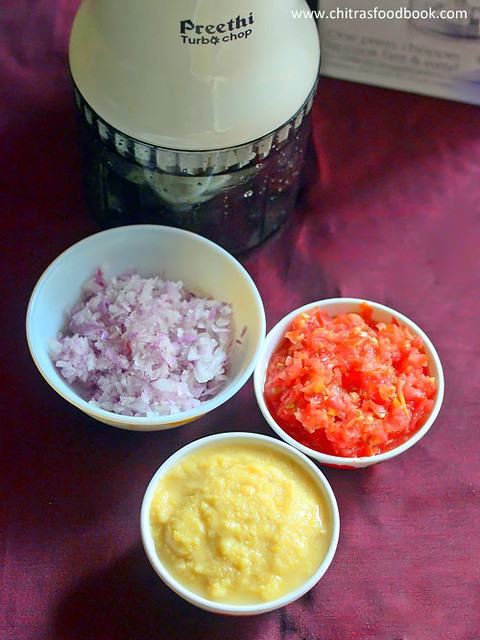
In the picture below, you can find finely chopped onion, tomato and boiled kabuli chana paste for making chana masala.

Preethi turbo chop

Green chutney for Chaat


Green chutney for Chaat How to make green chutney for chaat
Cuisine: Indian
Category: Chutney Recipes
Serves: Serves 4
Prep time: 5 Minutes
Cook time: 2 Minutes
Total time: 7 Minutes


INGREDIENTS
1 cup - 250ml
  • Coriander leaves - 1/2 cup
  • Mint leaves - 1/4 cup
  • Green chilli - 2 nos
  • Lemon juice - 1 tsp
  • Sugar - 1/4 tsp
  • Cumin powder - 1/4 tsp
  • Garlic cloves - 2 nos
  • Ginger - Very small piece ( Quarter inch)
  • Salt - as needed
METHOD
  1. Wash & Chop coriander leaves & mint leaves roughly.
  2. In the Preethi turbo chop, take all the ingredients given above.
  3. Grind to a smooth paste adding required water.
  4. You should wipe the sides and grind at regular intervals to make a smooth paste.
  5. Remove in a bowl. Dilute with little water while making chats.
  6. Store and refrigerate in a clean bottle. It stays good for a week in refrigerator.
METHOD - STEP BY STEP PICTURES
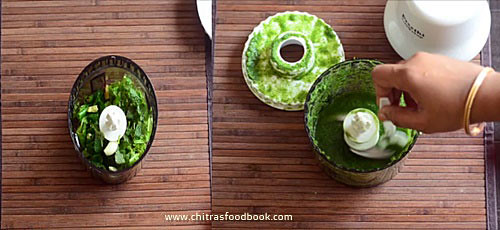
  • Wash and chop coriander leaves, mint leaves roughly. Take all the ingredients given in the list. Take the Preethi turbo chopper bowl and fit the blade. Add all the ingredients to it. (You can use mixie instead of turbo chop and grind to paste.)


  • Cover with the lid and grind it without adding water. Wipe the sides, add required water and grind till smooth. Wipe the sides again and grind if needed.

  • After the chutney becomes smooth, transfer to a bowl. Store in a box , refrigerate and use clean spoon every time.  You can dilute the chutney adding little water while adding in chaats.

  • Stays good for a week to 10 days in refrigerator.Enjoy !
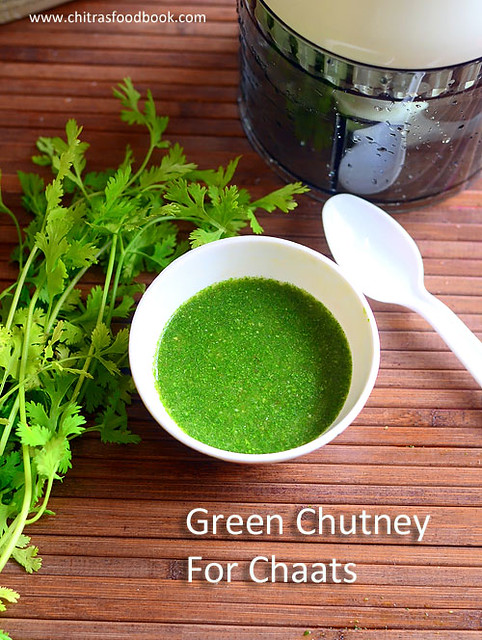
 Try this easy, yummy Chaat chutney at home and use it for making bhel puri, papdi chaat, pani puri etc.

Green chutney for chaat

Continue Reading...


January 1, 2018

12 Kesari Varieties – Different Types Of Rava Kesari Recipes - Indian Halwa Recipes

Kesari varieties
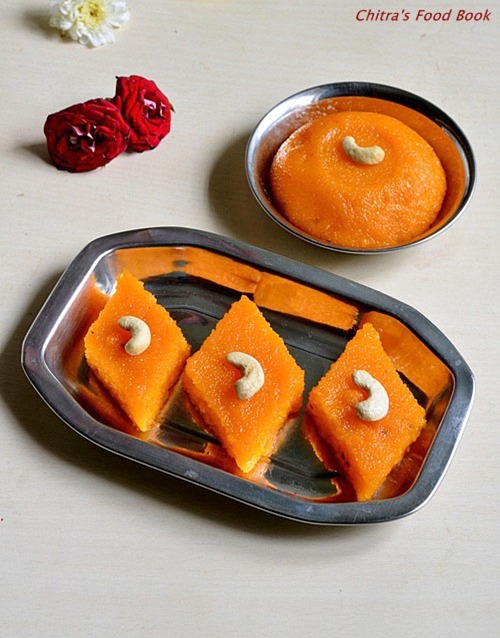
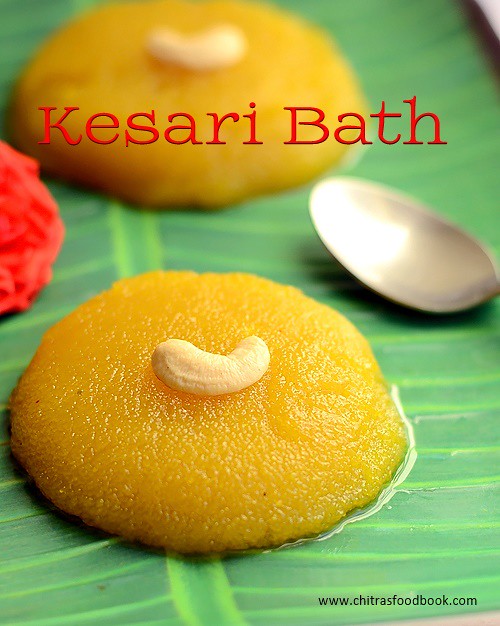
Collection of 12 Rava Kesari varieties / different types of rava kesari / Sheera Recipes. In this new year 2018, I wanted to start with a sweet post. So here I made a collection of different types of rava kesari recipes from my website. Kesari is basically an Indian sweet dish prepared with semolina, sugar and ghee. 

People in South India and North India call this yummy dessert recipe in different names like rava kesari, Kesaribath, Sheera, Halwa etc. We love to make Rava Kesari / Ksheera at home for all the festivals and occasions. Even today I made kesari bath for new year celebration. Kesari is basically a beginners sweet. Its so easy to make and takes less time to prepare. Even though its considered as a beginners sweet, many of us doesn’t get it right in texture. Sometimes it becomes hard, chewy, dry or with lumps. 

To prepare hotel style, soft and ghee dripping kesari must be the dream of many. Me too not an exception. When I was a beginner, I struggled a lot to make perfect kesari. So my MIL taught me some useful tips about the ratio of water and rava, perfect cooking of rava/semolina without lumps and much more. 

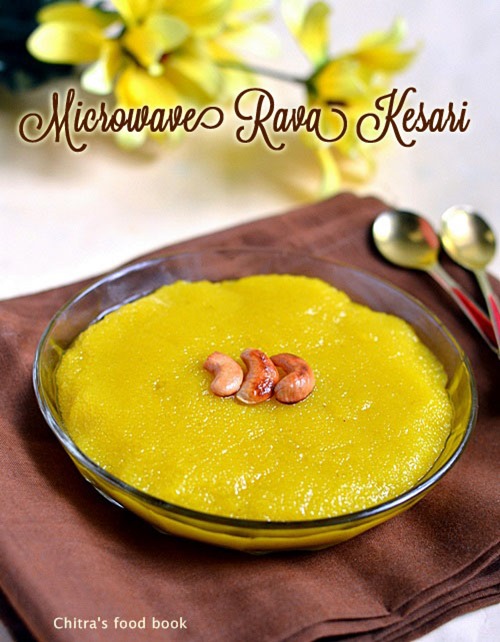
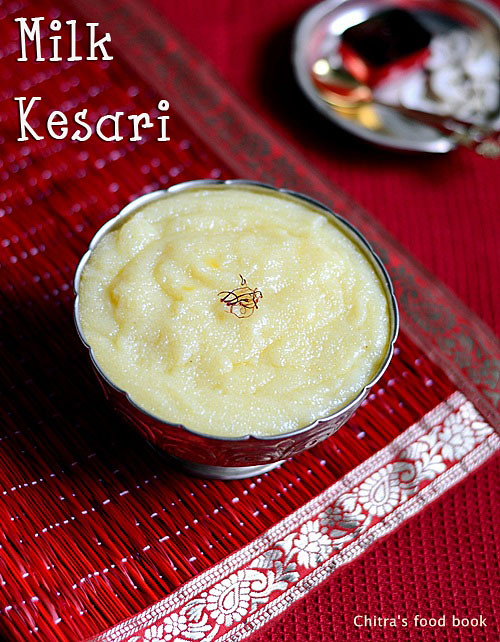
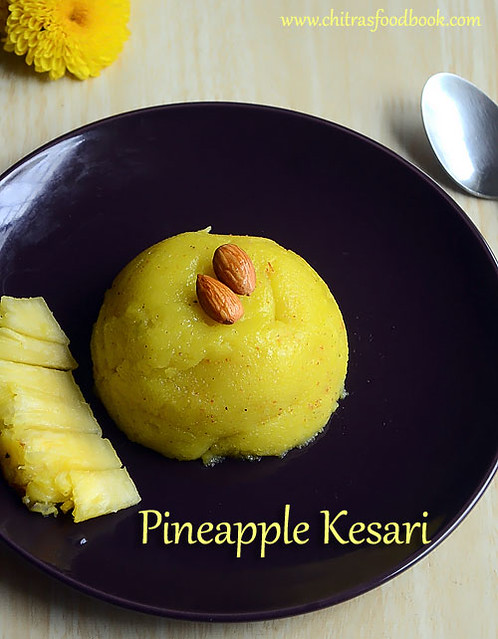
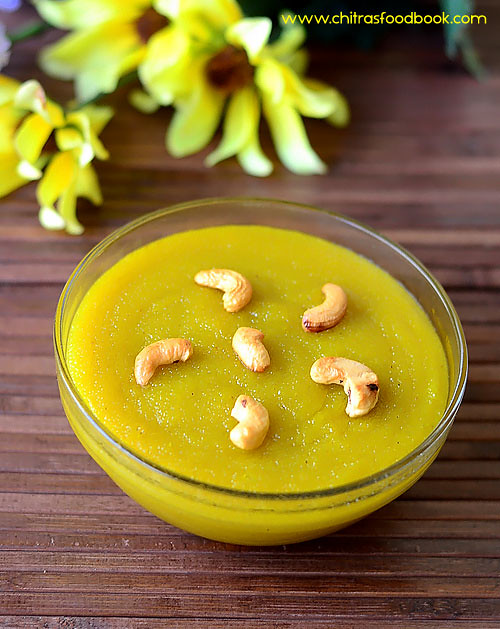
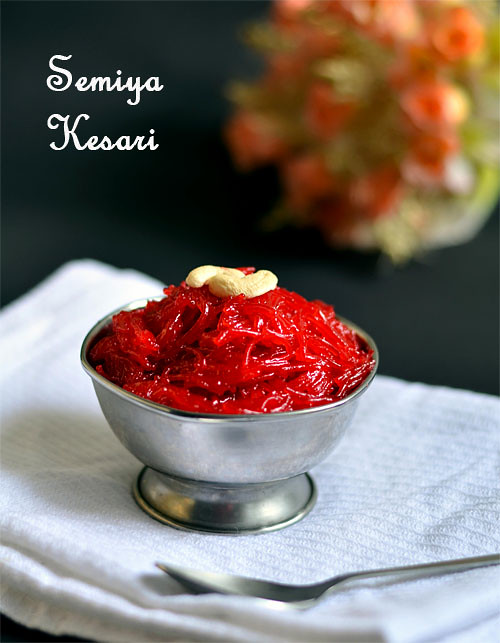
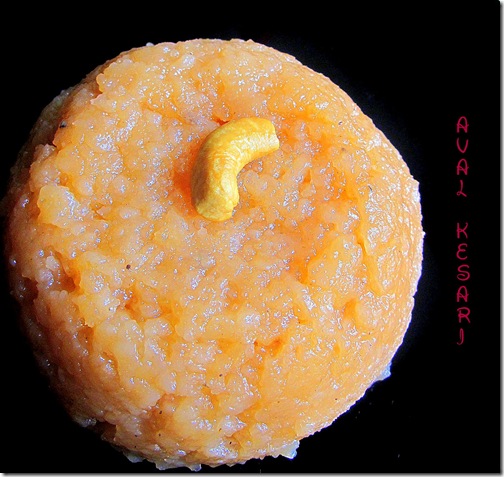
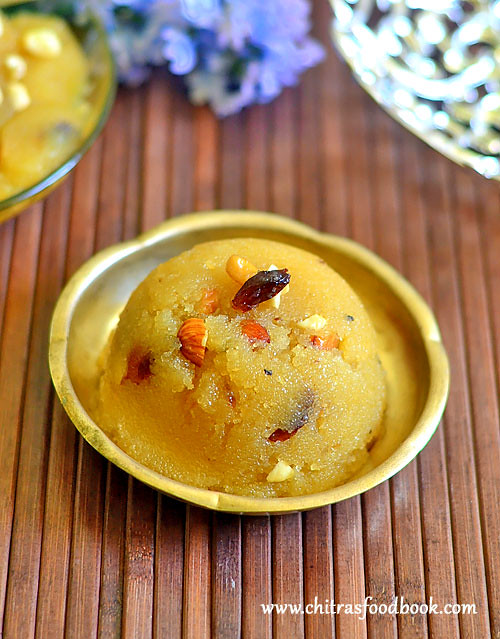
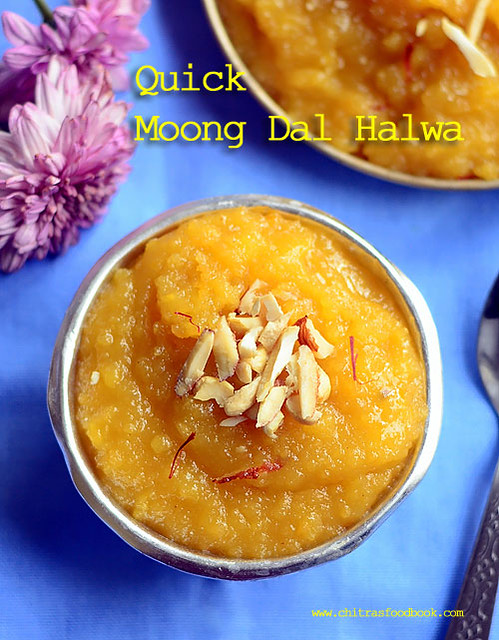
From then, I started to make good kesari every time and I got the confidence to explore different types of rava kesari recipes like milk kesari/ Paal kesari, pineapple kesari, mango kesari, Karnataka style kesaribath, microwave rava kesari, other kesari recipes like Vermicelli kesari, Aval kesari/Poha kesari and some North Indian Sheera recipes like suji ka halwa/ suji sheera, Atta ka sheera and Moong dal dal sheera. I am yet to try banana sheera and fruit kesari recipes. I will add them in this list once I do that. Now lets see the collection of 10 Kesari recipes from Chitra’s Food Book in this New Year 2018 as my first post .

I thank all my readers and followers of my website for your unconditional love and support. I am really blessed to have you all. Hoping to get more and more support, encouragement and love from you in this new year as well. Ok, lets move on to the post !

Kesari Varieties - South Indian, North Indian Sheera Recipes


Kesari varieties 12 Kesari Varieties – Different types of South Indian & North Indian Sheera Recipes
Cuisine: Indian
Category: Kesari Recipes
Serves: Serves 3-4
Prep time: 10 Minutes
Cook time: 15 Minutes
Total time: 25 Minutes
Rava kesari recipe
Karnataka Kesaribath recipe

Chiroti rava kesari bath

Microwave Rava Kesari
Paal Kesari
Pineapple sheera
Mango sheera recipe
Semiya kesari
Aval kesari
Sooji sheera
Moong dal halwa


    Continue Reading...