
I tasted this dill leaves in Iyengar bakery masala bun for the first time and started loving its flavor. Then I tried a palya/ poriyal/ dry curry with dill leaves but my family didn't like its flavor. It became a flop in my house. So I stopped buying it.
Recently when I was looking for sago idli / sabbaki idli (recipe coming up next week) in a YouTube channel, dill leaves were added to the idli. It gave a nice and unique look to the idli. So after a long time, I bought a small bunch of dill leaves again and tried this dill leaves dal and sago idli with it.
This dal recipe is of North Karnataka / Uttara Karnataka style sabsige soppu saaru with toor dal. Surprisingly both of them loved this sabbasige soppu dal recipe. They loved its flavor and had two servings. I am so happy that finally I found one good recipe to include this healthy greens in our diet. Before making the recipes, I explained its health benefits to my husband and daughter. Please find the health benefits below.

HEALTH BENEFITS OF DILL LEAVES / SABSIGE SOPPU :
Dill leaves are rich in anti oxidants. They are a good source of Vitamin C, Vitamin A, D, Iron, Magnesium etc. It helps to protect against heart diseases and cancer.
Dill leaves also promote healthy vision, augment skin, boost immune functions, treat digestive anomalies, remedy for sleep problems, fortify bone health, relieve respiratory infections, regulate hormonal balance, and enhance reproductive health.
Friends, do try this easy, yummy and healthy sabsige soppu dal/ dill leaves dal and enjoy with plain rice adding ghee. You will love it. For variations, you can use moong dal instead of toor dal.

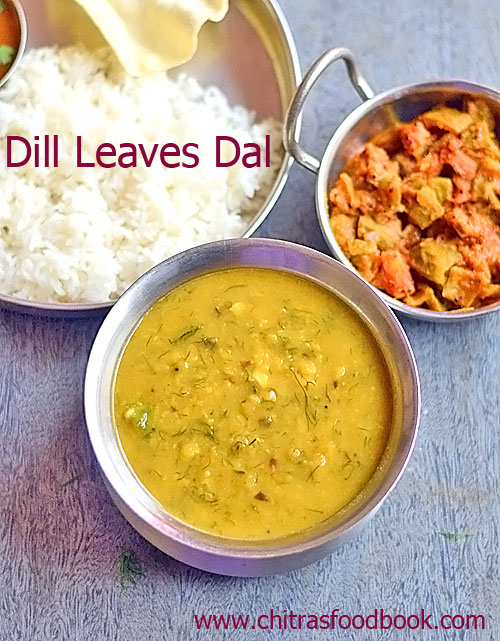
Dill leaves dal / Sabsige soppu dal recipe
Dill leaves dal / Sabsige soppu dal recipe for plain rice and roti.
INGREDIENTS
1 cup = 250ml
|
- Wash and chop dill leaves, onion, tomato and green chilli.
- Wash and pressure cook toor dal in enough water for 2 whistles.
- Mash well and set aside. Heat oil in a kadai. Splutter mustard seeds, crushed cumin+pepper.
- Saute onion, crushed garlic, curry leaves, dill leaves and green chilli. Saute for 5 minutes. Add tomato and saute till mushy.
- Now add the cooked dal, tamarind extract, dhania powder, sugar and salt.
- Add required water and boil for few minutes. Serve hot with plain rice adding ghee. Enjoy !
    |
Note
|
Try this easy, healthy, dill leaves dal for rice and roti. You will love it.