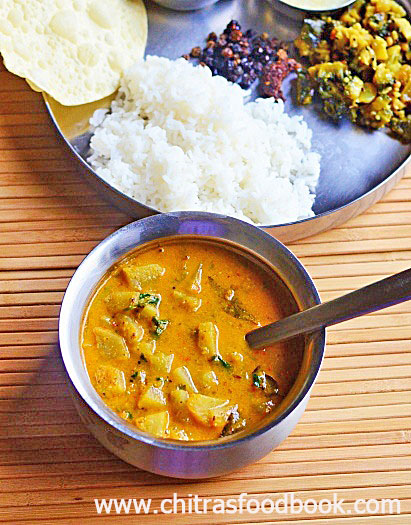
Usually I make Chow chow kootu and poriyal as side dish for rice Or I make sambar for rice adding chow chow. As Iam bored of making the same recipes with chow chow, I was looking for a change from these usual Chayote recipescho. I found this interesting chow chow kuzhambu and tried it for our lunch. It tastes more like kurma kuzhambu as it has spices like cinnamon and cloves. I loved its flavor. I mixed with plain rice adding a dash of ghee and enjoyed it.
Not only for rice, this chow chow kuzhambu tastes great for chapathi, idli, dosa as well. Just adjust the consistency of this kuzhambu, make it thick or thin and serve with the main dish accordingly.
Friends, do try this easy, yummy Chow chow kulambu easily in a pressure cooker as shown in this recipe. Even bachelors and office goers can try this gravy for your lunch box and dinner. I am sure you will love it with rice, idli dosa and chapathi.
Chow chow kuzhambu recipe
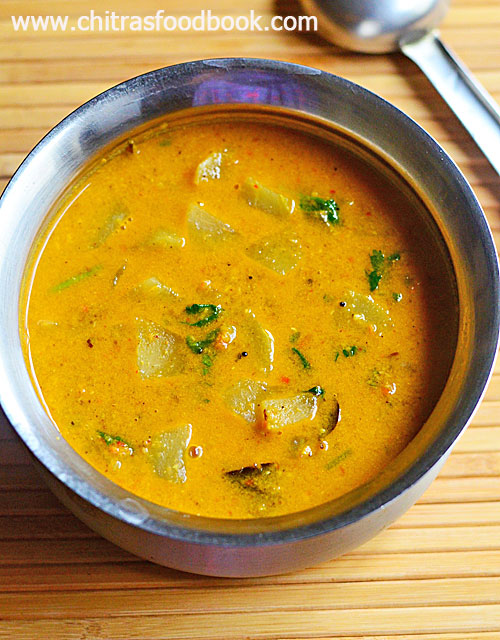
Chow chow kuzhambu recipe for rice, idli, dosa and chapathi
Cuisine: South Indian
Category: Side dish
Serves: 3
Prep time: 10 Minutes
Cook time: 20 Minutes
Total time: 30 Minutes
INGREDIENTS
|
HOW TO MAKE CHOW CHOW KUZHAMBU
- Wash and peel the skin of chow chow and chop into cubes.
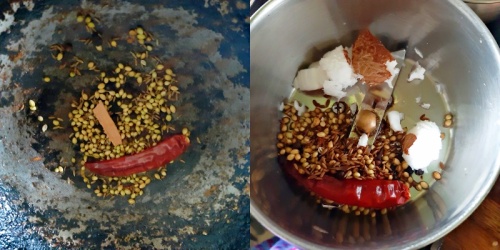
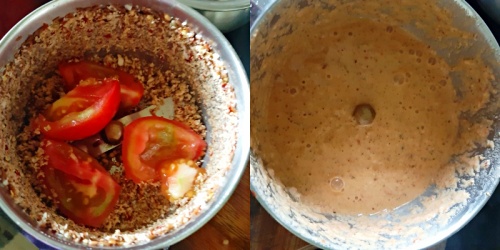
- In a kadai, dry roast the coriander seeds, red chilli, cumin seeds, pepper, cinnamon and cloves. Remove and grind to a coarse powder adding grated coconut.
- Lastly add one chopped tomato and grind to a smooth paste. Set aside.
- Heat oil in a cooker base. Splutter mustard seeds, urad dal, cumin seeds, curry leaves and hing.
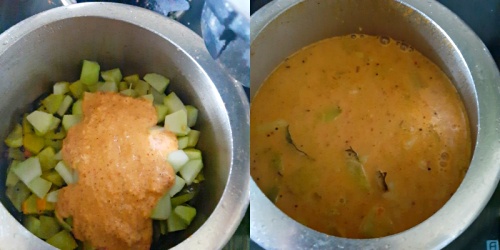
- Add onion and saute for few minutes. Add the chopped chow chow pieces, turmeric powder, salt and saute well.
- Add the ground tomato masala paste and saute for a minute. Add required water. Mix well, check for taste and pressure cook in low flame for one whistle.
- Remove after the pressure is released naturally. Oil floating chow chow kuzhambu will be ready.
- Check for consistency and boil more if watery.
- Lastly garnish with coriander leaves and serve hot with plain rice, idli, dosa and chapathi. Enjoy !
METHOD - STEP BY STEP PICTURES
Note
|


