Vishu festival is marked by family time, preparing colourful auspicious items and viewing these as the first thing on the Vishu day which is called as Vishukkani. The Malayalam word "kani" literally means "that which is seen first", so "Vishukkani" means "that which is seen first on Vishu". The traditional belief is that the new year will be better if one views auspicious and joyful things as the first thing on Vishu. Therefore, Malayali's spend the day before preparing a tray full of auspicious items like golden blossoms of the Indian laburnum / Konna flowers (Kani Konna), money, silver items, cloth (pattu), mirror, rice, coconut, betel leaves, arecanut, cucumber, fruits and other harvested products. All these are arranged in a tray and kept in front of idol of Vishu / Guruvayurappan/ Krishna. This setting is the first thing they see when they wake up on the Vishu day.
Mirror in Vishukani is a symbol of seeing yourself as a part of abundance you see in the form of kani. The tradition is that elders light the lamps after waking up, then wakes up juniors in the family. As soon as you wake up, you walk to the kani eyes closed, and sees Kani as the first scene of the year. Please watch THIS VIDEO for more details.
Days before Vishu, people start bursting fireworks at their houses and it concludes with lot of fireworks on day of Vishu. People wear new clothes Puthukodi or Vishukodi and they eat a feast called Vishu Sadhya.There is also a popular tradition of elders giving money to younger ones or dependents of the family. This is called Vishukkaineetam.

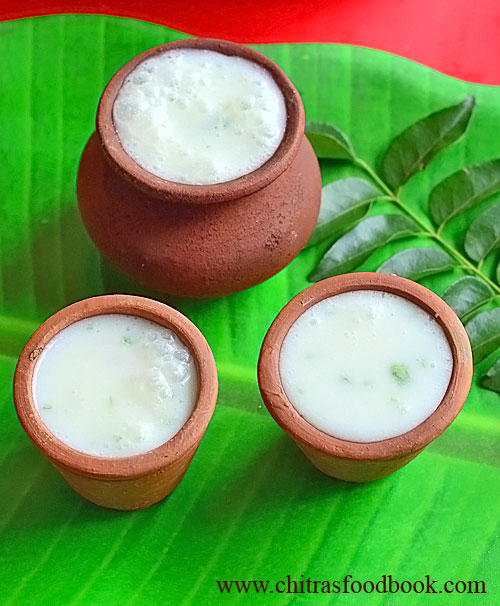
Sadhya (feast) is a major part of all Kerala festivals, special dishes called Vishu Kanji, Thoran and Vishu katta are also made on this day in some parts of the state. Vishu Kanji is made of rice, coconut milk and spices. Vishu katta is a delicacy prepared from freshly harvested rice powder and coconut milk served with jaggery. Thoran is a side dish that is prepared with different vegetables. Other important Vishu delicacies include Veppam poo rasam (a bitter preparation of neem) and Mambazha pulissery (a sour or ripe mango soup).
SOURCE : WIKIPEDIA and my Malayali friend Sowmya.
I will try to share Vishu Kanji and Vishu katta recipes in future. Today I have shared a simple Vishu sadya recipes menu which I prepared last year. I wanted to share it along with other Vishu sadya items list. I hope you will find the recipes, method of preparation and list of items useful to make sadya on your own. Ok, lets see the easy Vishu sadya recipes menu with 16 items spread in a banana leaf (plate).
Check out my Onam Sadya Recipes for more sadya recipes ideas.

Vishu sadya | How to make Vishu sadya

Vishu sadya | Vishu sadya recipes list | How to make Vishu sadya
INGREDIENTS
On the banana leaf
Other Vishu sadhya items
Click HERE for more details |
- Shop and collect all the required items for sadhya the previous day and keep it ready.
- Wash and chop all the required vegetables. Wash and soak the matta rice, Ada for pradhaman. Soak tamarind for sambar and puli inji separately.
- Grate or slice the coconut into pieces and grind it to take coconut milk for payasam. Set aside.
- Take the required coconut. Add green chilli, cumin seeds and grind it for avial, thoran and parippu curry.
- Take 2 to 3 cookers. Place toor dal adding water, turmeric powder, a drop of oil for making sambar. Keep a small container inside the cooker and place the chopped vegetables for sambar.
- Place a plate over the bowl and arrange the chopped vegetables for avial. Add salt and little water. Cover the cooker and pressure cook for 2 whistles in low flame.
- In another cooker, take the chopped veggies for mixed veg thoran. Keep a small container and place the grated cabbage for thoran. Place a small plate and keep the grated beetroot for pachadi. Cook everything in low flame for one whistle.
- In the 3rd cooker, take the matta rice and pressure cook till done.
- Once the veggies are cooked well, take them out and add the coconut paste for avial, thorans, beetroot pachadi and boil them.
- Make sambar and puli inji. Lastly make payasams.
- Serve all the items in banana leaf following this order. Enjoy !


Try this yummy Vishu Sadhya at home and enjoy with your family and friends !