Search Chitra's Food Book

Showing posts with label FOOD FOR TRAVEL. Show all posts

August 3, 2020

Kovil Puliyodharai Recipe –Temple Style Tamarind Rice

Kovil puliyodharai recipe
Making a perfect Kovil puliyodharai / Temple style tamarind rice must be the dream for many. Me too not an exception. Whenever we visit temples, I never forget to buy a pack of tamarind rice from temple’s prasadam stall. Sometimes my FIL buys an extra packet of puli sadam just for me. I love the flavor of puli sadham packed in banana leaf or served in donnai (hand pressed plantain leaf bowls). I have always wanted to recreate that taste in my kitchen and tried so many recipes titled temple style puliodharai but never satisfied with the result.

 
Recently I tried this kovil puliyodharai recipe from Royal Dakshin YouTube channel and was so happy with the outcome. I altered the quantity of ingredients as per my requirement and tried it. It tasted so close to the puli sadam served in Tamil nadu temples. I have tasted this kind of puliodharai in perumal koil madapalli and some other temples near Trichy, Kumbakonam. But one thing I observed is, this recipe needs some standing time for all the taste and flavor to blend well. Also if you store this tamarind rice in a bowl lined with banana leaf, it tastes exactly like kovil puliyodharai. 

Friends, do try this Tamilnadu temple style tamarind rice during this festival month and share your feedback with me. Lets see the making with step by step pictures and video !

Temple style puliyodharai

Temple style puliodharai / Kovil puliyodharai recipe


Temple style puliodharai / Kovil puliyodharai recipe
Tamil nadu temple style puliyodharai recipe with stepwise pictures.


Cuisine: South Indian
Category: Main course
Serves: 4
Prep time: 10 Minutes
Cook time: 20 Minutes
Total time: 30 Minutes


INGREDIENTS

For Pulikachal Paste
  • Gingely oil - 3 tbsp
  • Mustard seeds - 1 tsp
  • Urad dal - 1 tsp
  • Chana dal - 1 tbsp
  • Roasted peanuts - 2 tbsp
  • Curry leaves - few
  • Red chilli - 2 ( pinched into 2)
  • Hing/ asafetida - 1/4 tsp
  • Red chilli powder - 1/2 tsp
  • Jaggery - 1 tsp
  • Tamarind - Lemon size
  • Salt & water - as needed
For spice powder (Dry roast)
  • Coriander seeds - 1.5 tsp
  • Chana dal - 1.5 tsp
  • Urad dal - 3/4 tsp
  • Fenugreek seeds - 1/2 tsp
  • Red chilli - 4
  • Pepper corns - 1/2 tsp
  • Cumin seeds - 1/4 tsp
  • Black or white sesame seeds - 2 tsp ( I used black ones)
  • Asafetida / Hing - 1/4 tsp
  • Curry leaves - 5
For tamarind rice
  • Raw rice or steamed rice - 1 cup
  • Water - 2 cups for raw rice / 3 cups for steamed rice
  • Gingely oil - 1 tbsp + few drops for cooking rice
  • Curry leaves - Few ( to decorate)
  • Banana leaf - to store and serve the rice

HOW TO MAKE KOVIL PULIYODHARAI

  1. Heat a kadai and dry roast all the ingredients given under “For spice powder”.
  2. Cool down and grind to a fine powder. Set aside.
  3. Heat oil the kadai and splutter mustard seeds, urad dal, chana dal, red chilli, roasted peanuts, curry leaves and hing.
  4. Add 1.5 cups of tamarind extract, required salt, turmeric powder, chilli powder, jaggery.
  5. Let it roll boil till oil floats on top and becomes semi thick paste.
  6. Lastly add 2 tsp of ground puliyodharai spice powder and boil for a minute.
  7. It thickens more and leaves oil on sides. Switch off the flame. Cool down and store in a box. 
  8. Pulikachal paste is ready. You can refrigerate and use up to 2 weeks. Store the remaining spice powder in an air tight box.
  9. To make Kovil puliyodharai, wash and pressure cook one cup of raw rice adding 2 cups of water and few drops of gingely oil.
  10. Spread the rice in a plate, cool down. Add the required tamarind rice paste and the spice powder. Mix well.Check for taste, add more if needed.
  11. Add little gingely oil, mix gently. Garnish with chopped curry leaves and cover the bowl with a banana leaf.
  12. Give a standing time of one or two hours. Serve and enjoy !

METHOD - STEP BY STEP PICTURES

  • Heat a kadai and dry roast all the ingredients given under “For spice powder”. Cool down and grind to a fine powder. Set aside. Soak lemon size tamarind in 1 cup warm water for 20 minutes. Take 1.5 cups extract. Keep it aside.
    Kovil puliyodharai recipeKovil puliyodharai recipe
  • Heat oil in the same kadai. Splutter mustard seeds, urad dal, chana dal, red chilli, curry leaves, hing. Add 1.5 cups of tamarind extract, turmeric powder, red chilli powder, required salt and jaggery.
    Kovil puliyodharai recipe
  • Boil till the raw smell leaves and starts to leave the oil. When the paste becomes semi thick, add the ground spice powder. Mix till thick and leaves oil. Pulikachal / tamarind rice paste is ready.
    Kovil puliyodharai recipe
  • Switch off the flame. Cool down the paste completely and store in a clean box. Use a clean spoon to handle. Stays good for 2 weeks under refrigeration. Also store the remaining spice powder in a box.

  • To make temple style tamarind rice : Wash and pressure cook 1 cup of raw rice. Add 2 cups of water, few drops of oil and pressure cook in low flame for one whistle. Open the cooker after the steam is released. Spread the rice in a plate. Add 2 tsp of gingely oil. Cool down.

  • Add the required paste, 1 to 2 tsp of spice powder and mix gently to coat evenly. Add more gingely oil if required. Garnish with fresh curry leaves. Keep the rice in a bowl lined with banana leaf. Cover it with another banana leaf and give a standing time for an hour or two to enjoy the original temple style puliyodharai.
    Kovil puliyodharai recipe
    Enjoy !

Note

  • Adjust the quantity of red chillies used for grinding for more spicy taste.
  • Boil the tamarind paste till it leaves oil for best taste.
  • Mixing spice powder along with tamarind paste in the rice is the highlight of this puli sadam.
  • Do not hesitate to use more gingely oil. It gives nice flavor and also helps to pacify the body heat generated due to tamarind.
Kovil puliyodharai recipe
Try this easy, yummy, Kovil puliyodharai recipe and share your feedback with me.
Temple style tamarind rice recipe


Continue Reading...


January 25, 2019

Bitter Gourd Thokku / Pavakkai Thokku Recipe

Pavakkai thokku
Bitter gourd is one of my favorite vegetables. So I love to try varieties of bitter gourd recipes in my kitchen. Recently I tried this yummy bitter gourd thokku recipe for rice (pavakkai in Tamil, Karela in Hindi) from Sangeetha’s blog. Its basically an onion, tomato, bitter gourd curry very similar to our Tamil nadu style tomato thokku. As usual I tried this bitter gourd thokku in an easy way by using my pressure cooker. It came out so well with a combination of tangy, sweet and mild bitter taste. It was so easy and quick to make in a pressure cooker. It tastes great when mixed with plain rice drizzled with few drops of sesame oil. It goes well with curd rice and chapathi as well. The bitterness is not much visible in this recipe as we are adding tomato, tamarind and jaggery. Also slicing the bitter gourd thinly helps to reduce the bitterness. If you are a bitter gourd lover, you must try this recipe. You will love it for sure. This pavakkai thokku stays good for 10 days or more when refrigerated. If kept outside, it stays good for 2 days. So you can pack it for travel too. But use a clean spoon to handle it. Ok, lets see how to make this easy, yummy bitter gourd thokku recipe with step by step pictures.

Check out my bitter gourd poriyalpavakkai pitlaipavakkai puli kulambu, Andhra style Kakarakaya pulusu, Bitter gourd biryani, Bitter gourd chips and bitter gourd masala curry.

bitter gourd thokku

Bitter gourd thokku recipe / Pavakkai thokku


Bitter gourd thokku recipe / Pavakkai thokku

How to make bitter gourd thokku / pavakkai thokku easily in a pressure cooker.


Cuisine: South Indian
Category: Side dish for rice
Serves: Serves 4
Prep time: 10 Minutes
Cook time: 20 Minutes
Total time: 30 Minutes


INGREDIENTS
1 cup - 250ml
  • Bitter gourd - 1 no (big sized, thinly sliced)
  • Big onion - 2 nos. (finely chopped)
  • Ripe tomato - 2 nos.(finely chopped)
  • Garlic cloves - 5 (finely chopped)
  • Tamarind extract - Big gooseberry size
  • Powdered Jaggery - 1 tbsp (adjust)
  • Red chilli powder - 1.5 tsp to 2 tsp
  • Coriander powder - 1 tsp
  • Turmeric powder - 1/2 tsp
  • Salt & water - as needed
To Temper
  • Cooking oil or Gingely oil - 4 tbsp
  • Mustard seeds - 1/2 tsp
  • Urad dal - 1 tsp
  • Cumin seeds / Jeera - 1/4 tsp
  • Curry leaves - Few
  • Hing / Asafetida - 1/4 tsp
HOW TO MAKE BITTER GOURD THOKKU
  1. Wash and chop bitter gourd into small thin slices. It helps to reduce bitterness.
  2. Chop onion, garlic, tomato finely. Heat oil in a pressure cooker base.
  3. Splutter mustard , urad dal, cumin seeds, curry leaves and hing.
  4. Add finely chopped onion and garlic. Once transparent, add sliced bitter gourd.
  5. Add turmeric powder and salt. Mix well and saute for 5 minutes till its quantity reduces slightly.
  6. Now add tomato and saute till it becomes mushy. Add chilli powder and coriander powder.
  7. Mix till raw smell goes off. Lastly add 1/4 cup of tamarind extract, powdered jaggery. Mix well.
  8. Pressure cook in low flame for one whistle. Remove the lid after the steam is released.
  9. Mix and boil if thokku is watery. Once its thick, you can remove and cool down.
  10. Yummy Pavakkai thokku is ready ! Store in a clean box and refrigerate it. Enjoy with plain rice, curd rice and chapathi
BITTER GOURD THOKKU - STEP BY STEP PICTURES


  • Wash and chop bitter gourd into small, thin slices. Slicing thinly helps to remove bitterness. You can mix the chopped bitter gourd pieces  and salt. Keep it aside for 15 to 30 minutes. Squeeze and drain the water. It also helps to reduce the bitterness. But its nutritional value is lost. So I don’t do this way. I just chop the BG thinly. Similarly chop onion, garlic and tomato into very small pieces.


  • Heat oil in a pressure cooker base. Splutter mustard seeds, urad dal, cumin seeds, hing and curry leaves.Pavakkai thokku


  • Add onion, garlic and saute till transparent. Now add thinly sliced bitter gourd, turmeric powder and salt. Saute for 5 minutes in medium flame till bitter gourd shrinks in quantity slightly.Pavakkai thokku


  • Add tomato pieces. Saute till it turns mushy. Then add chilli powder and dhania powder. Mix well till its raw smell goes off.

  • Lastly add 1/4 cup of tamarind extract, jaggery and mix well. You can add very little water if the thokku is too thick. Close the pressure cooker lid. Keep the flame high till steam comes out. Put the weight valve and simmer the flame completely. Cook in low flame for one whistle.Pavakkai thokku


  • Open the cooker lid after the steam is released. If you find there is excess water in the thokku, boil for sometime till its thick. Switch off the flame and remove in a clean bowl. Let it cool down. Store in a refrigerator. It stays good for 10 days. You can enjoy with plain rice, curd rice, chapathi, idli dosa too. Enjoy ! Pavakkai thokku
  • Note

    • Adjust the quantity of chili powder as per your taste.
    • Do not skip jaggery. It gives a mild sweet taste to this thokku.
    • Make sure there is no excess water in the thokku. It will reduce its shelf life.

    Try this easy, yummy bitter gourd thokku and enjoy !
    bitter gourd thokku recipe


    Continue Reading...


    September 28, 2017

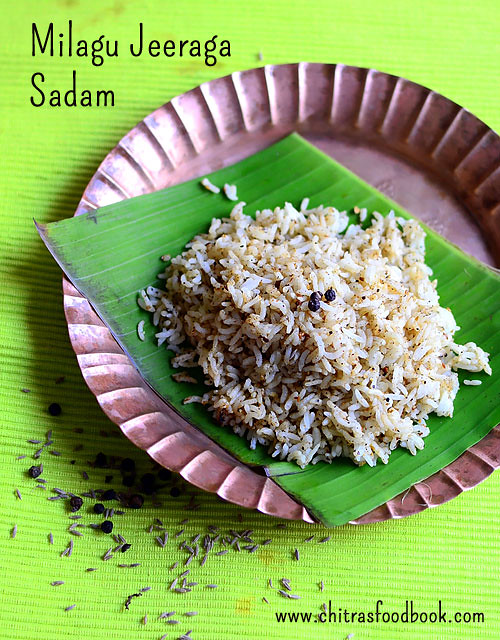
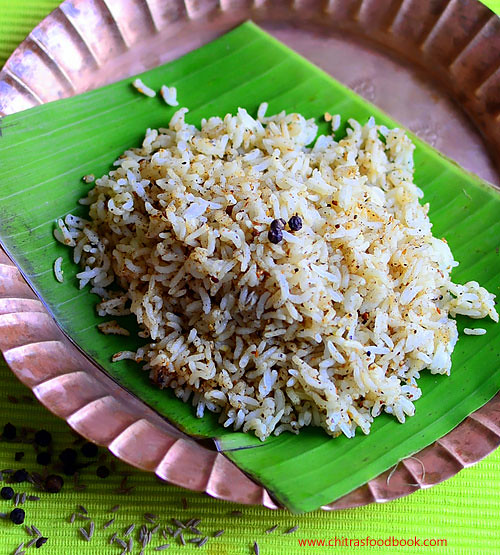
    Milagu Jeeraga Sadam – Pepper Cumin Rice Recipe

    Pepper cumin rice
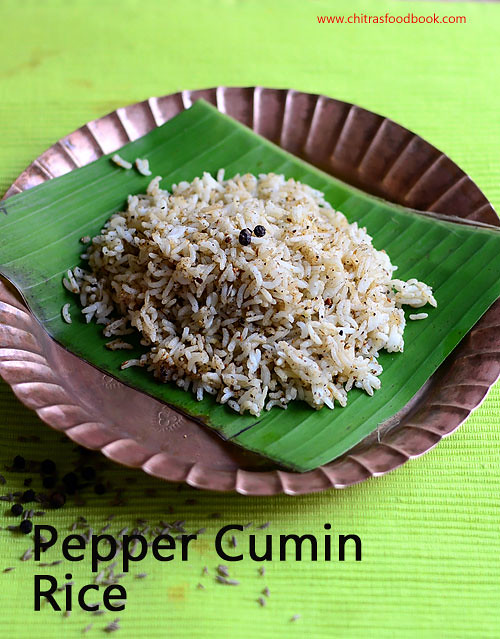
    Pepper cumin rice / Milagu jeeraga sadam in Tamil is one of the yummy, South Indian rice recipes we make as prasadam for Navratri, Saraswathi pooja, Purattasi sani thaligai, aadi 18 etc. Yesterday I made this rice for navaratri afternoon neivedyam learning from my MIL. My MIL make this rice at least once in a week as pepper is a healthy Indian spice that helps to purify blood, improves appetite and digestion. Sendhil loves this rice variety a lot. So we make this pepper rice for his lunch box and  one day travel as well.

    Sometimes we used to combine Saraswathi pooja, Purattasi sani thaligai festivals and make 5 rice varieties, chana sundal and thullu maavu(rice flour mixed with jaggery) for Saraswathi pooja neivedyam. We make this milagu jeeraga sadam as one of the 5 rice varieties. As its so easy to make, I thought it would be useful for you all. I have already shared a video on how to make 5 rice varieties. You can replace sesame seeds rice/ ellu sadam with milagu jeeraga sadam and offer to God for tomorrow Saraswathi pooja festival. Lets see how to make this easy milagu sadam /pepper rice with step by step pictures !
    Milagu jeeraga sadam

    Milagu Jeeraga Sadam - Pepper Cumin Rice

    Pepper cumin rice recipe

    How to Pepper cumin rice

    South Indian
    Main course
    2

    Ingredients (1 cup - 250ml)

    • Cooked rice - 1 cup
    • Ghee - 1 tsp (to roast)
    • Pepper corns - 1 tbsp
    • Cumin seeds/Jeera - 1/2 tbsp
    • Salt - as needed
    • Ghee - to mix with rice

    How to make the recipe

    1. Heat ghee in a kadai.Roast pepper & cumin seeds till it starts to crackle.
    2. Remove and grind to powder adding salt.
    3. Mix this powder with cooked rice.
    4. Enjoy !

    Pepper cumin rice - Step by step photos

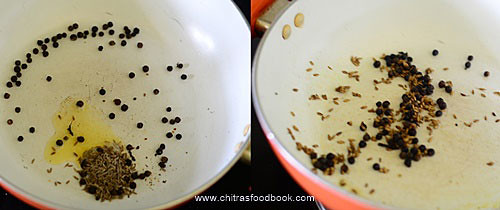
    • Heat ghee in a kadai and roast pepper & cumin seeds in medium flame till cumin seeds starts to splutter.
      Pepper cumin rice/ Milagu jeeraga sadam
    • Remove in a plate and let it cool down. Grind to a slightly coarse powder adding salt.
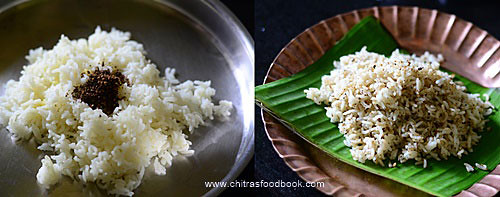
    • Take the required cooked rice. Add 2 tsp of ghee, ground powder, mix well and check for taste.
      Pepper cumin rice/ Milagu jeeraga sadam
    • Add more salt & powder if required. Serve !
      Pepper cumin rice/ Milagu jeeraga sadam
    • If you wish, you can temper mustard seeds, curry leaves in ghee and add to rice.

    Notes

    • Pepper alone gives spiciness to the rice. So you can add more pepper if you want spicy taste.
    • Do not add more cumin seeds. Its flavor will dominate.
    • Adding ghee helps to enhance the flavor and taste. If you don't want to add ghee, you can add sesame oil.

    Try this easy and flavorful pepper cumin rice and enjoy !
    Milagu sadam
    Continue Reading...


    May 15, 2016

    Travel Food Recipes Ideas | South Indian Travel Lunch Menu

    travel food recipes ideas
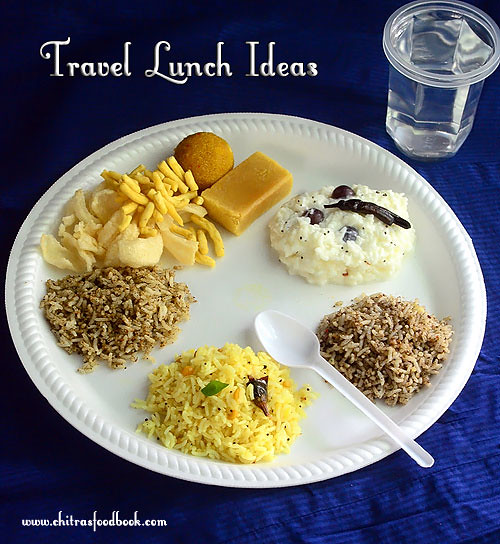
    Last week we had a trip to Valparai near Pollachi, Tamil nadu for summer vacation in our car. We packed few rice varieties for lunch and had it during our road trip in Attakatti. Usually we make Tamarind rice/Puli sadam and Curd rice for travel. But this time, Sendhil told us to prepare some other rice varieties for a change. So my MIL made this yummy, easy, comforting and a healthy South Indian meal for our travel. 

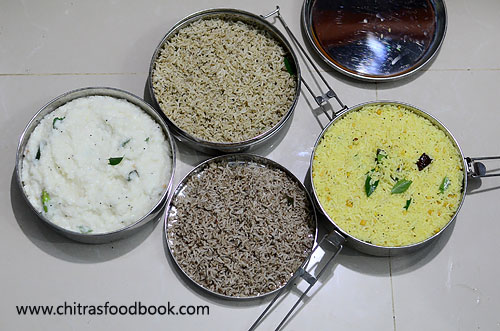
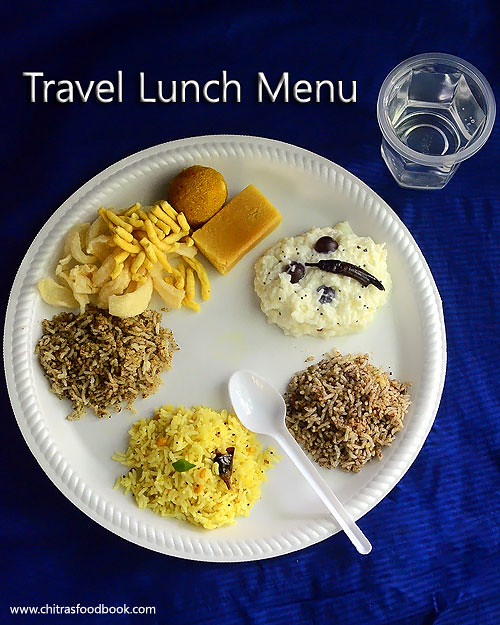
    I thought of sharing this easy travel food recipes idea with you all. It would be helpful for you to plan and prepare food for your short trip/Picnic during this Summer holidays. My MIL made Milagu jeeraga sadam/ Pepper cumin rice, Ellu sadam/ Sesame seeds rice, Lemon rice and Curd rice along with vadam/Vathal. We also carried some store bought sweets and snacks to munch during our travel. Lets see how we prepared this simple and yummy travel lunch menu.
    Travel lunch recipes

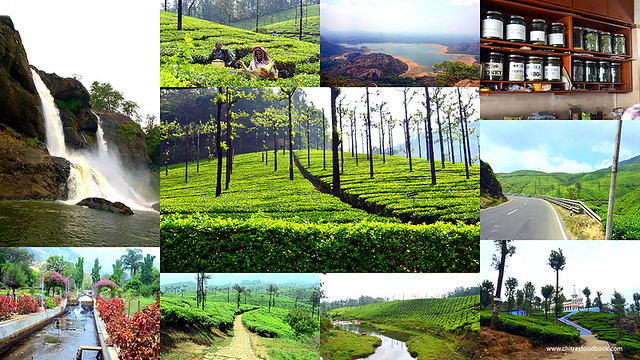
    Here is a collage of Valparai-Athirapally Pictures. Check THIS LINK for more pictures.

    Valparai trip
    Travel Food Recipes Ideas


    Travel Food Recipes Ideas South Indian lunch menu for travel
    Cuisine: Indian
    Category: Travel recipes
    Serves: 4
    Prep time: 20 Minutes
    Cook time: 30 Minutes
    Total time: 50 Minutes


    INGREDIENTS
    1 cup = 250ml
    For rice varieties
    • Steamed rice - 2 cups
    • Water - 6 cups
    • Gingely oil - 2 tsp
    • Salt - as needed
    For lemon rice
    • Lemon - 5 nos
    • Green chilli - 6-8 nos
    • Red chilli - 2 nos
    • Curry leaves - few
    • Mustard seeds - 1 tsp
    • Urad dal - 1 tbsp
    • Chana dal - 2 tbsp
    • Roasted peanuts - a handful ( optional)
    • Hing/Asafetida - 1/2 tsp
    • Turmeric powder - 1 tsp
    • Cooking oil - 2 tbsp
    • Gingely oil - as needed while mixing the rice
    • Salt - as needed
    For Pepper cumin rice/Milagu jeeraga sadam
    • Ghee - 2 tbsp
    • Pepper corns – 1.5 tbsp
    • Cumin seeds - 2 tbsp
    • Salt - as needed
    • Curry leaves - few
    For Ellu sadam
    • Black sesame seeds - 2 tbsp
    • Red chilli - 2 nos
    • Garlic cloves - 3 nos
    • Salt - as needed
    • Curry leaves - few
    For curd rice
    • Steamed rice or raw rice - 1 cup
    • Water - 5 cups
    • Salt - as needed
    • Cooking oil - 1 tbsp
    • Mustard seeds - 1 tsp
    • Urad dal - 1 tbsp
    • Chana dal - 2 tbsp
    • Green chilli - 2 nos ( finely chopped or slitted)
    • Ginger - 2 inch piece ( finely chopped or grated)
    • Curry leaves - few
    • Fruits like grapes, pomegranate - to mix in the rice
    • Coriander leaves - a fistful
    Koozh vadam/Vathal - as needed ( to deep fry)
    Mor milagai & Pickle - side dish for curd rice
    Lemon rice recipe
    Milagu Jeeraga Aval ( replace aval with rice)
    Curd rice/Thayir sadam
    Tamarind rice/Puli sadam
    METHOD

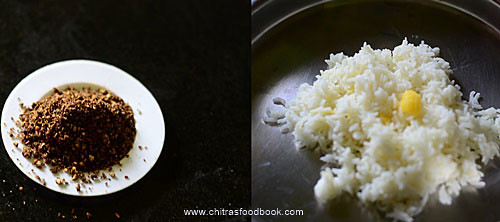
    • On the previous day night of travel, prepare the lemon rice paste.Make sesame seeds powder by dry roasting the sesame seeds, red chilli and then powder it adding salt.Make pepper cumin seeds powder. Refrigerate the lemon rice paste alone. Keep the powders in an air tight box and store it.
    • The next day morning as soon as u get up, wash and soak the rice in required water for 20 minutes. Use two cookers. One for curd rice and other one for rice varieties. Soak the rice separately in 2 cookers. Rice will be well soaked by the time u take bath.
    • Pressure cook the rice for one whistle in low flame and switch off the flame. Remove the lid after the steam is released.
    • NEVER USE YOUR HANDS FOR MIXING THE RICE. USE LADLE FOR HANDLING THE RICE.

    • Spread the rice in a plate and add some gingely oil. Take the rice in curd rice cooker and mash it well adding salt and milk. Do not curd when the rice is hot. Add curd after the rice becomes lukewarm. Add the seasoning ingredients for curd rice. Mix well. Add curd and mix well.Check for taste. Do not make the curd rice too thick or too watery. Make it like a creamy consistency so that it won’t become too hard in the afternoon.Check for taste and add more salt if needed. By the time, u mix the curd rice, the rice spread in the plate would have become warm.
    • Divide the rice into 2 portions. Take one portion of the rice and make lemon rice adding the lemon rice paste.Add gingely oil generously. Check for taste and add more salt & paste if needed. Take the other portion of rice and divide into 2. Use one portion for making ellu sadam and the other one for milagu jeeraga sadam. Add gingely oil for ellu sadam and ghee for milagu jeeraga sadam generously.Do not forget. NEVER USE YOUR HANDS FOR MIXING THE RICE. USE LADLE.
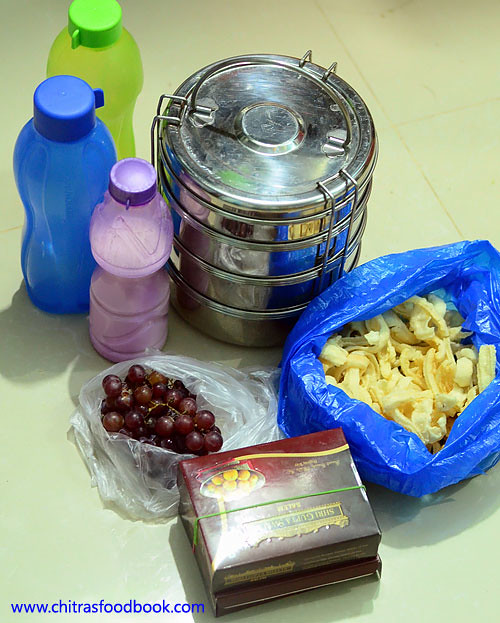
    Prepare all the rice varieties and stack in the boxes. Make Neer mor/Spiced buttermilk (Thalicha more) and store in a bottle. Deep fry Koozh Vadam/Vathal  or papad and mormilagai.Store the vadam in a polythene bag or ziplock covers after it cools down. Pack some pickle in a small container. Arrange everything for travel in a bag. Take the sweets, snacks and fruits if any for travel.
    South Indian rice varieties

    Enjoy !


    Note
    I have shared some general point to remember while preparing food for travel.
    • Never put your hands to mix the rice varieties, use a spoon or ladle instead. If you mix the rice with your hands, it won’t stay good for more than 2 hours in summer.
    • Add gingely oil generously while mixing the rice. It helps to prevent the rice from drying.
    • Make sure you don’t use raw coconut in the dishes. If you use coconut, roast it well or saute the coconut based dish in oil till all the moisture content is completely gone.
    • If you are making curd rice, add less curd and more milk while mixing. It helps the curd rice to set well while eating.Never add curd in hot rice. Carry a bottle of spiced buttermilk or diluted curd to add in the rice while eating. Suppose if the curd rice becomes too thick, you can add buttermilk and bring it to proper consistency.In the buttermilk bottle, put some slitted green chillies, ginger and few curry leaves with mustard seeds seasoning ( make thaalicha neer mor). It helps to keep the buttermilk fresh and tastes less tangy.
    • We packed the rice in our steel travelling set. If you don’t have a travelling set, you can pack them in use & throw silver foil packs or plastic boxes. It is better to use banana leaf for packing the food. It gives a nice flavor and a healthy choice as well.

    Is it not a happy and comforting meal for your travel ?? Happy Prepare & Enjoy it !!
    Travel lunch idea - Indian
     
    Continue Reading...


    May 10, 2014

    20 Idli Varieties - Different Types Of Idli Recipes

    Idli varieties

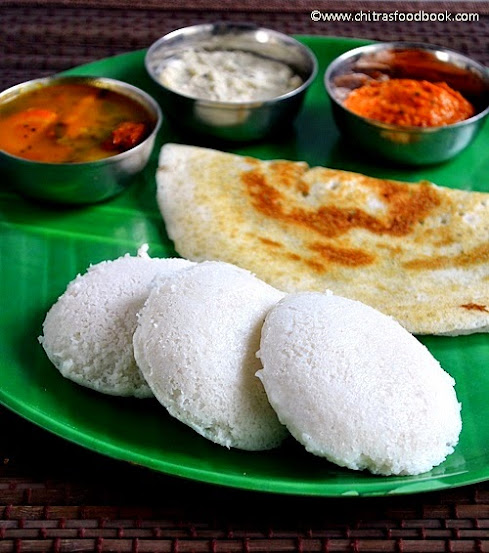
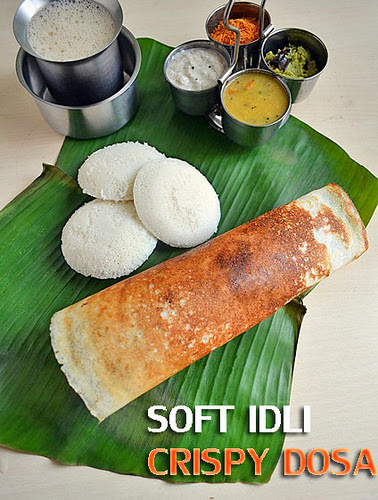
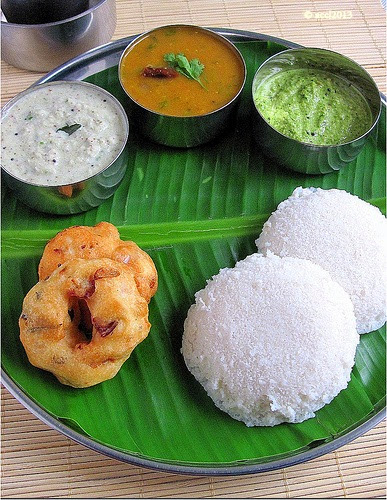
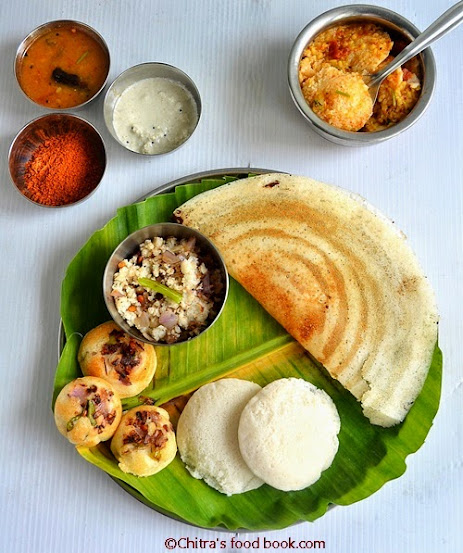
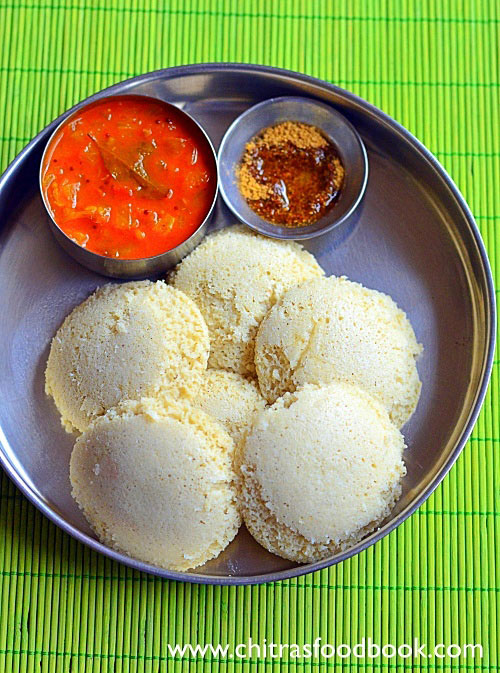
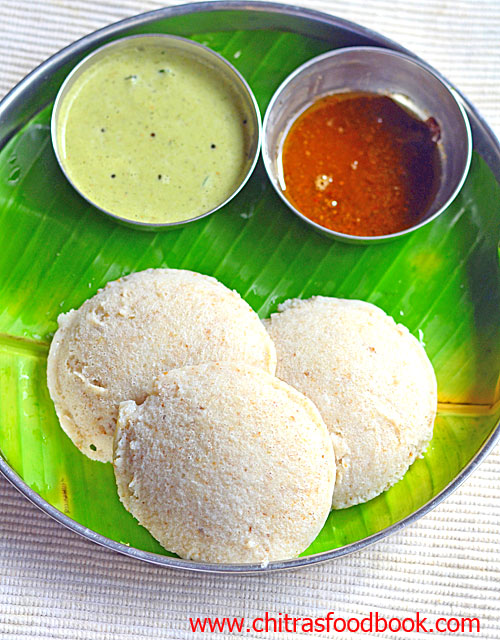
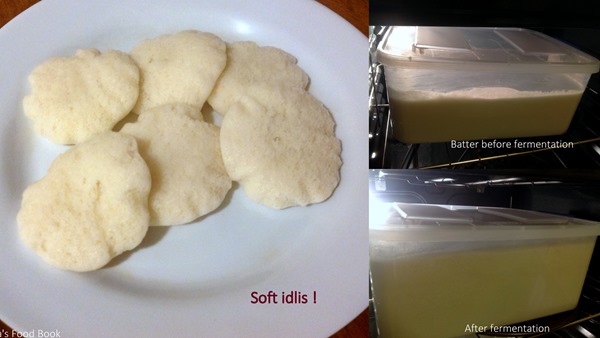
    Here is a collection of 20+ Idli varieties / different types of idli recipes from my website. I am a big big fan of idli recipes. Before and after marriage, my taste towards food has changed drastically but idli is the only dish that makes my breakfast / dinner time happy. Idli is nothing but steamed rice cake made from fermented batter ground using idli rice and urad dal in the ratio of 5:1. It is easily digestible, ideal for travel, steam cooked, oil free, very light and moreover very tasty when had with chutney & sambar as side dish. I bet no south Indian breakfast recipe (especially in Tamil nadu) can beat this simple idli recipe, agreed?. So I keep searching & trying varieties of idli recipes.

    Be it oats or any millets, I can have it in idli form more than porridge or upma. In this collection, you can find 4 types of idli, dosa batter recipes which gives you soft idli & crispy dosa. Among these 4, 2 recipes are idli, dosa batter using grinder, one using mixie & one is with idli rava in mixie. 

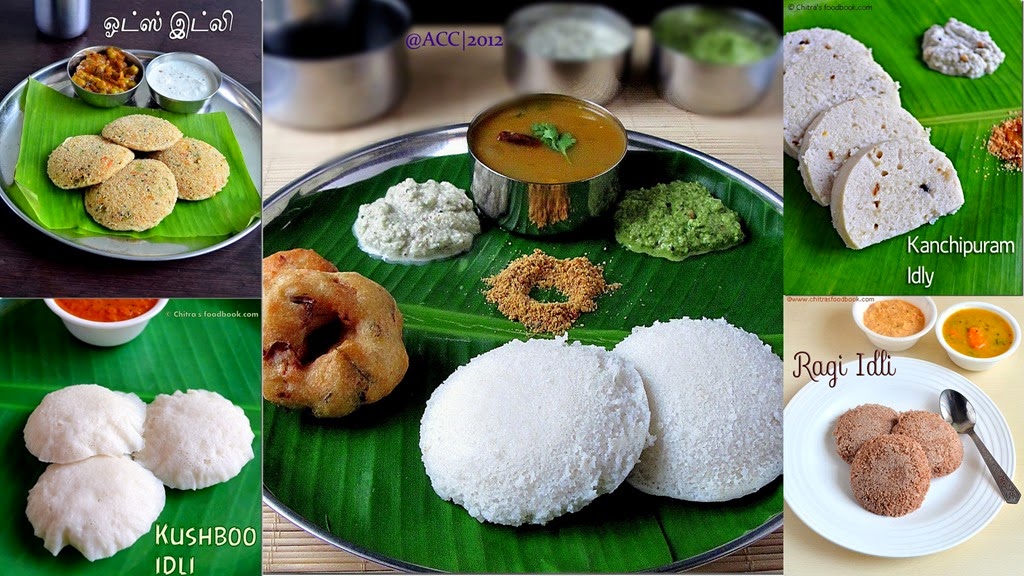
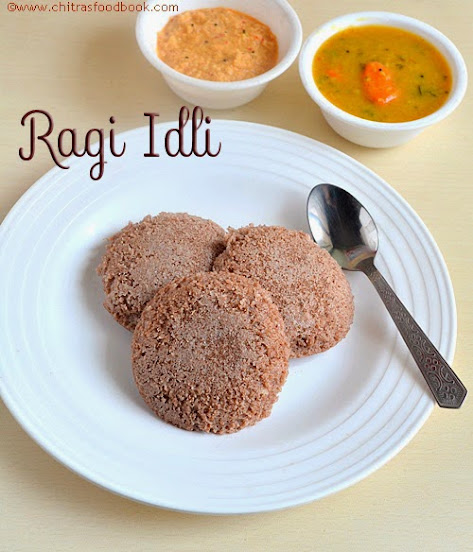
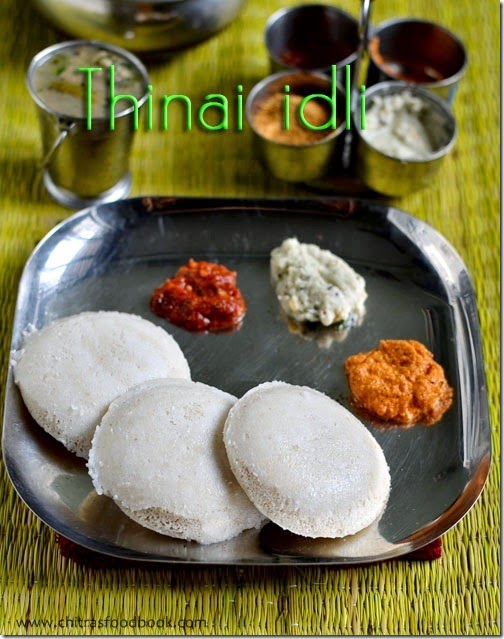
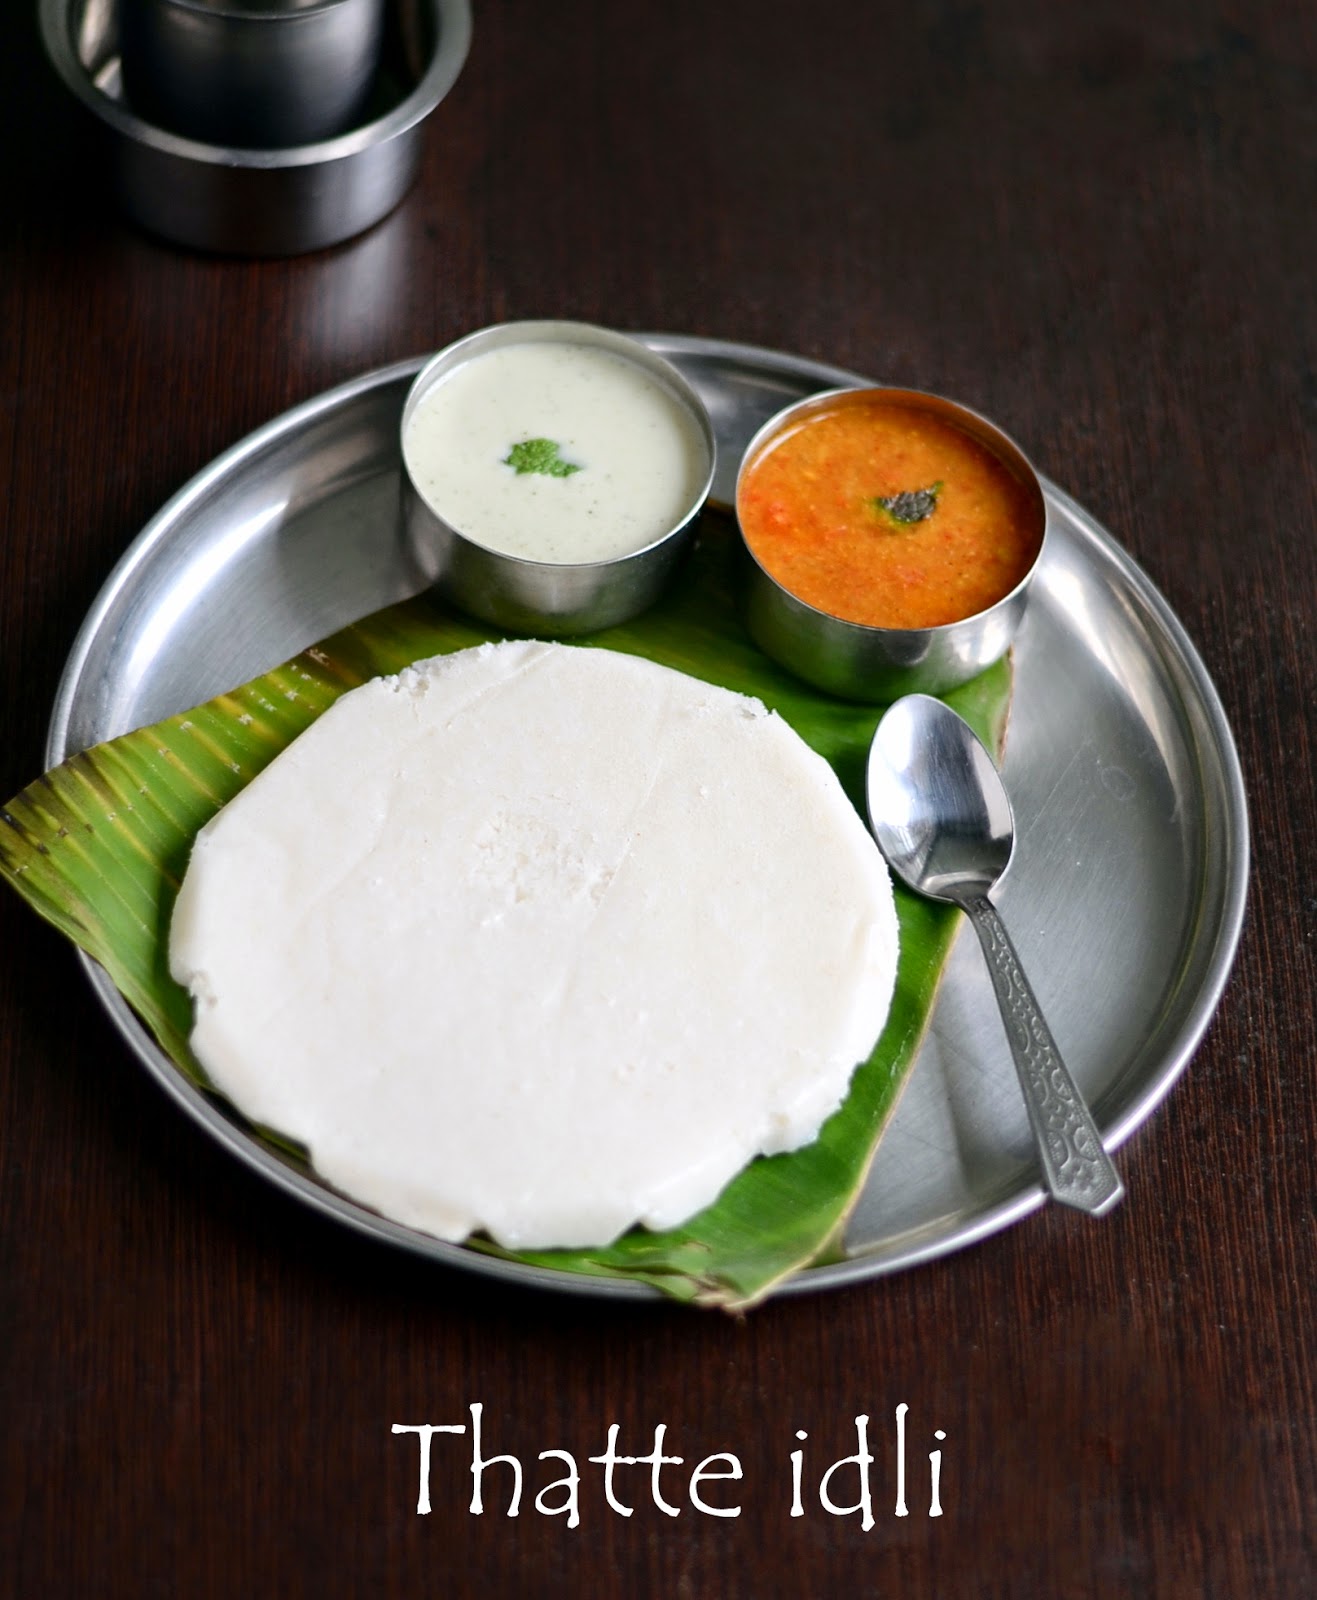
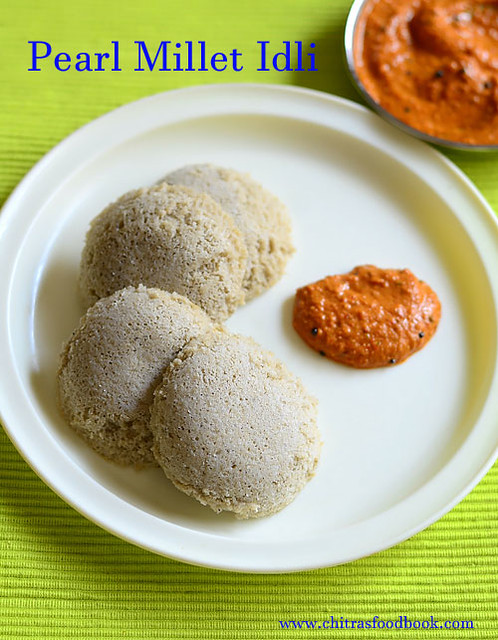
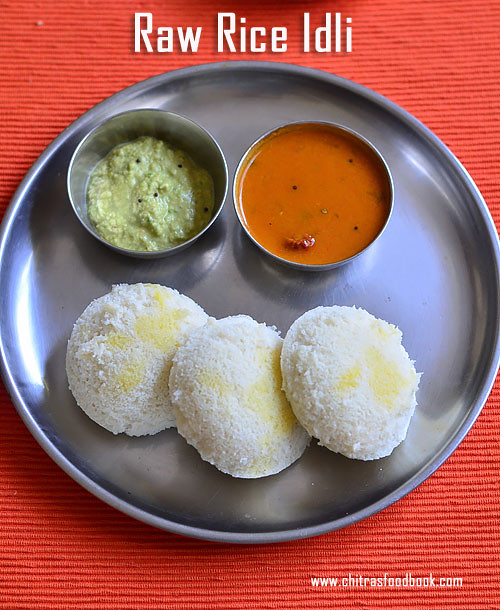
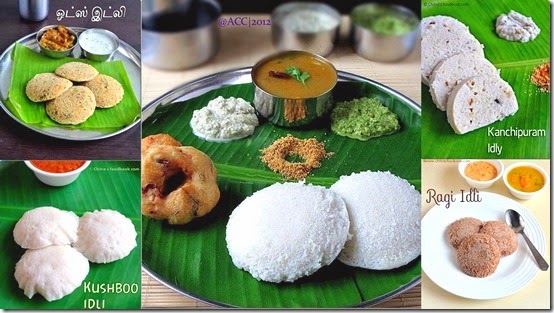
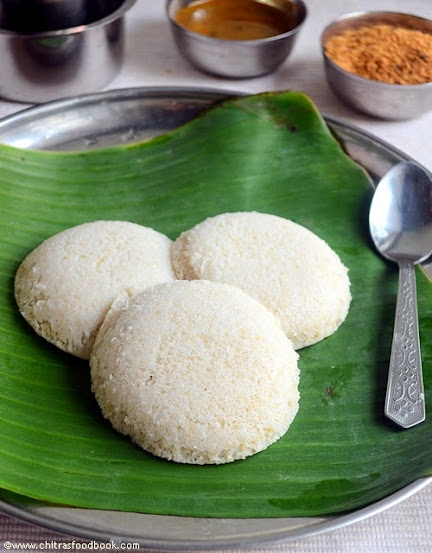
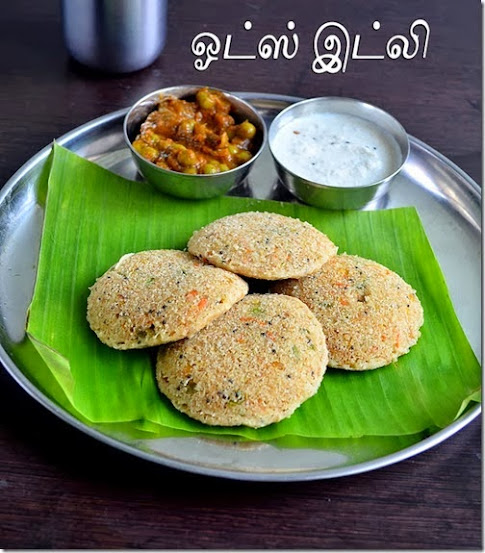
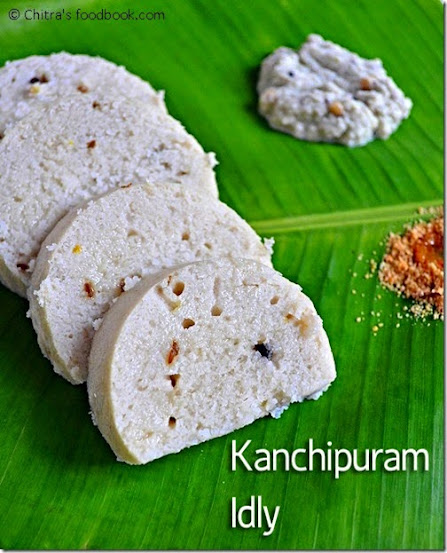
    Other recipes are Rava idli, Kanchipuram idli, Kushboo idli, Oats idli, Barely idli, brown rice idli, Ragi idli, Jowar idli, Kerala Red rice idli, Karnataka special Thatte idli, Karnataka idli rava idli, Black rice idli, Black urad dal idli, Bamboo rice idli, Millet idli etc. I have plans to post more idli recipes in future. I will keep updating this page whenever I post here.

    Do try these idli varieties for breakfast or dinner and enjoy the variations. Even bachelors can try these as most of these batter can be ground using mixie. For people who live in abroad, fermenting idli batter is very difficult. So I have made a separate post for that with tips. Please check that link in the end. Soon I’ll try to share a collection of dosa recipes & left over idli recipes. Ok, lets see the 18 different types of Idli recipes.

    Idli varieties


    Idli recipes collection 18 varieties of idli recipes for breakfast/Dinner
    Cuisine: Indian
    Category: Breakfast
    Serves: 4
    Prep time: 2 Hours 
    Cook time: 20 Minutes
    Total time: 2h20m


    INGREDIENTS

    • Idli rice/Salem rice
    • Instant oats
    • Barley
    • Brown rice
    • Raw rice(sona masoori)
    • Urad dal
    • Methi seeds
    • Poha
    • Salt
    • Black rice
    • Red rice
    • Millets
    • Jowar
    • Water - to grind


    Idli Varieties for Breakfast/Dinner


    Click on the image or text to see the respective recipes.


    Continue Reading...