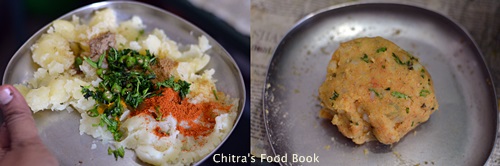
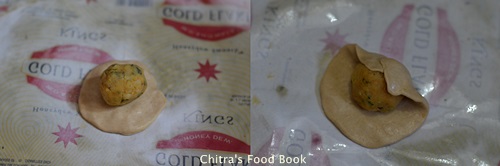
For rolling these parathas, I followed my friend’s method of rolling obbattu using two polythene sheets. It was very easy to roll and the potato stuffing din’t ooze out at all.I have shared the procedures with step by step pictures along with tips & tricks to make a perfect paratha for beginners sake. I hope and I am sure it will come out well for you.
Try it and let me know how you liked it. I always make the parathas thin as my man likes it that way. Please make it thick or thin as you wish. This morning I packed few parathas for his lunch box and I am waiting for his feedback. Ok, lets see how to roll and make these yummy, soft Punjabi aloo ka paratha recipe with step by step photos.

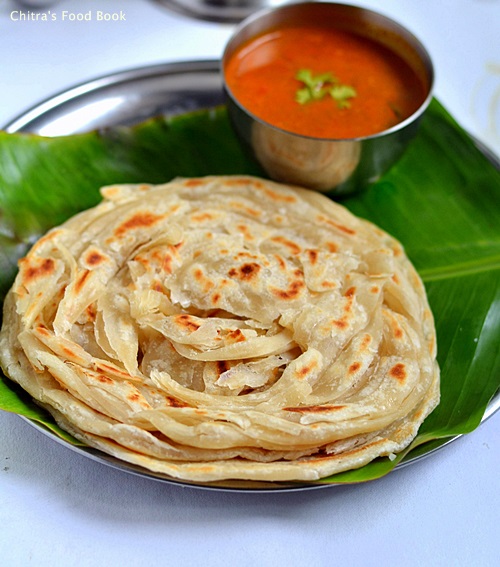
 Punjabi style aloo paratha recipe -Easy to make,soft n flavorful !!
INGREDIENTS
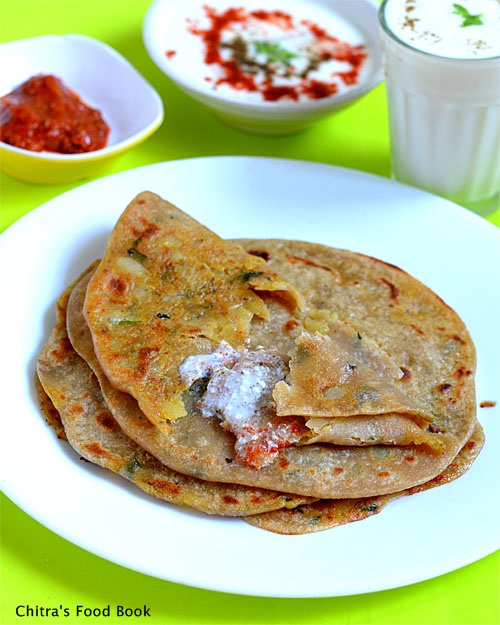
Punjabi style aloo paratha recipe
Punjabi style aloo paratha recipe -Easy to make,soft n flavorful !!
Cuisine: Indian
Category: Dinner
Yields: 8
Prep time: 15 Minutes
Cook time: 3 Minutes
Total time: 18 Minutes
INGREDIENTS
For the dough
|
HOW TO MAKE PUNJABI ALOO PARATHA - METHOD


 |
Note
|
Enjoy this yummy punjabi style aloo paratha recipe for your breakfast/dinner.
Technorati Tags: Aloo paratha recipe,Aloo paratha,Stuffed potato paratha,Stuffed aloo paratha recipe,Alu paratha recipe,Alu paratha,How to make aloo paratha,make aloo paratha
Very good recipes Tags: Aloo paratha recipe, Aloo paratha, Stuffed potato paratha, Stuffed aloo paratha recipe, Alu paratha recipe, Alu paratha, How to make aloo paratha, make aloo paratha