Avial is my mom’s signature dish. I am a big fan of this mixed vegetable curry. It tastes great with sambar rice. Its a famous recipe among South India especially in Tirunelveli, Tamilnadu and Kerala..We make this specially for guests. I think most of you make this at home. Every time when I try to make this, I never get it perfect like my mom.
Recently when my parents visited me, I told my mom to make it , I stood nearby and noted down all the steps which I should have done this before my marriage. I want to record this recipe in my blog with all the tips from my mom for my future reference. Hope it will help beginners like me. Friends, Do try this Tirunelveli style perfect avial recipe with simple tips I learnt from my mom. U’ll love it .

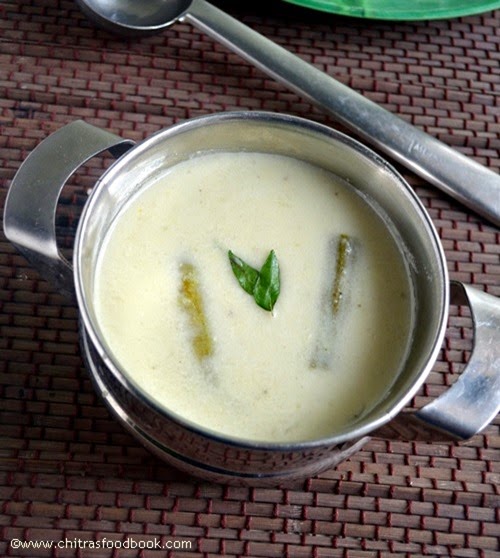
Avial recipe - Tiruneveli Avial recipe

Avial recipe - Tiruneveli Avial recipe / Mixed vegetable curry for rice
Cuisine: Tirunelveli
Category: Side dish
Serves: 3
Prep time: 10 Minutes
Cook time: 20 Minutes
Total time: 30 Minutes
1 cup = 250ml
- Mixed vegetables ( carrot, beans, raw banana, Brinjal, Drumstick, Potato) - 2 cups
- Salt & water – As needed
- Turmeric powder - a pinch
- Curry leaves – a few
- Fresh curd –1 tbsp
To grind
- Grated coconut – 1/2 cup
- Green chillies – 3
- Small onion – 5-6
- Jeera / cumin seeds – 1/2 tsp
To temper (optional step)
- Cooking oil – 1 tbsp
- Mustard seeds– 1/2 tsp
- Curry leaves – few
- **Coconut oil – 1 tbsp
|
HOW TO MAKE AVIAL RECIPE
- Wash and chop the vegetables of 1.5 inch size thick. Keep in water till use.
- Grind all the items given under “to grind” to thick paste.
- In a bowl, cook the carrot, beans and drumstick first.
- After its half cooked, add remaining vegetables. Cook till soft.
- Do not over cook. Vegetables should retain its shape.
- Now add the ground coconut paste, turmeric powder, salt, curry leaves and coconut oil.
- Mix gently and boil in low flame for 5 minutes. Lastly add the curd, mix gently and switch off the flame. Tempering is optional.
Serve with rice and sambar. Tastes great !
METHOD - STEP BY STEP
-
Cut all the vegetables of 1.5 inch size. Put everything in water until use.
-
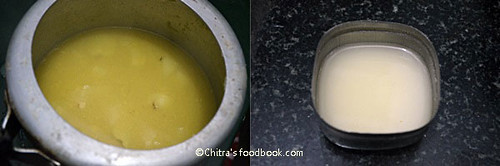
Grind all the items given under “to grind” with little water. First run the coconut & chillies together to make a paste. Then add the small onions & jeera and run the mixie once or twice to crush it.
-
In a wide mouthed bowl, take the carrot, drumstick and beans. Add water just for the vegetables to immerse and allow it to cook for sometime by covering the bowl with a lid.
-
After it is half cooked, add the potato, raw banana, brinjal. Make sure the vegetables are not over cooked. It should not be mushy. Total cooking time would be 20-25 minutes in medium flame.
-
Check the amount of water in between otherwise the veggies would be burnt.
-
After all the veggies are cooked, if there is remaining water allow it to drain by boiling well for few mins. If you are using pressure cooker, just cook all the vegetables in high flame for 2 whistles. (Tips: Add a pinch of sugar and turmeric powder to retain the colour of vegetables). Release the pressure immediately so that vegetables will be cooked perfectly.
-
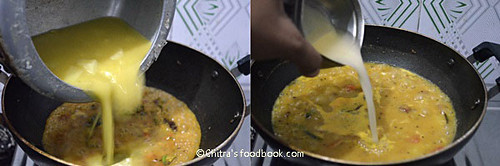
Finally add the ground coconut paste, turmeric powder, salt, curry leaves & coconut oil. Toss gently and simmer the flame. Allow it to boil for 5 mins.
-
Before switching off the flame add the curd, use a fork like ladle to mix well and switch off the flame.

-
Temper the mustard seeds and add to avial.
-
Cover it with a lid to retain the flavor and aroma.
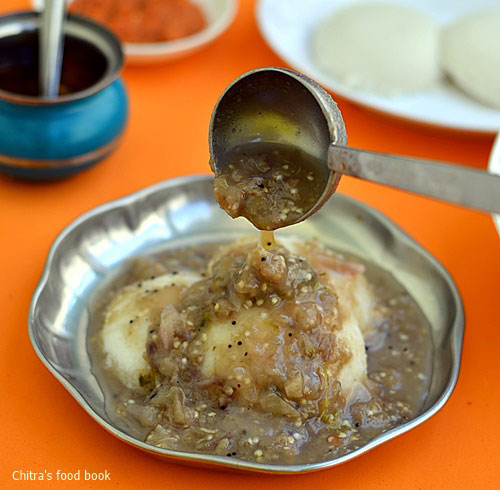
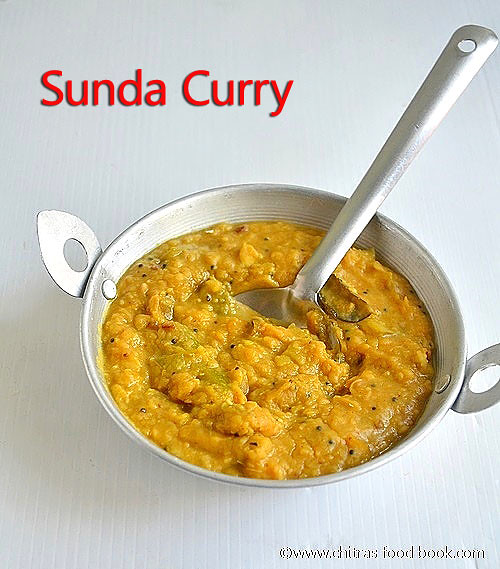
Last but not the least ,when you make it for your guests and if the avial lefts over , you can use it the next day by making pazhang curry.
TIPS TO MAKE PERFECT AVIAL
- As I mentioned in the method, just grind the small onions and jeera coarsely by running the mixie once or twice. This gives the nice flavor. Also add the small onions in the mentioned quantity. Please do not reduce it.
- Pinch the curry leaves and add it raw while adding the coconut paste.
- The vegetables should not be over cooked. Please take care while it cooks. my mom tells me to cook the vegetables one by one in a separate bowl . So the aviyal looks more like a dry curry as we see in marriages and hotels. All the veggies should be visible and separate.
- I have also tried pressure cooking the vegetables but cook in high flame for 2 whistles. Remove the whistle quickly by releasing the steam. Veggies would be cooked perfectly.
- Don’t forget to add the coconut oil. Its very important for the flavor.
- Tempering is purely optional. Even my mom does not do the tempering part always. But the tempered mustard seeds gives a unique, nice smell. So its better to temper I feel.
- If you have raw mango in hand, you can add it to the vegetables while cooking but add it at the end as it cooks fast. In that case, please do not add curd. It makes the avial sour.
- If you don’t use mango , you should add fresh curd. Curd should not be too sour.
- My mom never makes aviyal if there is no raw banana and drumstick. So please make sure to use those veggies when you make.
- I’ve mentioned the veggies as 2 cups roughly.. In specific, I used 2 small carrots, 1 big potato, 1 medium raw banana, 10 beans, 1 drumstick and 2 small brinjals.
|
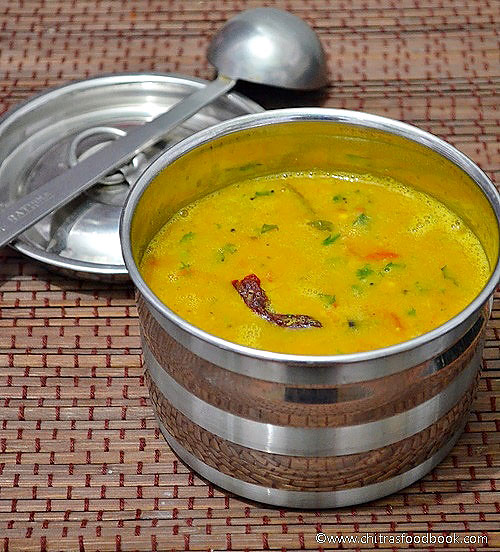
Yummy, aromatic, flavorful avial is ready to enjoy with sambar rice..!!

Continue Reading...