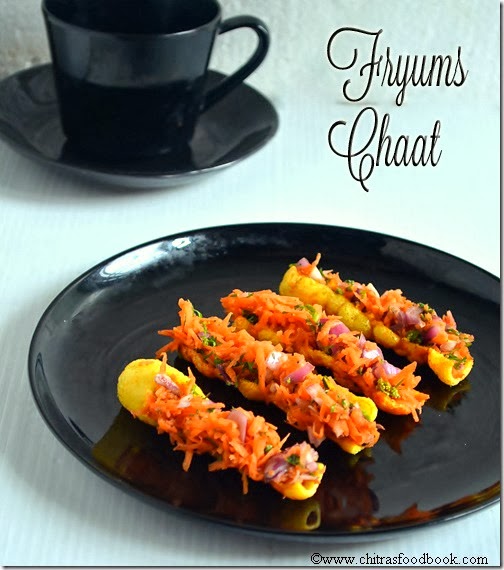
No need to say much about fryums.I hope all of you have store bought, colourful, cylindrical shaped fryums also called as “Golden finger fryums”. I usually fry it in weekends or as a side dish for variety rice.There are many varieties of fryums and the one i used here is the long variety.In tamil we call it as “Kudal appalam”. Recently i bought this in a grocery store to make this easy,interesting chaat.Thanks to my friend Shalini from whom i got this idea.It was very nice and Raksha loved it a lot.Only thing is it has to be served within a minute after stuffing else it will become soggy very quickly.I stuffed as much grated carrots as i can to make Raksha eat raw carrot .So adjust the quantity of these ingredients as per ur liking.Overall its a very easy snack and its a great idea to convert a junk into a healthy food.U can try the same with homemade rice vadams,sago vadams etc.I am sure everybody in ur home would love it
  ..
..

Fryums Chaat recipe
 Fryums chaat recipe stuffed with carrots,onions and coriander leaves.Easy,interesting snack to attract your kids:)
Cuisine: Indian
Category: Snacks
Serves: Serves 4
Prep time: 5 Minutes
Cook time: 5 Minutes
Total time: 10 Minutes
INGREDIENTS
To deep fry
- Fryums - 10 nos
- Oil - to deep fry
To stuff in fryums
- Carrot - 1 no (large)
- Finely chopped big onion - 1 no
- Coriander leaves - 2 tbsp
- Lemon juice - few drops
- Chaat masala - 1/2 tsp
- Red chilli powder - 1/4 tsp
- Salt - as needed
|
METHOD
- Wash and grate the carrots.Chop the onions& coriander leaves finely.Mix everything in a wide bowl adding salt,chilli powder and chaat masala.Squeeze the required lemon juice.

- Now take the deep fried fryums and if its a long variety, slit it into two using a sharp knife as shown in the picture.If u have a small one,just stuff this vegetable mixture as it is and serve immediately.

- If u want to make it with vadams,stuff this mixture in between two vadams and serve as sandwich..

|
Serve ur kids and enjoy !
Continue Reading...


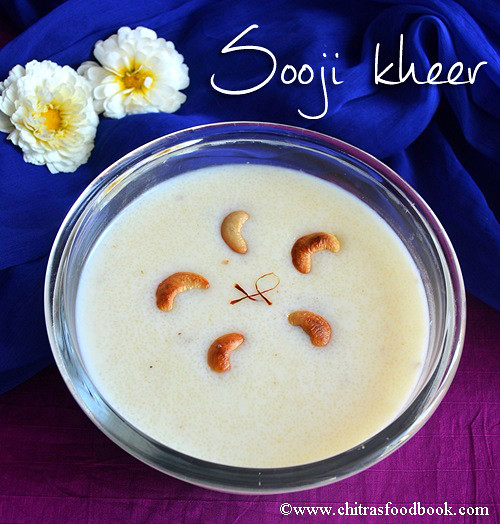
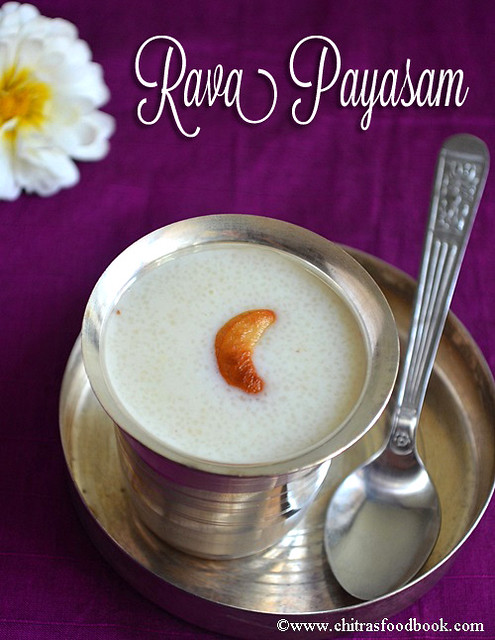
 Rava payasam - Easy payasam recipe with rava