Paneer biryani was in my try list for long time. Usually I make biryani in Sunday. So I tried this paneer biryani recipe for the first time yesterday and we loved it a lot. For this recipe, I quickly googled and found
this easy recipe. I made slight changes as per my family’s taste and tried it. It came out very well.
As it has no grinding and less chopping works, you can try this biryani in weekends to finish your cooking quickly and enjoy spending time with your family members. Also you can try even during weekdays in busy morning hours for your lunch box as it is very easy to prepare. I don’t think marination is a must here. But anyways I followed the original recipe as this is my first attempt.
The taste, texture everything was good but Sendhil told me to put paneer pieces smaller in size when I make it next time because he told this rice tastes even better when had with paneer pieces in each mouth. So I have given the method accordingly. Ingredients list may seem lengthy but the procedure is very simple and quick. Try this exotic paneer biryani recipe, everyone would love this. Lets see how to make this yummy paneer biryani.

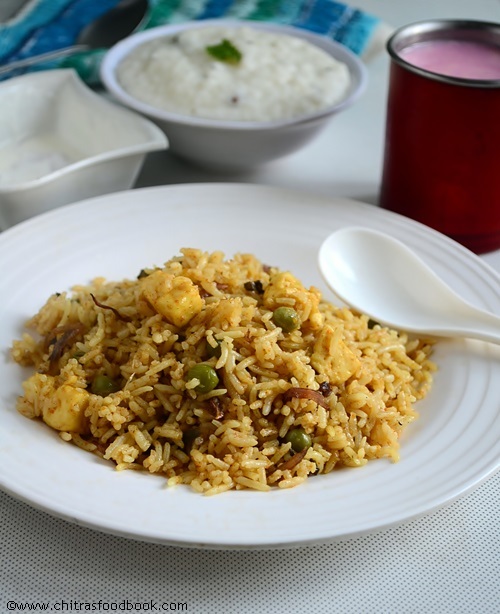
Easy Paneer Biryani Recipe
 Delicious paneer biryani in an easy way - No grinding and less chopping !
Cuisine: Indian
Category: Lunch
Serves: Serves 3
Prep time: 30 Minutes
Cook time: 20 Minutes
Total time: 50 Minutes
INGREDIENTS
To marinate
- Paneer cubes – 1/2 cup (cut into small bite sized cubes)
- Red chilli powder – 1 tsp
- Black pepper powder – 1/2 tsp
- Turmeric powder - 1/4 tsp
- Biryani masala powder - 1/2 tsp
- Curd - 1/3 cup
- Kasoori methi - 1/4 tsp(optional)
- Ginger garlic paste - 1 tsp
- Mint leaves - 10 nos
To Soak in water
- Basmati rice - 1 cup
- Water - 2 cups
To saute
- Cooking oil + ghee - 2 tbsp
- Cinnamon – 1 inch
- Cloves – 2 nos
- Cardamom – 1no
- Star anise – 1 no
- Bay leaf – 1 no
- Fennel seeds – 1/4 tsp
- Green peas – a handful
To saute till golden brown
- Cooking oil + ghee – 1.5 tbsp
- Big onion - 1 no
- Salt - as needed
- Mint leaves & coriander leaves – few
|
HOW TO MAKE PANEER BIRYANI - METHOD
- First cut the paneer into small bite sized cubes smaller than the ones in picture. Take it in a wide bowl and add all the ingredients given under “to marinate”. Let it marinate for 20 minutes.
- In the mean time,wash and soak the basmati rice in 2 cups of water for 30 minutes. Chop onions into slices.
- Heat oil+ghee in a kadai and saute the onion till golden brown and set aside.

- In the same kadai, heat oil & ghee and saute cinnamom, cloves, cardamom, star anise and bayleaf. Saute for a second. Add fennel seeds, saute till it sizzles and add the peas. Saute for a minute.

- Now add the marination mixture along with paneer pieces. Mix well and cook in low flame till the peas is 3/4th cooked and oil floats on top. Add little water if necessary while boiling. Add the salt required for biryani.

- Now add the soaked rice along with water and check for salt. Add more if needed. Transfer everything to a pressure cooker.

- Add some finely chopped mint & coriander leaves in water.
- Close the lid and pressure cook in low flame for one whistle ( It takes 10-12 minutes).
- After the pressure is released, open the cooker and fluff the rice with a fork, add the fried golden brown onion slices. Mix well .

Serve with onion raita ! |
Note
- If u want to make this biryani very quickly, then skip marination and add all the ingredients given under “to marinate” one by one after you saute the whole spices & peas. But keep the paneer pieces immersed in hot water till use to stay soft.
- U can make the entire process in pressure cooker base or even in electric rice cooker. But I used kadai & transferred to cooker.
- Always use ghee+oil for more flavour. Fry onions till golden brown and do not over fry them. Add it at the end before serving. It gives a nice taste.
- Adjust the quantity of spices as per your taste
|
This was our simple Sunday lunch. Paneer biryani, Onion raita,
Curd rice & rose milk.
Continue Reading...


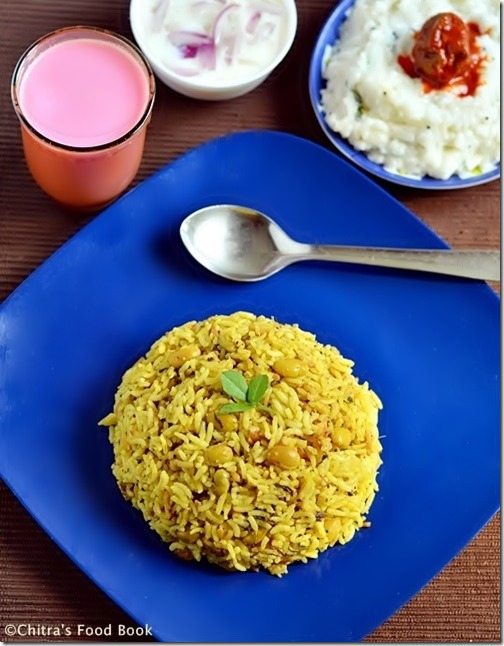
 Bitter gourd biryani/Pavakkai Masala rice- Easy n delicious rice variety