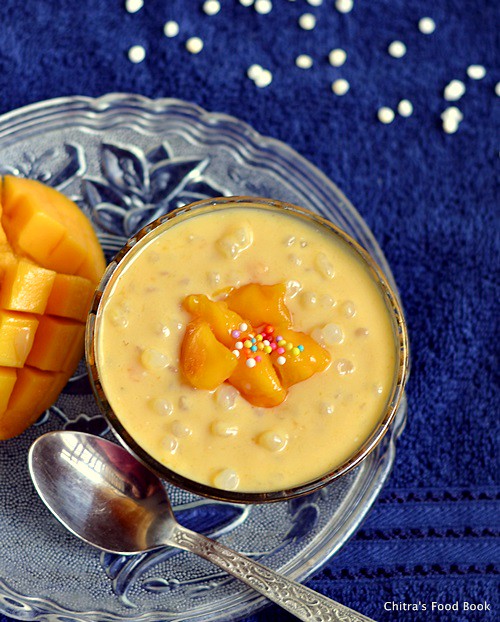
Mango sago / mango tapioca pearls is a refreshing Chinese (Hong kong) dessert that is usually served during summer season. For this mango with sago recipe, ripe mangoes are cut into cubes & then mixed with mango puree, milk or condensed milk, sugar along with cooked tapioca pearls/sago & coconut milk. It can be made using condensed milk, evaporated milk or just coconut milk. In my house, both Sendhil and Raksha are not big fans of Mango sago (tapioca pearls). So if I try this recipe, I would be the only person to eat it. Lazy me, never attempted this dish saying all these fake reasons.
At last I made up my mind & tried it yesterday just for blogging purpose. It came out really well & lip-smackingly good. I finished the entire bowl in minutes. When I was googling this recipe, I came across some interesting variations like Mango sago filipano, Pomelo Mango sago, Mango sago gulaman etc.
In all these recipes, cooking procedure is almost the same. But there are few changes in Ingredients.
In Mango sago filipano style, evaporated milk is used whereas in Mango sago pomelo pudding,a citrus based fruit-Pomelo is used for garnishing. Here I have shared a generalised Indian version of Mango sago.I used
condensed milk in this recipe. I should use evaporated milk to cut down the calories and try it very soon. Whatever be the name & ingredients,the final output would be just awesome! Even a beginner can prepare this recipe easily. It never fails. You can try this dessert for small parties and gatherings. It would be a winner for sure. Lets see how to make this mango sago pudding recipe with step by step pictures.

Mango sago recipe
 Mango sago-A refreshing summer pudding recipe using mango & cooked tapicoa pearls
Cuisine: Indian
Category: Sweet
Serves: 2
Prep time: 30 Minutes
Cook time: 20 Minutes
Total time: 50 Minutes
INGREDIENTS
1 cup - 250ml
- Fully Ripe Mango - 1 no ( Big)
- Big Sago/Javvarisi – 1/4 cup
- Condensed milk –1/4 cup
- Boiled milk - 1/4 cup +2 tbsp ( at room temp)
- Sugar – 1-2 tsp ( optional, I dint add)
- Water - as needed ( to cook sago)
|
HOW TO MAKE MANGO SAGO - METHOD
- Wash and soak the sago pearls in water for 30 minutes. Add water just to cover the sago and not more than that because sago will become mushy while cooking.
- Now cook the sago in 2-3 cups of water for 10-15 minutes until its cooked transparent without white dots. (To cook sago without becoming mushy, follow this tip: Cook sago until its cooked 95% with very less white dots. Switch off the stove and cover the bowl with a lid for 10 minutes. Sago will get cooked itself in the heat of water.). Drain the excess water and wash the sago in tap water. This step helps to remove the excess starch content and sago will look big & blossomed.
- Here I cooked sago in microwave high power (800w) for 12 minutes stirring at every 3 minute intervals . I removed the bowl when there are some white dots and kept the bowl covered for 10 minutes. It got cooked perfectly. Then I washed it under running water. Timings may vary based on the power of microwave. So keep an eye.
 
-
Take the remaining mango in a mixie jar. Add condensed milk and boiled milk at room temperature. Grind it to a smooth paste. Add this paste to the cooked sago pearls. Mix well. Check for sweetness and add sugar if needed. Mix well, cover it. Refrigerate it for sometime and serve chill. It will thicken as time proceeds. So add milk just before serving to adjust the consistency. Check for sweetness, add sugar if needed. Mix well and serve.

Enjoy !
|
Note
- Add evaporated milk in place of condensed milk. You can also add few tbsp of thick coconut milk.
- Add sugar only if needed. It depends on the sweetness of mango.
- Alphonso mangoes taste the best.
- Never use hot milk. It will curdle the pudding. So milk should be cold or at room temperature.
- This pudding thickens as time proceeds. So add milk to adjust its consistency.
|

Enjoy this creamy, yummy mango sago pudding.Tastes awesomeee !!
Continue Reading...


 How to make arisi koozh vadam at home


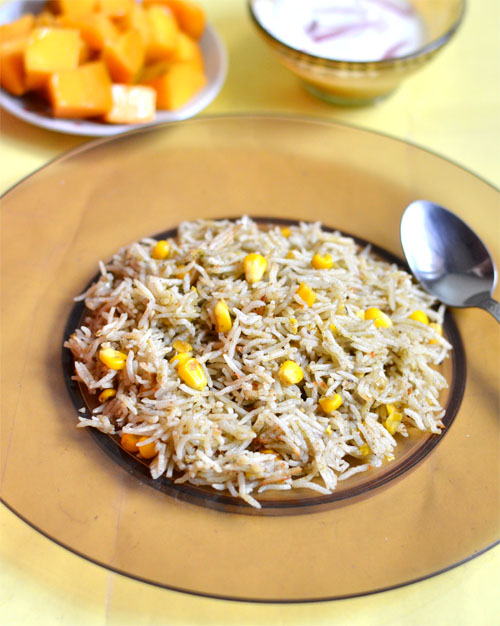
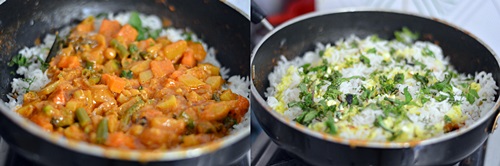
 .Lets see how to make this Indian style corn pulao recipe with step wise pictures.


 \
\