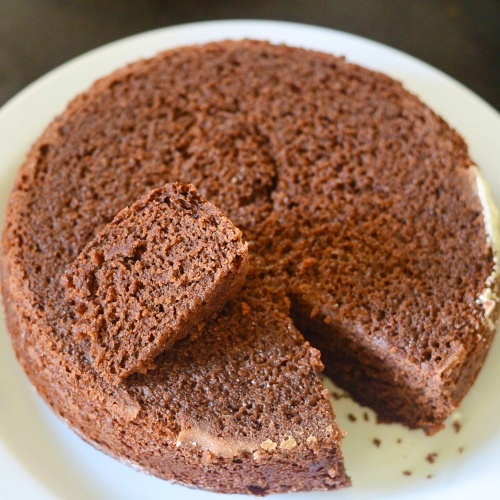
Here is an easy and yummy eggless Butterscotch mug cake in microwave under 2 minutes. Usually I make one minute mug cakes frequently for Raksha’s cake cravings. But I gave a break for baking during Corona. So after 2 to 3 years, here I am with an easy mug cake recipe. This can be prepared so easily and quickly. Just collect all the ingredients, mix in a microwave safe mug and microwave it for 1 to 2 minutes based on the power. Tada, Its ready ! It comes out so soft, fluffy and spongy.
In my family, both Sendhil and Raksha loves Butterscotch flavor when it comes to cakes or ice cream. But I love Vanilla flavor the most. As I had already shared One minute eggless chocolate mug cake, Vanilla mug cake, Red velvet mug cake and a brownie recipe in a mug, I tried butterscotch flavor this time.
I referred few Youtube videos and came up with this recipe. If you don’t have a microwave oven, you can make this cake in a pressure cooker or a kadai and cook for 10 minutes. You can follow the same recipe and use Vanilla essence instead of butterscotch.
Lets see how to make this no egg Butterscotch mug cake in a microwave under 2 minutes.

Butterscotch mug cake recipe no egg

Eggless butterscotch mug cake recipe in microwave under 2 minutes
Cuisine: Indian
Category: Cake
Serves: 1
Prep time: 5 Minutes
Cook time: 2 Minutes
Total time: 7 Minutes
INGREDIENTS
|
HOW TO MAKE BUTTERSCOTCH MUG CAKE
- Take a bigger sized, microwave safe ceramic mug.
- Add all the ingredients given above and mix well.
- Make sure the batter is flowing like a ribbon.
- Adjust the quantity of sugar by checking the taste of the batter.
- Keep the mug inside microwave and set the power to 800W and one minute time.
- After one minute, check the cake is raised well. Insert a toothpick and check if it comes out clean.
- If its sticky, cook it for another 30 seconds to 1 minute till the inserted tooth pick comes out clean.
- Remove the mug from the microwave and garnish with sprinklers. Enjoy when warm !
METHOD - STEP BY STEP PICTURES
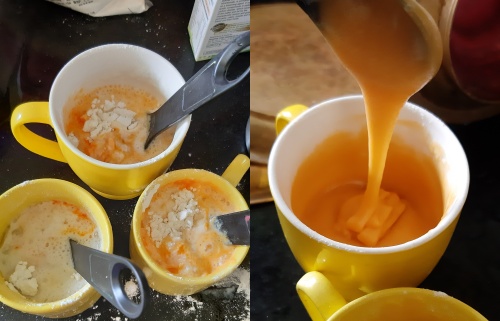 |
Note
|
Try this easy mug cake and enjoy with a scoop of ice cream if you like.