I usually make Gobi Manchurian following my
baby corn manchurian recipe. This time, for a change I tried crispy gobi manchurian recipe from Bharatz kitchen after getting tempted by the title. He had mentioned as “
Crispiest Gobi Manchurian” with a clear video recipe. Usually in manchurian, Gobi turns soggy & soft immediately after mixing with gravy/sauce. But as he mentioned, this one stayed crispy for 30 minutes i.e till my photo session was over. This recipe really works well and tastes similar to the restaurant ones.
Some pre preparation work is needed for this recipe but its all worthy. If you don’t want to make gravy , simply skip the corn flour in sauce part and make it as gobi Manchurian dry version. It tastes even more crispy like street style ones. Soon I will post that recipe too. As Bharat explained, the secret of making crispy Manchurian lies in 2 things.
One, you have to use small sized florets for deep frying. Do not use bigger size florets. This makes a great difference in the texture. The second thing is, you have to deep fry the florets twice. Anything when deep fried twice gives you the best crispiness. My MIL usually tell this to me and I have experimented the same with my
masala vada &
urad dal vada too. Deep frying twice helps to maintain the crispiness for long time. The same formula is applied here. But one thing, I should warn you here. Oil absorption will be slightly more than the usual deep frying as we are doing it twice. So use oil absorbent/Tissue paper & keep changing it whenever needed. Also work out more to burn the additional calories ;).
Friends, do try this recipe confidently even if you are a beginner. Try this for your family and kids as an evening snack or as a starter for dinner. I am sure everyone will appreciate you. Lets see how to make gobi manchurian at home easily !

Gobi manchurian recipe
 Gobi manchurian - An yummy starter recipe !
Cuisine: Indian
Category: Starter
Serves: 2
Prep time: 35 Minutes
Cook time: 15 Minutes
Total time: 50 Minutes
INGREDIENTS
- Cauliflower florets/Gobi pieces – 25-30 nos ( small sized)
- Corn flour - 2 tbsp
- Ginger-garlic paste - 1 tsp
- Pepper powder - 1 tsp
- Salt - little
- Water, turmeric powder & salt - as needed to boil gobi
- Cooking oil - to deep fry
For the batter
- Maida/All purpose flour - 1/2 cup
- Corn flour – 1/4 cup
- Red food color – a pinch ( optional, I dint use)
- Salt & water -as needed ( I used 1/2 cup water)
For the sauce/Gravy
- Cooking oil - 1 tbsp
- Finely chopped garlic cloves - 5 nos
- Ginger - 1/2 inch piece ( finely chopped)
- Big onion - 1 nos (-do-)
- Spring onion - 2 sprigs (-do-)
- Capsicum - 1/4 no (-do-)
- Red chilli powder - 1/2 tsp ( use 1 tsp to make it very spicy)
- Pepper powder – 1/2 tsp
- Sugar – 1/4 tsp
- Salt - as needed
- Sauce mix ( Recipe follows)
Sauce mix ingredients
- Corn flour - 1.5 tsp
- Water - 1/2 cup
- Tomato sauce - 1 tbsp
- Soya sauce - 1 tsp
- Chilli sauce - 1/2 tsp
|
HOW TO MAKE GOBI MANCHURIAN - METHOD
- Remove small sized florets from the cauliflower. Suppose, if you have removed them big,just cut them into small sized florets ( not too small). This is very important to get crispy gobi manchurian. Now boil the gobi in water mixed with turmeric powder & salt for 3 minutes. Remove and drain all the water immediately using a colander. Show it under running water to stop the gobi being cooked. It should stay firm.

- Now add pepper powder, corn flour, G&G paste and little salt to the washed cauliflower florets. Mix it well & refrigerate it for 30 minutes. In the mean time, finely chop all the ingredients needed for sauce & keep the sauce mix ready by mixing corn flour & other mentioned ingredients in water & keep it lumps free.
 
- Take a wide bowl and add maida, corn flour, salt and mix well. Add water to make a slightly thin batter like dosa batter. Now remove the florets from fridge & mix it with batter. Make sure all the florets are well coated with the batter.

- Heat oil in a kadai and when it gets heated, put the florets one by one and deep fry them in medium flame for 2 minutes till they are 3/4 th cooked. Do not toss for one minute. Then stir well and cook till its 3/4th cooked. Do not wait for the bubbles to cease or the cauliflower turns golden brown because we are going to deep fry again. So remove the florets when they are still white in color. Drain in a tissue.
- Again heat the oil for some more time but not smoky and add the florets now. Deep fry them till they turn golden brown & crispy. Bubbles will cease now. Now remove & drain in another tissue. You will find the gobi to be super crispy now. Have a bite n see, hehe (if you don't want to deep fry twice, just fry it till it becomes golden brown and crispy & proceed).


- In another pan, heat 1 tbsp of oil & saute all the finely chopped veggies. Mix well adding some salt & sugar. Now add the sauce mix, red chilli powder & pepper powder and let it boil till the gravy reduces to half. Lastly add the deep fried gobi pieces, saute quickly and coat it well. Switch off the flame. Garnish with finely chopped spring onions & remove.


Serve hot & Enjoy ! |
Note
- Deep frying twice is very important to get crispy manchurian. But it absorb more oil . So use tissue/absorbent paper.
- If you don’t want to feep fry twice, you can just fry it once but you should do it till gobi turns golden brown & bubbles in the oil ceases.
- If you want to try this as gobi machurian dry version, omit the sauce mix and add a tbsp of tomato sauce, 1/2 tsp of soya sauce & 1 tsp of red chilli powder after sauteing the onions & capsicum. Mix well & add the gobi pieces, mix well & serve immediately. Do not use corn flour paste here.
|
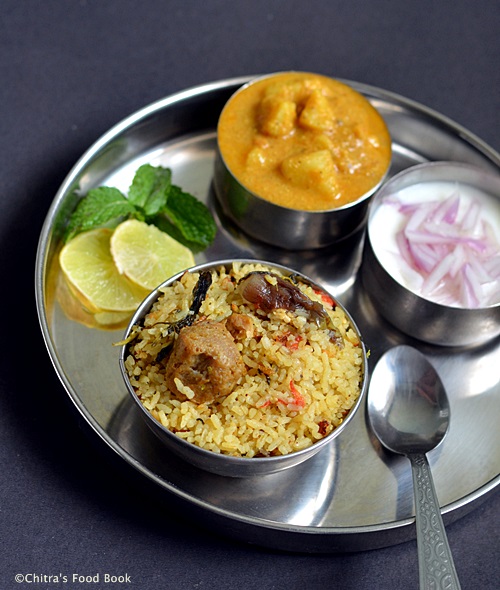
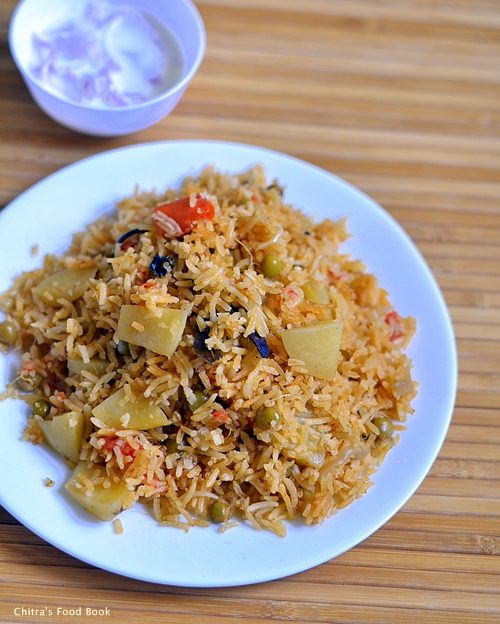
Try this yummy gobi manchurian recipe for your family. Have it along with veg fried rice. Tastes yummmm !!
Continue Reading...


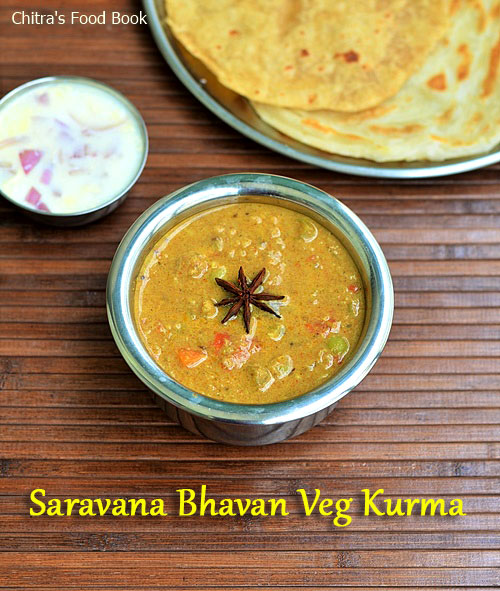
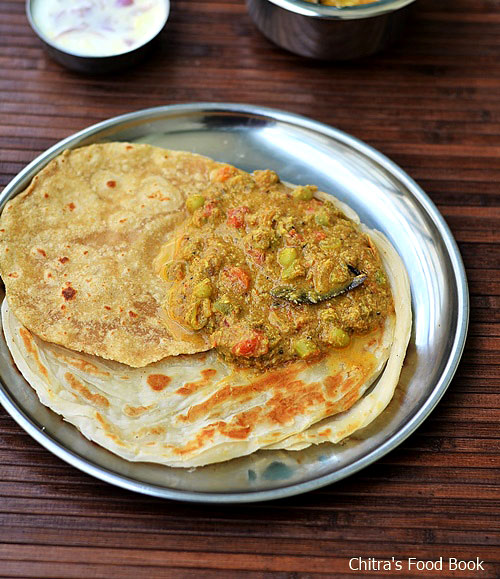
 Chana Masala / Chana kurma for chapathi/Roti and Parota


 “ haha,This is how i thought when my friend Megha suggested me to try “Anjappar style biryani recipe” using vegetables.I browsed through few Anjappar style chicken biryani recipes and got it from