In the United States, parfait refers to either the traditional French-style dessert or to a popular variant, the American parfait, made by layering parfait cream, ice cream, and/or flavored gelatins in a tall, clear parfait glass, and topping the creation with whipped cream, fresh or canned fruit. In Canada and the United States, parfaits may also be made by using greek yogurt layered with granola, nuts or fresh fruits, such as peaches, strawberries or blueberries.
I loved the simplicity of this recipe and tried it for our Sunday breakfast using strawberry flavored yoghurt layered with muesli & fresh fruits. It came out very colorful and we loved its taste too. So I thought of sharing this easy dessert and breakfast recipe for you to try if you are bored with our usual Cereals with milk combo. Its so healthy &a tummy filling recipe. After tasting this strawberry yogurt parfait, I wish to try all the variants of parfait recipe and taste it. Ok, Lets see how to make this easy and healthy fruit yogurt parfait recipe.
Vegans, please replace yogurt with non-dairy yogurt. Actual recipe calls for granola, but I used muesli here. It was super crunchy to taste !

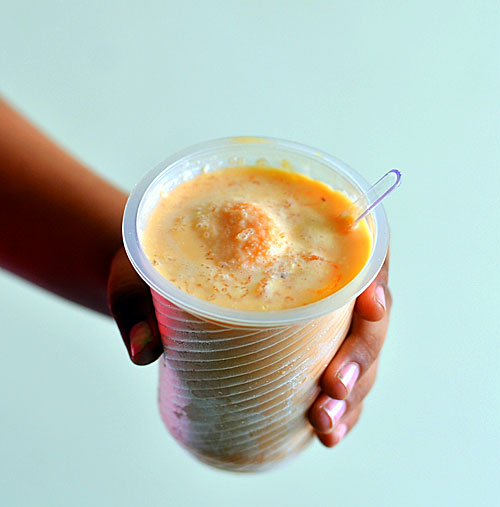
Fruit yogurt parfait recipe - Easy American breakfast at home !
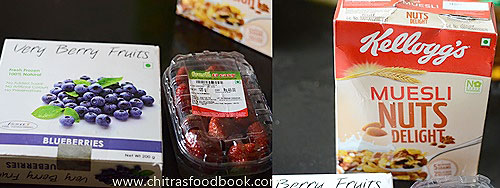
INGREDIENTS

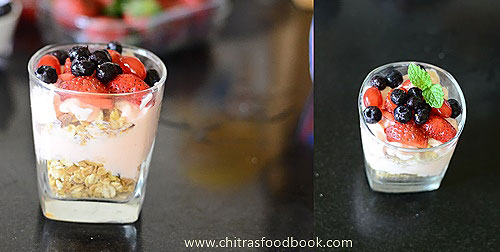
Enjoy this quick and easy International breakfast at home !

Fruit yogurt parfait recipe
Fruit yogurt parfait recipe - Easy American breakfast at home !
Cuisine: Indian
Category: Breakfast
Serves: 2
Prep time: 5 Minutes
Cook time: 5 Minutes
Total time: 10 Minutes
INGREDIENTS
|
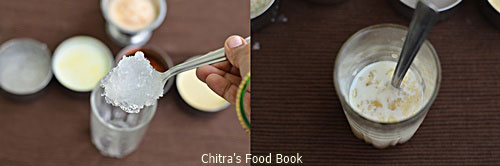
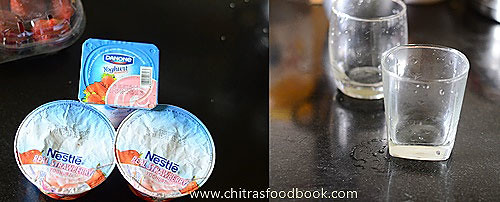
HOW TO MAKE FRUIT AND YOGURT PARFAIT - METHOD
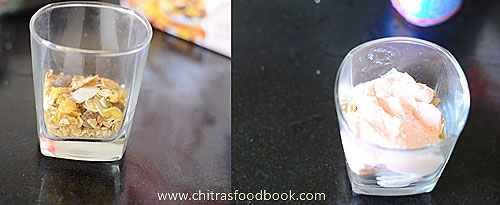  If you don't have flavored yogurt in hand, just blend the strawberry adding some sugar, Mix with homemade thick curd & hang it for an hour by tieing them in a cloth or freexe it for an hour to make it thick. Excess water content would be removed. Then you can use this thick curd for making parfait ! |
Enjoy this quick and easy International breakfast at home !
Technorati Tags: Parfait recipe,Parfait recipe ideas,how to make yogurt parfait recipe with granola,strawberry yogurt parfait recipe,Fruit and yogurt parfait recipe,Fruit yoghurt parfait,How to make parfait with granola,Strawberry parfait recipe,How to make parfait recipe,dessert recipes,International recipes
Very good recipes Tags: Parfait recipe, Parfait recipe ideas, strawberry yogurt parfait recipe, Fruit and yogurt parfait recipe, Fruit yoghurt parfait, How to make parfait with granola, Strawberry parfait recipe, How to make parfait recipe, dessert recipes, International recipes