Search Chitra's Food Book

August 15, 2012

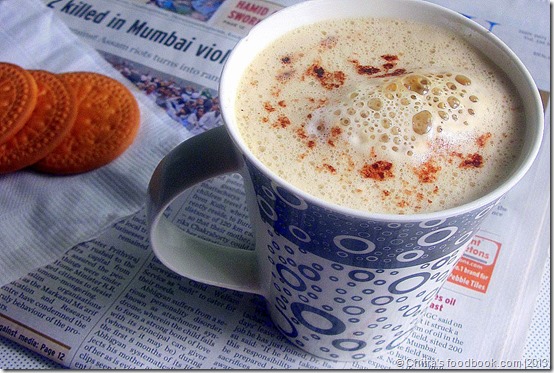
INDIAN ESPRESSO COFFEE | FROTHY ESPRESSO COFFEE

coffee 1

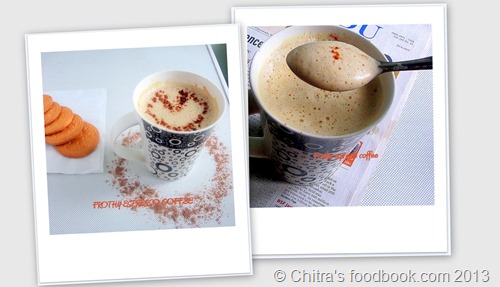
I am a big coffee lover.. I wanted to try espresso for a long time & referred here for the recipe. I halved the quantity and tried for me alone. It was awesome , frothy , creamy , rich and lip smacking. I have never tasted such an aromatic, flavourful, tasty instant coffee. 

I have heard Cappuccino, espresso in words only. Never gotta chance to try those. But now I am happy I can make @home. So I can enjoy whenever I feel like having it. The recipe I tried is a fool proof recipe. I just increased the sugar quantity else the same.. Do try it , you’ll be addictive to its taste.

coffee collage

INGREDIENTS

  • Instant coffee powder – 1.5 tsp ( I used Aveon coffee powder, Nescafe works too)
  • Sugar – 2.5 - 3 tsp ( I used 3 tsp)
  • Milk – 1/2 cup
  • Water – 3/4 cup
  • Drinking chocolate powder – Little to sprinkle ( I used weik field )

METHOD
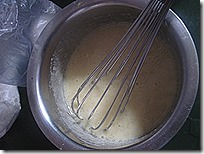
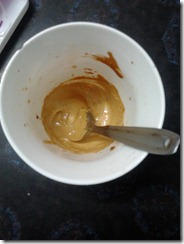
    • Beat sugar and coffee powder vigorously in tea cup (in which you are going to serve ) with a spoon till light and fluffy, adding few drops of water to facilitate beating. 
2012-08-14 17.14.29
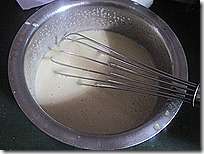
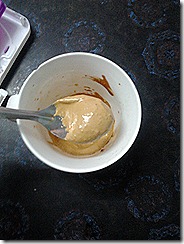
    • Gradually add more drops of water, taking care not to make the mixture thin. Beat till the mixture turns a little whitish and fluffy . (I beat the mixture for nearly 15 mins..) Initially it will be hard . But as you beat, you’ll feel the mixture becoming soft and fluffy.
2012-08-14 17.27.54
2012-08-14 17.28.03
Take the milk in a pan . Add water and allow it to boil.
    • When the milk water mixture boils and rises up, reduce flame and simmer for a minute ..
    • Remove from fire and pour into cups from a little height to get a frothy coffee. Stir. Sprinkle some drinking chocolate. Serve immediately. Enjoy !!
2012-08-14 17.33.05

coffee


POINTS TO NOTE

  • If you wanna make two coffee with the above recipe, put half the beaten coffee in each cup in which you are going to serve.
  • I used aveon coffee powder which is coarse in texture. So it took more time to beat and become fluffy. U should beat it well till all sugar & coffee powder dissolves completely.
  • U can use any instant coffee powder. Adjust the sugar quantity as per your taste.
Technorati Tags: ,,,,,,,
Continue Reading...


August 13, 2012

Super Soft Avocado Paratha | Avocado Recipes Indian - Butter Fruit Recipes

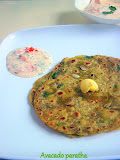
Avocado Paratha
Soft Avocado Parathaa
When I came to know the health benefits of avocado (Known as Butter fruit in India) , I wanted to try some recipes with it. I tried a milk shake & it was too bitter in taste. Sine then I started running miles away when I see avocado in shops.Then I found ripe avocado wont taste bitter. Again I browsed for some other recipes and came across this post. She has given the title as “super soft Avocado paratha” . 

I tried on the same day and yes it was really super soft. So I too gave the same title. I made little changes in the actual recipe according to our taste. Thanks a lot Shoba for helping me with this recipe. This paratha would be ideal for travel & lunch box.  You can make it thick like paratha or as thin chapathi. I made a simple onion raita and pickle as side dish. You can also make some tomato chutney or thokku. Please try this recipe only if you have ripe avocado in hand. 

Please don’t take chance in trying with raw ones. It will taste bitter to the core. Ok, lets see how to make super soft avocado paratha at home. You can make this paratha recipe for your healthy breakfast or dinner !

Do check out my Avocado sandwich, Guacamole ,  Avocado milkshake 

Avocado Paratha - Super Soft Avocado Paratha Recipe


Avocado Paratha - Super Soft Avocado Paratha Recipe

How to make soft avocado paratha at home for healthy dinner and breakfast !


Cuisine: Indian
Category: Avocado Recipes
Serves: Serves 2
Prep time: 10 Minutes
Cook time: 5 Minutes
Total time: 15 Minutes


INGREDIENTS


  • Wheat flour – 1 cup
  • Fully Ripen avocado – 1 no ( pulpy ones)
  • Big onion – 2 nos ( Grated)
  • Green chillies – 2 nos ( Finely chopped)
  • Garlic cloves – 7-8 nos ( Grated)
  • Coriander leaves – Few(finely chopped)
  • Ajwain/Omam or cumin seeds – 1/4 tsp
  • Garam masala powder – 1 tsp
  • Salt – as needed
  • Lemon juice – 2 tsp
  • Water – Very little ( 1-2 tbsp), Add only if needed
  • Cooking Oil – Little to make parathas

HOW TO MAKE AVOCADO PARATHA

  1. Cut the ripe avocado into two and take out the seed.
  2. Remove the pulp using a spoon.
  3. In a bowl ,grate the onion, garlic cloves. Finely chop green chillies.
  4. Mix everything with the avocado pulp and add the required salt, cumin seeds/ajwain, garam masala powder ,coriander leaves.
  5. Mix all the ingredients to the wheat flour and make a dough.
  6. Add very little water if needed.Say a tbsp or two.
  7. Take a lemon sized ball and roll thick or thin paratha by dusting in the wheat flour.
  8. Heat a dosa pan and make paratha pouring little oil around it. Cook both sides till brown spots appear.Remove it.
  9. Serve hot with a simple onion raita or pickle !

Note

  • Add water carefully. If the quantity of pulp is more, you don’t need to add water at all.
  • You can cook adding few drops of ghee to make it flavorful.
  • Garam masala powder is not used in the actual recipe. But I used it.
  • This paratha is soft by itself, no need to add butter milk or besan flour. No issue if even they are added.
  • Please use ripe , pulpy avocado. If you use raw ones,paratha will taste bitter.
  • One avocado is sufficient for the above recipe.
Continue Reading...


August 6, 2012

Pasi Paruppu Payasam - Moong Dal Payasam In Pressure Cooker

Pasi paruppu payasam

Pasi Paruppu payasam/Moong dal payasam is a very easy and tasty payasam recipe. I make this very often next to aval payasam. I learnt this payasam recipe from my MIL. We call it as Payatham paruppu payasam too. Sometimes I make this moong dal kheer like Kerala style Cherupayar payasam by adding coconut milk alone. But it tastes great even without it. Here I have shared the recipe with milk. Sendhil loves this payasam a lot. 

We all know moong dal is easy to digest and it helps to cure stomach and mouth ulcers. So I make this payasam for stomach upset problems too. For most of our festivals like Aadi perukku, Aadi velli, Tamil new year this payasam will be in the menu for sure. I make it for Friday Lakshmi pooja naivedyam as well. Ok, lets see how to make moong dal payasam recipe in a pressure cooker with step by step pictures and a video. 


Moong dal payasam / Pasi paruppu payasam


Pasi paruppu payasam with jaggery
Moong dal payasam/Paruppu payasam recipe for poojas and festivals. Easy and yummy !
Cuisine: Indian
Category: Dessert
Serves: Serves 3
Prep time: 5 Minutes
Cook time: 20 Minutes
Total time: 25 Minutes


INGREDIENTS
1 cup - 240ml

  • Yellow moong dal – 1/ 2 cup
  • Powdered jaggery – 1/2 to 1 cup
  • Ghee – 1 tbsp
  • Cashews – 5 nos.
  • Cloves – 2 nos.
  • Cardamom powder – 1/4 tsp
  • Coconut milk - 2 tbsp (optional)
  • Boiled Milk – 1/4 cup to 1/2 cup (adjust)
  • Water – As needed
HOW TO MAKE MOONG DAL PAYASAM - METHOD

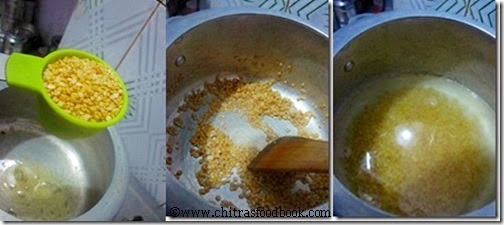
  • Take 1/2cup of moong dal & roast in a tsp of ghee till you get nice smell. Then pressure cook it with required water in very low flame for 2 whistles. ( I added 2 cups of water for 1/2 cup dal). 
Pasi Paruppu-payasam-step1
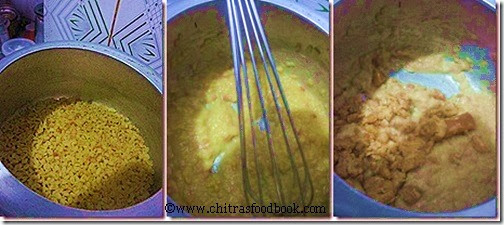
  • Remove the whistle , mash the dal well and add powdered jaggery along with little water if needed. After the jaggery melts, it will start to boil. Allow it to roll boil for sometime till payasam reached desired consistency . If the jaggery has impurities, make the syrup separately. Strain it and then add to the cooked dal.
Pasi Paruppu-payasam-step2
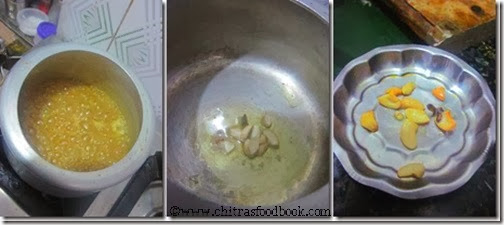
  • Finally add cardamom powder. In a seperate pan add the remaining ghee , roast cashews and cloves. Add to payasam. Mix well. Switch off the flame. 
Pasi Paruppu-payasam-step3
  • After switching off the stove add the coconut milk (if needed) and boiled milk as per the consistency.  Adding coconut milk gives extra flavour and richness. Close with a lid and enjoy after 30 mins.
NOTE
  • Always add milk & coconut milk only at the end i.e. After switching off the stove. Do not roll boil after you add them. Payasam will give a curdled look.
  • If you are planning to add coconut milk , reduce the amount of jaggery slightly.
  • To reduce the sweetness, add little more hot milk. To increase the sweetness , prepare jaggery syrup separately and add to payasam or add some sugar. Boil for sometime.
  • Adding cloves gives a nice smell to the payasam. So please don’t avoid it. You can also add a zing of edible camphor for additional flavour.
  • Initially you’ll find the payasam little watery, but it will thicken as it cools down. 

Offer to God,  get his blessings and enjoy !
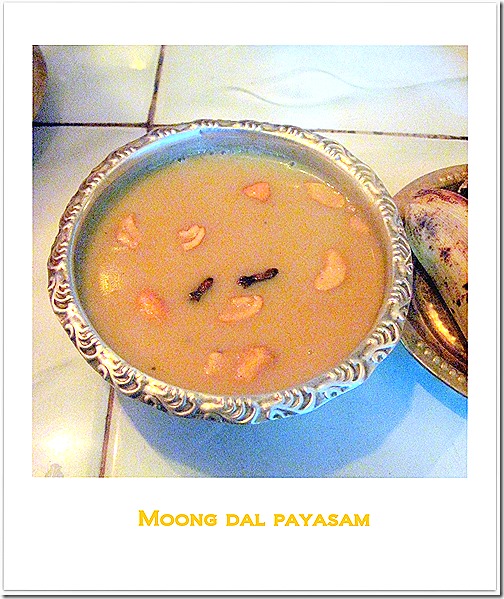
Moong dal payasam
Continue Reading...


August 3, 2012

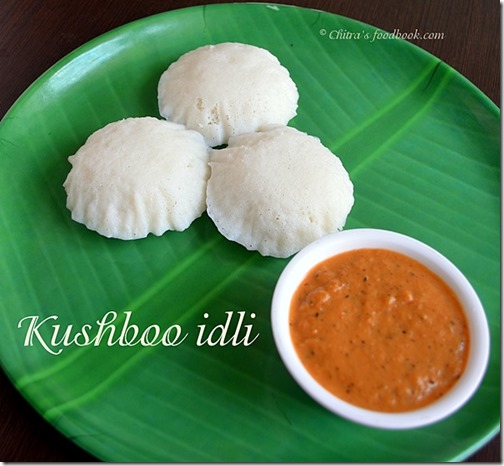
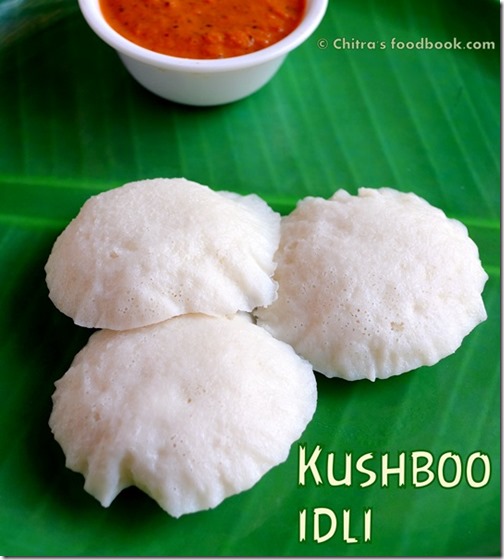
Kushboo Idli Recipe | குஷ்பூ இட்லி

kushboo idli

I came to know about this Kushboo idli recipe in my marriage feast. It is known as mallige idli/sponge idli in Karnataka. This idli was named after a popular South Indian actress Kushbhu as it looks super white, soft and spongy in texture. For the past one year , I have been trying several recipes with various combinations but the results were not satisfactory. My friends and relatives told me there is a secret ingredient behind this idli and so we cannot prepare this at home. Somehow I found the secret ingredients as sago / javvarisi / sabudana and Castor seeds / kottai muthu/ aamanakku vidhai. I have tried using castor seeds and it came out well. But I missed that recipe. Soon i’ll post that too.

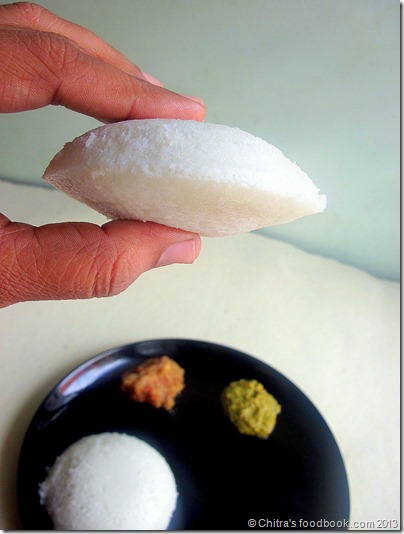
Recently when I saw this post in "Priya's Feast" without using castor seeds, I tried immediately on the same day. This version uses sago / Javvarisi.  I halved the original recipe and prepared the batter in mixie. I used ice water to grind the batter in mixie. The result was so good. If you grind the batter in grinder, you will get perfect idli. I got comparatively bigger idli than my usual idli, white colored, fluffy and soft idli. Please use a cloth (thuni , cotton cloth) while you steam this idli to get best reults. Thuni idli comes out super soft, spongy and helps in giving a plumpy idli.

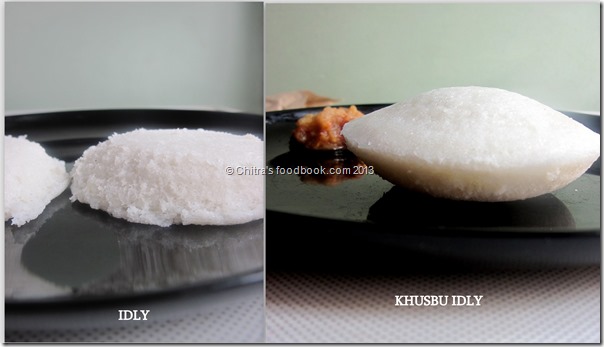
In this recipe, I have not used castor seeds or baking soda. So make sure batter consistency is not be too thick or too thin. It should be like regular idli batter and it should be fermented properly. Fermentation time varies from 8 to 15 hours based on the weather in your place. Follow all these steps else idli comes out hard. I’ve given a picture in the end to see the difference between our usual idli and this idli. Now I can confidently try this recipe for my guests. Thanks a lot priya.

I have updated the recipe and the pictures with video. Please follow this recipe, I am sure you’ll get bigger and soft idli than our regular idli. You will be happy with the results !


Kushboo idli recipe

Kushboo Idli Recipe


Kushboo Idli Recipe

Tamil nadu special, spongy Kushboo idli recipe with sago / javvarisi and without using castor seeds.


Cuisine: Tamilnadu
Category: Main course
Serves: 20
Prep time: 16 Hours
Cook time: 10 Minutes
Total time: 16H10Minutes


INGREDIENTS
1 cup = 250ml or 200ml (use same cup to measure all ingredients)
  • Idli rice / Salem rice / parboiled rice – 2 cups
  • Urad dal – 1/2 cup
  • Sago / Javvarisi / sabudana – 1/4 cup ( White big ones, not the crystal nylon variety )
  • Salt and water – As needed. (Use ice water if using mixie to grind batter)
HOW TO MAKE KUSHBOO IDLI
  1. Wash and soak idli rice, sago and urad dal separately in sufficient water.
  2. Soak for minimum 4 hours. First grind the urad dal to a smooth, thick paste adding little ice water in a mixie or grinder.
  3. Collect the batter in a bowl. Grind rice + sago together adding required ice water.
  4. Mix rice batter and urad dal batter with your hand. Ferment over night or 15 hours.
  5. The next morning, batter would have raised. Add salt and mix well.
  6. Spread wet cotton cloth over idli plate. Pour the batter in each hole.
  7. Roll boil water in an idli pot. Place the idli plate and steam for 10 minutes.
  8. Remove the idli plate and invert it over another plate. Sprinkle water all over the cloth.
  9. Now you can easily remove the cloth. Hot, fluffy, spongy, white Kushboo idli is ready !
METHOD - STEP BY STEP PICTURES
  • Wash the idli rice thrice and soak in enough water. Washing the rice properly helps to give white colored idli. Wash the urad dal once and soak it. Wash the sago once and soak it. Soak everything separately for minimum 4 hours.

  • Take a big sized mixie jar. You can grind in grinder too. Firstly grind the soaked urad dal to a smooth paste adding little ice water. Collect the batter in a big bowl. Next grind the soaked rice and sago together in 2 batches. Grind to a smooth batter adding sufficient ice water.  Do not use more water.
    kushboo idli preparation
  • Mix urad dal batter and rice, sago batter using your hand. Cover and allow the batter to ferment overnight or minimum 15 hours based on the weather in your place.
    kushboo idli
  • The next morning, batter would have raised well. Add required salt and mix well. Consistency of batter should be like our regular idli dosa batter. It should be thick and pourable.
    kushboo idli
  • Now take an idli plate and spread a wet cloth over it. Pour ladleful of batter in each hole. Roll boil water in an idli pot. Place the idli plate over it. Cover and steam the idli for 10 minutes. Dip your forefinger in water and make a hole in one of the idli. If your finger comes out clean, idli is cooked. If your finger is sticky, cook for few more minutes. Switch off the flame and rest the idli inside the pot for few minutes.
    kushboo idli
  • To remove the idli, take the idli plate and invert it over another empty plate. Sprinkle water over the wet cloth and remove the cloth gently. Idli comes out smooth and super soft.
    kushboo idli
    Enjoy with your favorite chutney or sambar!

Note

  • I have not used castor seeds or baking soda in this recipe. Both are completely optional.
  • Do not make the batter too thick or too thin. So add water carefully while grinding the batter.
  • If you live in cold place, do not add salt while grinding the batter because salt curbs the fermentation.
  • Proper fermentation is important for this idli batter. So leave it for 8 to 15 hours based on the weather condition.
  • Last but not the least, use a cloth to make these idli. It makes a big difference in texture and looks.
Here is a picture of my usual idli and Kushboo idli, just for comparision.
 Kushboo idli

Hope you can see the difference !!
Kushboo idli recipe
Continue Reading...


July 31, 2012

CAKE RUSK–STEP BY STEP RECIPE

CAKE RUSK2
Recently I started my experiments in baking and I have tried some cakes ( Yet to be posted) n cookies ..I am a big fan of rusk. I love its mild sweetness, flavour and crispness. 

When I was having my tea with a rusk, my husband told me about the cake rusk he had in a bakery.He told it was very nice and he loved its taste. From then my search started and it ended up here and here. I got attracted by the pictures and  tried it. I referred both the recipes and made some changes as per our taste.

 I was searching for an eggless recipe but i dint get it. So I used eggs in my kitchen for the first time to try out this yummy stuff. YES, it was a big success. Being a beginner in baking , I felt proud and happy after seeing the result.. Thanks a lot !!  

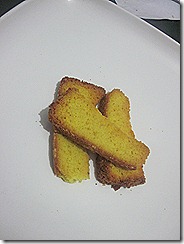
Beginners like me can dare to give this a try. !! This recipe yields nearly 15-20 pieces of cake rusk. But i used half of the cake to make the rusk . So i got only 10 pieces. By the time i clicked , i had only 3 pieces left over in my hand . So the shapes may not look good but believe me it tasted great.


A small intro to cake rusk for those who are not aware of: Cake rusk is an asian dessert  and is a kind of double baked cake which goes well with chai/ tea.It is light brown in color & crispy in texture and taste.These crispy browned cake rusks are quite popular in Pakistan.

INGREDIENTS
1cup - 200ml
  • All purpose flour / Maida – 1.25 cups (1 + 1/4 cup)
  • Sugar –  3/4 cup ( 1 cup minus 3 tbsp)
  • Cooking oil – 1/2 cup
  • Eggs – 3 nos
  • Vanilla essence – 1/2 tsp
  • Salt – 1/4 tsp
  • Baking powder – 1/4 tsp
  • Yellow food color – A pinch (  I used yellow powder. If u have the liquid add few drops in egg mixture)
  • Cardamom powder – A pinch  ( Optional) ( I dint use)

METHOD
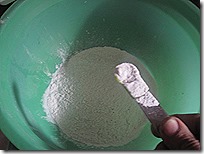
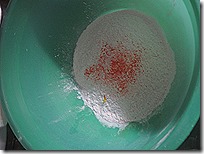
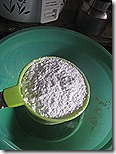
Sift maida , baking powder, salt and food color together.Set aside.
IMG_5296IMG_5298IMG_5301
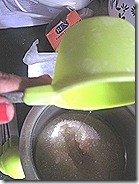
In a wide bowl take the sugar and cooking oil. Mix well till sugar dissolves.Add the vanilla essence and mix well.
IMG_5300.IMG_5302IMG_5299
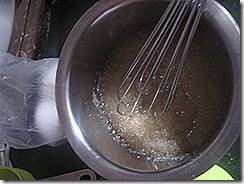
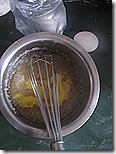
Then add the eggs one by one and beat well till u get a fluffy mixture. ( I used hand whisk.But i felt electric whisk would do well)
IMG_5303IMG_5304IMG_5306
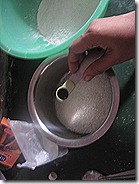
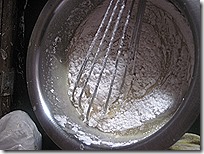
After adding all the eggs beat for another 8-10 mins.Now add the sifted maida slowly and keep stirring the mixture.
IMG_5308IMG_5309IMG_5310
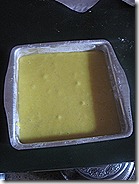
No need to add water or milk. U’ll get the correct consistency if u follow the same quantity of ingredients as i mentioned.Now transfer the dough into a greased  square shaped cake pan.Pat on all the sides of cake pan for even spreading.
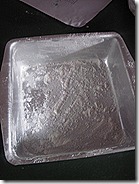
IMG_5307IMG_5311
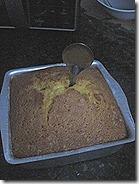
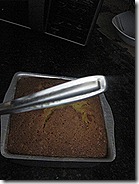
Pre heat the oven to 180c for 10 mins in convection mode.Then place the cake tray and bake the cake for 30-35 mins . Mine exactly took 35 mins. But it depends on the power of ur MW. So keep an eye after 20 mins. Check whether the cake is done by inserting a knife or spoon .If it comes out clean , ur cake is done.

IMG_5312IMG_5313IMG_5314
Transfer the cake to a wire rack or a plate and keep as such for 15-20 mins.Then invert the tray , the cake will come out easily.Remove the extra upper crust part and make a square shape cake.
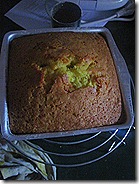
IMG_5316IMG_5317
After it completely cools down , cut the cake into the desired rusk shape. (ie, Lengthy 1 inch thick slices)
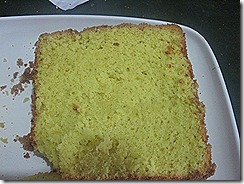
IMG_5321IMG_5323
Again transfer the slices into a greased cookie tray . Arrange and bake them again in a pre-heated oven in 180c.
IMG_5322IMG_5324
Bake in convection mode at 180c for 10 mins. Turn it once and bake for another 10 mins.Please keep an eye after 5 mins. If u get the desired brown color , please remove and let it cool.I baked it in two batches.
IMG_5325

NOTES
  • If u want to make a eggless version  try replacing the eggs by egg substitute powder or follow the eggless sponge cake recipe . Hope it will work. As i tried for the first time i dint want to take risk. So i halved the original recipe and followed as such. Soon i’ll make an eggless version and update it.
  • While baking the cake , keep checking after 20 – 25 mins whether the cake is done.
  • While baking the rusk, keep an eye as it tends to brown faster and it gets burnt. Make sure the center portion should be slightly browned not much like the sides..
  • First keep the rusk for 10 mins and then change the other side. Set another 10 mins.
  • After 10 mins , remove the plate and touch the center portion, If it is too soft , switch off the oven and allow the plate inside the hot oven.
  • It gets roasted by the heat inside the oven . I did the same. If u feel it has to be roasted , again bake it for 5 more minutes.
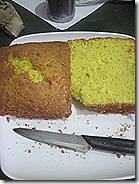
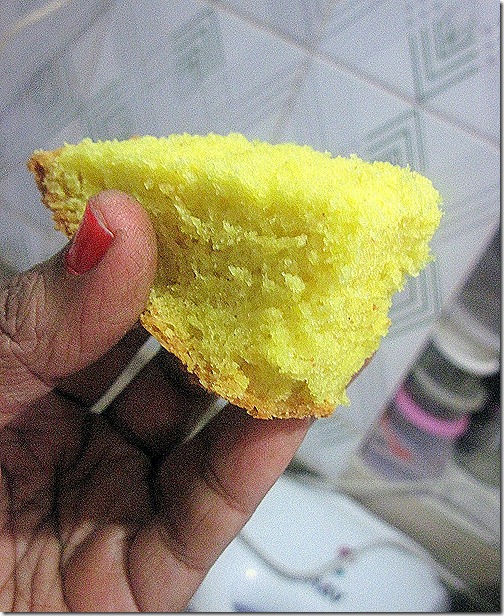
  • I used half portion of cake as such for my doter and we enjoyed eating it. It was very soft and spongy. Here is a picture of cake. So if u wanna make a sponge cake , u can surely try this recipe
SPONGE CAKE

Continue Reading...