Search Chitra's Food Book

September 15, 2012

Homemade Ghee - How To Make Ghee From Store Bought Butter | நெய் காய்ச்சும் முறை

ghee3
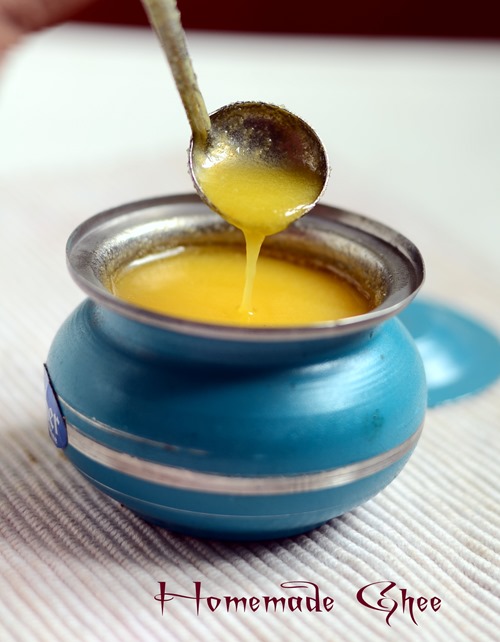
In this post, I have shared how to make ghee from store bought butter easily at home. I have used unsalted butter here. You can also use salted butter if you like. Procedure is the same. Before my marriage , I was not aware of making ghee at home. My mom used to buy ghee from a milk man who gives us fresh, flavourful ghee. 

When I was young, I used to eat the residued curry leaves/ Drumstick leaves which he brings specially for me. After marriage, I saw my MIL making ghee from store bought unsalted butter. I was amazed ! I learnt from her and now I can confidently make ghee on my own. 

Even beginners can try this ! It tastes & smells equal to the store bought ghee. Recently I found that adding jeera & red chilli gives a flavourful ghee & I tried it too. I usually make ghee very simply without adding them. But adding them sure enhances the flavour of ghee. This ghee won’t taste salty, you can use in sweets. Follow this if you like. Let’s see how to make ghee at home using unsalted butter with stepwise pictures and video!


Homemade-ghee

How to make ghee from unsalted butter

How to make ghee from unsalted butter How to make ghee at home using unsalted butter with stepwise pictures..
Cuisine: Indian
Category: Indian kitchen basics
Serves: 500ml
Prep time: 10 Minutes
Cook time: 10 Minutes
Total time: 20 Minutes


INGREDIENTS

  • Unsalted Butter – 500 gms ( I use Nandini)
  • Buttermilk – 1/8 tsp / a drop
  • Crystal salt – 1/4 tsp
  • Curry leaves / Drumstick leaves – few
  • Methi seeds – 1/4 tsp (optional)
HOW TO MAKE GHEE FROM BUTTER - METHOD

  • Take the butter out and put it in a wide, big vessel .( I normally use an aluminium pan which is almost three times bigger because while melting the froth raises till the rim of the vessel). Switch on the flame and start melting the butter by placing a wooden ladle. Keep the flame high and keep on stirring till the butter melts completely .( by stirring continuously , you’ll get less residue at the end).
how to make ghee 1
  • Now simmer the flame and mix well. It will boil and become frothy by producing big bubbles. It produces a hiss sound.
how to make ghee 2
  • After few minutes, the bubbles will cease and the froth rises. (make sure the flame is low).  Mix well and cook for sometime in low flame. It froths again and foams up. After a few seconds from rising, you’ll see tiny brown spots that appear on the top. As soon as you see a single brown spot, add little buttermilk & mix well. After you add the buttermilk, you’ll get a spluttering noise. Adding buttermilk is optional. Switch off the flame and mix well .U’ll see lot of brown spots. Remove the vessel from the stove.
how to make ghee 3
how to make ghee 4
  • Add few curry leaves/ drumstick leaves & pinch of methi seeds, jeera and red chilli if using.
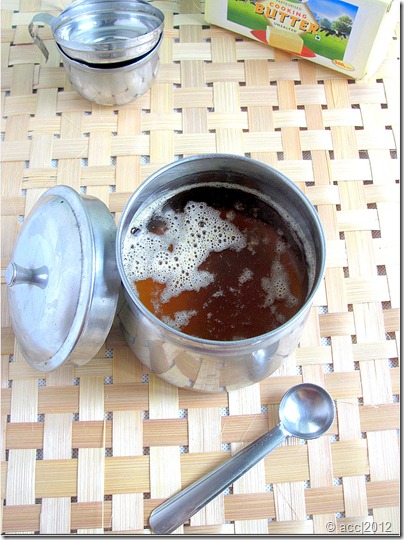
  • After it cools down, the residue will settle down at the bottom and transfer the ghee alone to the desired bowl by straining it through a metal filter. Keep the bowl open for sometime. Then close it with a lid and use whenever required..
  •   how to make ghee 6
      U  can use the residue by mixing in plain rice or by adding in sambar or pongal. I usually do this.


Note

    • U can add jeera and one whole red chilly while making ghee. It never changes the taste of ghee. It just enhances the aroma. U can use this ghee for making sweets without any doubt. But adding them are optional. I don’t use it often.
    • Crystal salt is used for the residue to settle down easily.
    • Adding methi seeds is optional. If you wish, add along with curry leaves at the end . ie. before switching off the flame.
    • Drumstick leaves can also be added instead of curry leaves.
    • U should be more careful when the brown spots appear. Keep the lights on in your kitchen and keep watching at this stage.I add curd as soon as I see a single brown spot. I mix it and switch off the flame. But my MIL waits for more spots to come. Also she removes the vessel from the stove and keeps it in a plate of water to cool down quickly.
GHEE

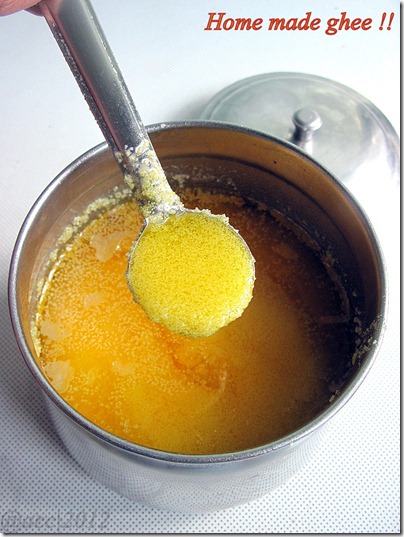
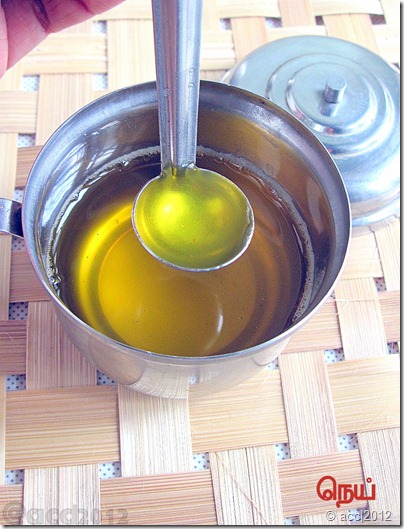
 Homemade Ghee in Melted form
ghee2
Continue Reading...


September 12, 2012

PULI MILGAI RECIPE | PULI MILAGAI PACHADI - TIRUNELVELI PULI PACHADI

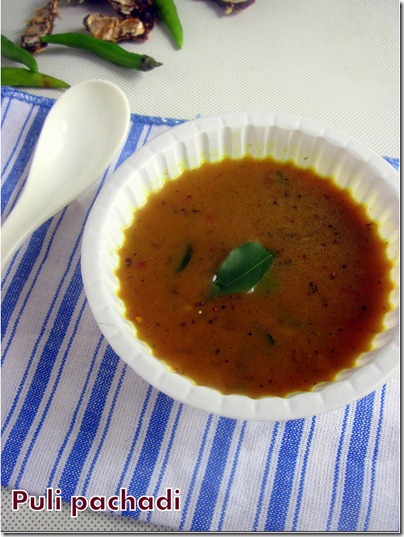
puli pachadi

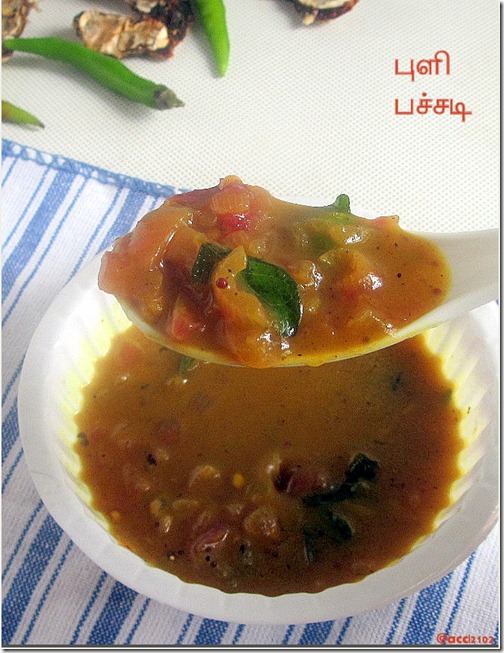
Yesterday my parents visited me after so many months. I had a great time with them.I was craving to eat my mom’s food for long time. So I told my mom to prepare this puli pachadi which is the best accompaniment for dal rice/paruppu sadam. Some people call this as Puli milagai thokku. I also had this by mixing in plain rice adding sesame oil. It tasted like puliodharai. I have tried this as a side dish for ven pongal too. Lovely combination it is!!. 

When I was pregnant my mom had made this ‘n’ number of times for me as I wanted something tangy those days. Yesterday dal, pachadi , rasam & tindora fry was our lunch. It was yummy .Thank you amma. This pachadi can be stored for 3-4 days when refrigerated. Lets see Puli Milagai preparation below.

INGREDIENTS
For 2-3 people
  • Tamarind – Big gooseberry size
  • Green chillies – 3 –4 nos (increase if u want more spicy)
  • Sambar onion – 10 nos ( chop finely)
  • Hing/ asafetida – 2 generous pinches
  • Salt & water – as needed
To temper:
  • Mustard seeds – 1/2 tsp
  • Urad dal – 1/2 tsp
  • Curry leaves – a few
METHOD
  • Soak tamarind in water for 15 mins. Take the extract and set aside.
  • Slit the green chillies and chop them into pieces. Chop the onions.
  • In a kadai , heat oil and temper with mustard , urad dal , curry leaves.
  • Now add the chopped onions and green chillies.
  • Saute well and then add the tamarind extract.
  • Add the required salt & hing. Let it boil for few mins.
  • When it gets thicken, switch off the flame and transfer to a serving bowl.
Enjoy with dal rice !!

puli pachadi

NOTE
  • As the green chillies absorb all the tanginess, we usually eat it along with onions. So I chopped them finely and used here.
  • If you are making for kids, just slit the chillies, cook and remove while eating.
  • Please add more hing as it gives the flavour for this dish.


Continue Reading...


September 10, 2012

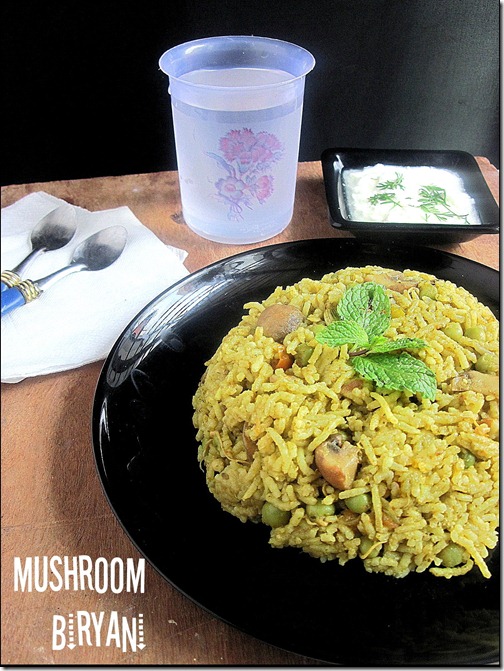
Mushroom Biryani Recipe in Pressure Cooker | Kalan Biryani - Mushroom Recipes

mushroom rice
This is my first post on Indian mushroom recipes. I started with a simple and easy mushroom biryani recipe in pressure cooker.  We call it as Kalan biryani in Tamil.  When I was young , I used to think mushroom is a non-veg food. So I never thought of  eating mushroom recipes. But after marriage , I tasted mushroom Manchurian in a vegetarian restaurant and loved it. I loved its softness. I tried the same for my daughter. She too liked it a lot. I’ll post that recipe later.

 This time I wanted to try a rice variety with mushroom to pack for my husband’s lunch box. I googled so many recipes, got the idea and tried in my own way. It tasted great. My husband and his friends liked it a lot. I felt very happy that my first mushroom recipe is a huge success. Soon I will try to update this post with step by step pictures.

INGREDIENTS
1 cup - 250ml
  • Mushroom – 5 nos (big)
  • Green peas – 1/4 cup (optional)
  • Cinnamon – 1 piece
  • Cloves – 2 nos
  • Cardamom – 1 no
  • Biryani leaf – 1 small
  • Big onion – 1 no
  • Tomato – 2 nos ( very small.. if big use one)
  • Ginger & garlic paste – 1 tsp
  • Red chilli powder – 1 tsp
  • Salt  - as needed
  • Basmati rice – 1/2 cup ( soak rice in required water for 10 mins)
  • Water – 1 cup
  • Cooking Oil & ghee – 1 tbsp each
To grind:
  • Coriander leaves – 1/8 cup
  • Mint leaves – 1/8 cup
  • Cashews – 4 nos
  • Fennel seeds – 1/2 tsp
Lime juice – few drops 
METHOD
  • Wash and clean the mushroom pieces by keeping little water in a bowl.
  • Take the pieces out and wipe it with a clean cloth. 
  • Cut each mushroom into 3-4 pieces of medium size. Set aside..
  • Wash &  Soak rice in the required water till use (1:2 ratio) ( say for 10 mins).
  • Grind all the items given under “to grind” to make a smooth paste.
  • In a cooker base heat oil and add cinnamon, cloves , cardamom and biryani leaf. Then saute onions , ginger & garlic paste till its raw smell disappears..
  • Now add the tomato pieces and saute till it turns mushy.
  • Add red chilli powder , salt and turmeric powder.
  • Add the mushroom pieces and the ground masala paste.
  • Mix well and finally add the soaked rice with the required water.
  • Cook for 1 whistle in low flame by adding a tbsp of ghee.
Fluffy , yummy biryani is ready to serve with a simple raita !!

mushroom biryani in pressure cooker
NOTE
  • For variations , lime juice can be added at the end before serving instead of adding tomatoes.
  • U can also fry the basmati rice in ghee before soaking in water..
  • For cooking basmati rice , Rice and water quantity of 1:2 would be sufficient if you don't soak the rice for 30 minutes. I used 2.25 cups which made the rice little mushy. My husband likes that way. So I used more water.
  • If served for guests, add more ghee while sautéing.

Technorati Tags: ,,,,,,,,,,
Continue Reading...


September 6, 2012

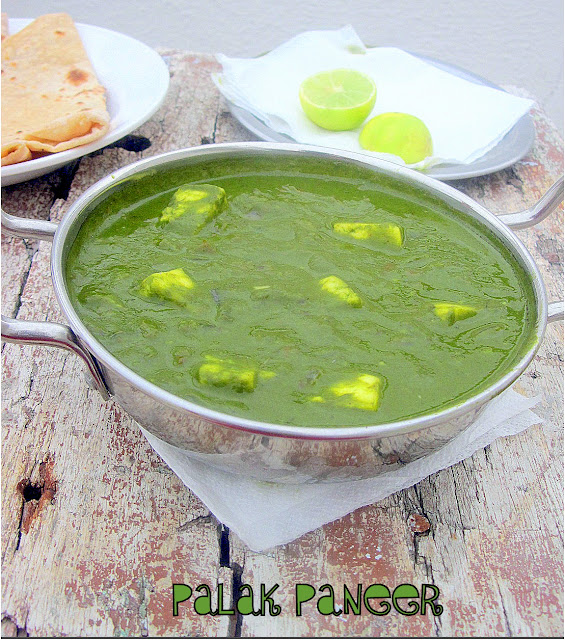
Palak Paneer Recipe – How To Make Palak Paneer In Punjabi Restaurant Style

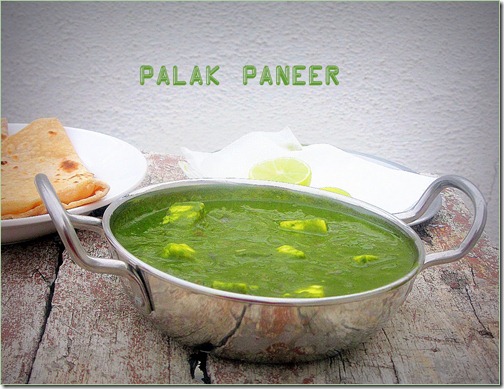
Palak paneer


Recently I came across this Punjabi Restaurant style palak paneer recipe from HERE.  I have already tried Sindhi style palak paneer long back. As my husband doesn’t like paneer I don’t buy it often. I make paneer gravies very very rarely.  Even if I want to try, I first browse for some recipes which are close to restaurant taste. I can make him eat by telling “Its restaurant style “.  I tried PBM which was also a restaurant style recipe. 

Recently when I was browsing for punjabi restaurant style palak paneer recipe, I got this one. By seeing the comment section, I prepared this dish very confidently.

Yes, this recipe is “Truly a restaurant style recipe in 10 mins..”. My husband loved it.  Me too.
Please do not attempt this recipe without kasoori methi and garam masala. They are the star ingredients. As soon as I added kasoori methi and garam masala powder , the aroma that wafted through my house was awesome. I still remember that smell. I din't have fresh cream in my hand. So I used boiled milk with its skin which was also good in taste. Do try with fresh cream for your guests. They will be amazed!!

INGREDIENTS

  • Spinach/Palak leaves – 2 bunches (medium sized)
  • Vegetable oil /Cooking oil  or butter - 2 tbsp
  • Cumin seeds /jeera -  1 tsp
  • Ginger, crushed – 1 inch piece ( I used G&G paste – 1 tsp)
  • Garlic, crushed – 6 cloves
  • Big onion ( finely chopped) –  1 
  • Finely Chopped tomatoes – 4 nos ( I used very small tomatoes, if big use 2)
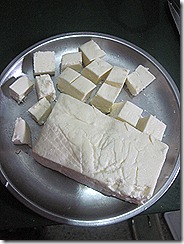
  • Paneer, cubed (Indian cottage cheese) – 100 gms / 1 cup
  • Dried fenugreek leaves (or kasoori methi) – 1 tsp (crush it well before use)
  • Red chilli powder –3/4 - 1 tsp (adjust)
  • Garam masala powder – 1/2 tsp
  • Fresh thickened cream – 1 tbsp or Milk with skin / malai – 1.5 tbsp (less than 1/4 cup)
  • Salt to taste
  • Lemon juice – few drops ( add at the end , before serving)

HOW TO MAKE PALAK PANEER (RESTAURANT STYLE)

  • Remove spinach leaves from stems and wash it well. 
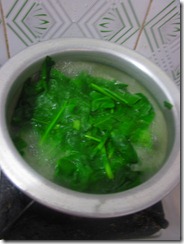
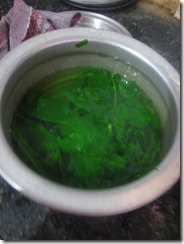
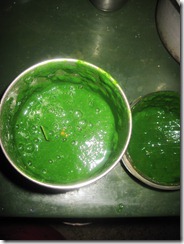
  • Cook in boiling water for 3 to 4 minutes & then refresh in cold water, drain, squeeze out excess water and puree until smooth. Reserve this water and add to gravy. Alternately, you can saute the palak leaves in little oil along with one green chilli and grind to a paste. 
  • ( add a tsp of sugar while it cooks which helps to retain its green color). 
  • Chop tomatoes and onions. 
IMG_5747IMG_5748IMG_5750
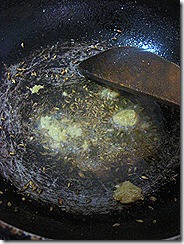
  • Heat oil in a heavy pan.  Add cumin seeds, ginger & garlic paste and onions and fry until golden brown.
IMG_5752IMG_5753IMG_5754
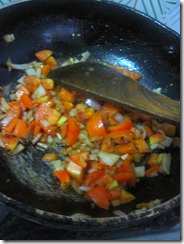
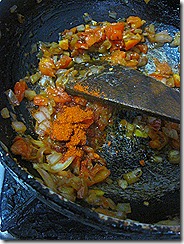
  • Add tomatoes, salt and cook until they become soft and mushy.  Add the red chilli powder.   
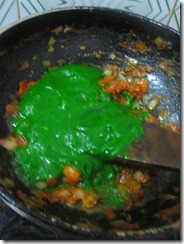
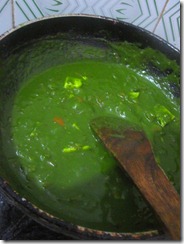
  • Saute for sometime and then add the spinach puree. 
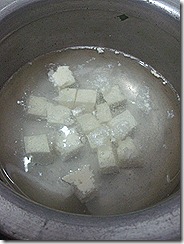
  • ( Keep the paneer cubes immersed in hot water till use)
IMG_5755IMG_5756IMG_5757
  • Add the paneer cubes.
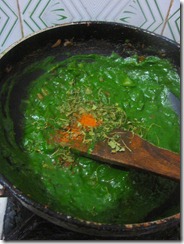
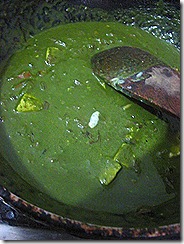
  • Stir  well and add kasoori methi ( crush it with your hands and add), garam masala powder. Boil for few mins. Add water if necessary. Gravy should be little thick in consistency .
  • Add water accordingly as we are going to add milk skin/ malai in the next step.
IMG_5758IMG_5759IMG_5760
  • Add milk/ malai at the end. Mix well, leave it for a minute and switch off the flame. If you use fresh cream, add it,  mix well and switch off the flame. Add few drops of lemon juice if desired & Serve hot.


palak paneer 1

NOTE
  • Instead of blanching the leaves, you can also try sauteing them with little oil. Add sugar while you saute.
  • I used red chilli powder here. Green chillies can also be used for variation and to get a greener gravy. But in the original recipe it is not mentioned.
  • If you plan to add green chilly, saute it with leaves and then puree it along with the leaves.
  • U can also try adding a pinch of fennel seeds powder while adding kasoori methi to get additional flavour.
  • Boil some water in a bowl, switch off and put the paneer cubes till use. This keeps the paneer soft till end. No need to fry the cubes in oil. Its completely optional.

Technorati Tags: ,,,,,,,,,,,,,,,
Continue Reading...


September 3, 2012

Paruppu Rasam - Tamilnadu Style Dal Rasam Recipe

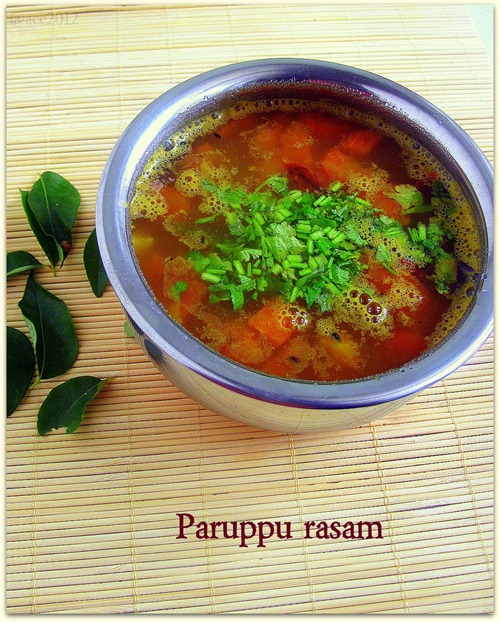
paruppu rasam
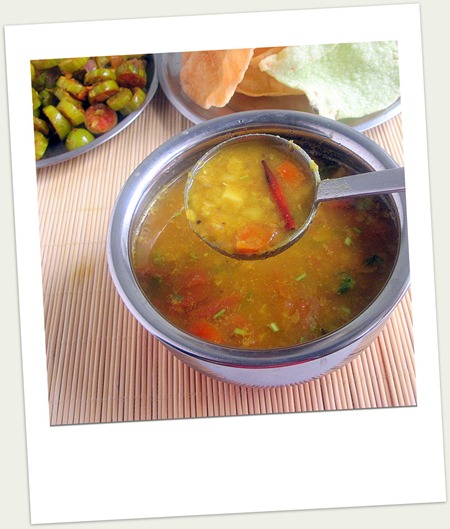
I make this Tamilnadu style paruppu rasam when I feel lazy to cook. It is different from the usual rasam in taste as well as texture. We add sambar powder instead of rasam powder and it would be thick in consistency. I add more crushed garlic which gives an excellent flavour. .I learnt this from my MIL. I make this in weekends along with a poriyal and thogayalIt makes a complete meal with a stir fry (poriyal) and appalam /papad as accompaniments..

INGREDIENTS
1 cup - 250ml
  • Toor dal – 1/4 cup
  • Sambar powder – 1 tsp
  • Turmeric powder – 1/4 tsp
  • Tomato – 1 no (big)
  • Tamarind – Small gooseberry size
  • Garlic flakes – 10-15 nos
  • Sugar – a pinch
  • Salt & water- as needed
To temper
  • Oil / ghee – 1 tsp
  • Mustard seeds – 1/2 tsp
  • Methi seeds – 1/4 tsp
  • Jeera – 1 /2 tsp
  • Red chillies – 2 nos
  • Curry leaves – few
Coriander leaves – to garnish
HOW TO MAKE PARUPPU RASAM - METHOD
  • Pressure cook toor dal with a pinch of turmeric powder and a drop of oil. Mash it well .. Remove and set aside.
  • In a kadai , add the tempering items in the same order.
  • Then add the finely chopped tomato pieces and saute for a minute.
  • Add the tamarind extract , sambar powder, turmeric powder , salt and a pinch of sugar.
  • Peel the garlic and just crush it slightly with the rolling pin or with a mortar and pestle.
  • Add the garlic pieces to the above mixture and allow it to boil for a minute.
  • Then add the cooked and mashed toor dal. mix well and boil for few seconds.
  • When it starts to roll boil , switch off the flame and remove.
  • Garnish with coriander leaves and close it with a lid..
Serve hot by mixing with plain rice and ghee !!
paruppu rasam small

NOTE
  • Garlic pieces will be half cooked. Crush it and add to give a nice flavour.
  • This rasam wont be watery or clear. It would be little thick. So mix with a ladle every time before serving..
  • Tempering can be also be done at the end.
  • Adding coriander leaves for garnishing is purely optional. Use it if you have. Curry leaves is sufficient.
Technorati Tags: ,,,,,,
Continue Reading...


August 31, 2012

Keerai Vadai Recipe / Spinach Vada - Ponnanganni Keerai Recipes


Keerai vadai
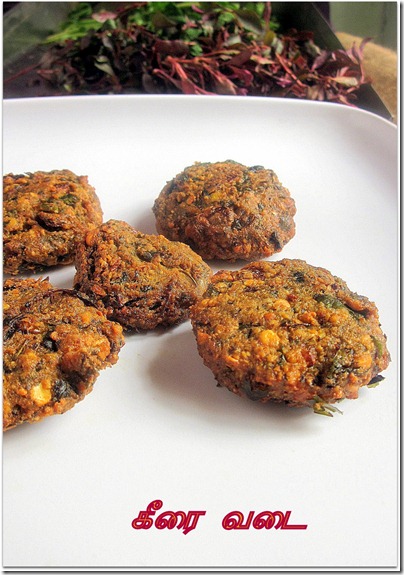
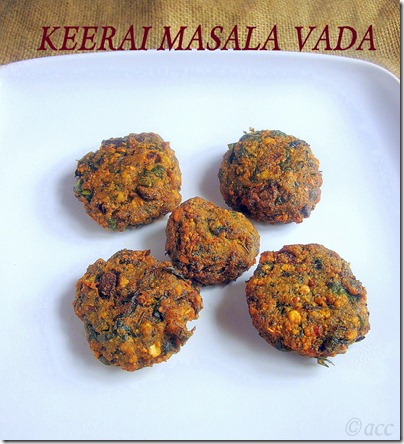
Recently when I went to my in-laws place, my MIL gave me lots of Ponnanganni keerai (Dwarf copperleaf / joyweed/ Sessile joyweed – pink variety. Generally known as water amaranth) grown in our garden.. I made sambar and kootu but still I had some left in my fridge. Its been a long time I am planning to make masala vada with spinach. So I tried this vada for first time.It was super cripsy , flavourful and yet soft inside.. We loved it.  My doter had 2 vadas. This shows the success of this recipe. 
keerai vada 3

INGREDIENTS
 1 cup - 200ml
  • Ponnanganni keerai / Any greens– 1/2 cup
  • Chana dal – 1/2 cup
  • Red chillies – 3-4 nos
  • Jeera - 1/2 tsp
  • Hing – 1/4 tsp
  • Small onion – 10-15 nos (chopped roughly)
  • Mint leaves – 1 handful
  • Coriander leaves – 1 handful
  • Curry leaves - few
  • Salt & water – as needed
  • Fennel seeds – 1 tsp (optional)
METHOD
  • Soak channa dal for 2 hours. Drain the water and grind along with red chillies,hing, salt &amp ,jeera and 2 tsp of water..
  • First run the chillies,salt and hing together.Then add the soaked channa dal and run once or twice.The dal should be coarsely ground.Some dal would be visible..
  • Wash and chop the greens finely..Set aside.
  • Mix the keerai , onions , mint leaves and coriander leaves,curry leaves in a  bowl and check for salt. No need to add water.
  • Heat oil in a deep frying pan and add a tbsp of hot oil to the vada batter. This helps in making the shape of vada properly and gives crispiness to the vada.
  • Mix the batter and take a small ball shaped batter.
  • Keep in the center of palm and pat it little to make thick patties.
  • Deep fry in hot oil. To check the right temperature of oil , just drop a bit of batter. It raises immediately..
  • Now drop the vadas one by one and cook in simmer flame for even cooking.
  • Flip the vadas after a few mins and cook on the other side.
  • Make in batches..Remove the vadas and serve hot !
Enjoy
with tea or with rice as an accompaniment like we had!!
keerai vadai 1

NOTE
  • If you are planning to make masala vada , just follow the same recipe except spinach.
  • Adding fennel seeds gives a nice flavour but I couldn't use as my hubby doesn’t like its taste..
  • I used pink variety keerai and I just ground the keerai once along with channa dal. So my vada was slighlty brownish yellow in color.
  • U can make this vada with any greens..The point is just chop it very finely..Mulai keerai, arai keerai , siru keerai , murungai keerai can be used here..
  • Usually we add channa, toor and urad dal for masala vada . We call tat as “MUPARUPPU VADA”..But my mom told me to make with channa dal alone.. Yes , adding channa dal alone gives a nice , crispy vadas..
Continue Reading...