As you all know, the world famous Ambur biryani is a non-veg biryani prepared with mutton or chicken. But you may think how come I post Ambur biryani in my vegetarian blog ?. U are right. Being a vegetarian, I can’t try the actual biryani recipe. But somehow I wanted to try this in my kitchen after knowing its popularity.
When I asked my non-veg friends, they suggested me to use soya chunks/meal maker instead of mutton. Meal maker very much resembles mutton right, eppuuudddi ?. So I just replaced mutton with soya chunks and tried this biryani by referring The Hindu “Food safari” section & Aval vikatan magazine where “Star biryani “ Muneer ahmed has shared the recipe for how to make in small quantities at home. I also watched you tube video by “Puthiya thalaimurai” channel for more details.
It came out very well & I started making this regularly. This would be our sunday biryani at least once in a month. I used jeera rice/ seeraga samba arisi as mentioned in the actual recipe. Without using ghee & coconut milk, the flavour of just masala & jeera rice while cooking is awesome. Try it, you will come to know. Next I have planned to try Dindigul thalapakatti biryani too.
In the “Notes” section I have shared some of the health benefits of soya nuggets/meal maker. Do read it. As there is no grinding or chopping works, you can do this quickly. Bachelor's can try this too..

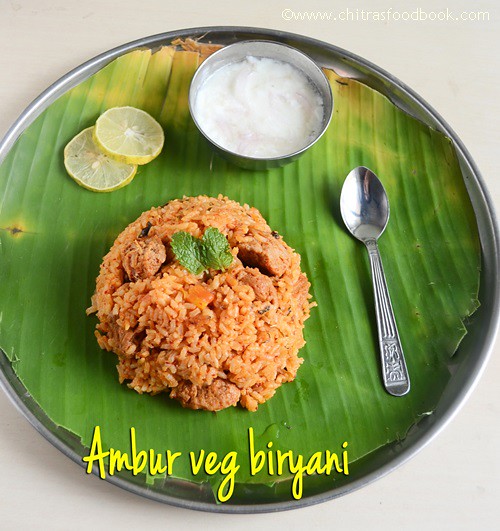
Ambur Biryani recipe with soya chunks
Ambur style Soya chunks biryani recipe – Sunday special biryani !!
Cuisine: Indian
Category: Lunch
Serves: 3
Prep time: 10 Minutes
Cook time: 20 Minutes
Total time: 30 Minutes
INGREDIENTS
1 cup - 200ml
- Jeera rice/Seeraga samba arisi - 1 cup
- Big onions - 2 nos
- Tomato - 1 no
- Soya chunks - 2 handful
- Red chilli paste - 1 tbsp (I used 5-6 byadgi chillies & make a paste)
- Garlic paste - 1.5 tbsp ( grind 20 cloves)
- Ginger paste -1.5 tbsp ( Grind thumb finger size piece)
- Mint & coriander leaves - a handful
- Salt - as needed
- Water - 1.5 cups( I used 1.75 cups to make it well cooked)
- Curd - 3 tbsp
- Lemon juice - as needed
To temper
- Cooking oil - 4 tbsp
- Cinnamon – 1 big piece
- Cloves - 2 nos
- Cardamom - 2 nos
|
HOW TO MAKE AMBUR VEG BIRYANI - METHOD
- Pinch & soak 6 chillies in little hot water and grind into a smooth paste. Use Kashmiri variety chilli (Byadgi) to get this bright color. Grind ginger to smooth paste adding required water. Similarly grind garlic and make the paste.Keep all the paste separately.
- Boil water in a pan. Once it starts to roll boil, add the soya chunks and switch off the flame. Let the chunks soak and gets doubled in size.
- Chop onions, tomato, mint & coriander leaves and keep it ready.

- In a cooker base, heat oil. Sprinkle a tsp of curd to check whether the oil is heated. Now add cinnamon, cloves, cardamom. Saute for a second and add the garlic paste. Saute for a minute till raw goes off. Now add ginger paste. Saute well for a minute. Mix well. Then add chilli paste & mix well.

- Now add onions & saute till transparent.Then add tomato pieces. Saute till it turns mushy. Squeeze and add soya chunks. Mix well.
- Lastly add mint & coriander leaves & salt. Toss well.

- Add the curd & mentioned quantity of water, lemon juice. Let it boil nicely. Wash the jeera rice and add it to the boiling water. Close the cooker with the lid. Pressure cook in low flame for one whistle(approx 10 mins).


- After the steam is released, check whether rice is cooked well. U can put **DUM** for 5 minutes if necessary else check for taste and serve hot with raita ! Prepare this rice 30 minutes in advance because all the masala will infuse well & tastes good.
HOW TO PUT DUM
You can put the dum in two ways.
1. Heat an old dosa tawa till very hot. Place the cooker over the dosa tawa. Keep the flame very low and cook for 5 - 10 minutes.
2.Transfer the rice from cooker to a flat base vessel. Keep the vessel over the low flame and cover it tightly with a lid. Boil water in a bowl and keep this bowl over the rice vessel as a weight. Put the Dum for 5-7 minutes. Keep the flame very low. Remove and serve hot! |

Note
- As Muneer ahmed says, the secret & color of this biryani lies in red chilli paste. So I used byadgi red chilli to give the natural red color and it is mildly spiced too. I have not used food color here. If you use other chilli varieties, add less based on its spice level.
- As per the original recipe, you should cook the gravy & rice separately upto 80%, mix & put under DUM. But cooking in pressure cooker suited my family’s taste. So I follow this way.
- No need to use ghee or coconut milk in this recipe,
- Use the paste as mentioned above to get the actual taste. Never add G&G paste. It will give a different taste & flavor. I have tried in that way too.
Health benefits of soya nuggets
- Soya is rich in protein, minerals & vitamins. Hence it is a good choice for vegetarians.
- It is high in fiber and aids in weight loss.
- It is one of the best sources of omega-3 fatty acid. So it is good for heart.
- It is beneficial for women during post menopausal days.
|
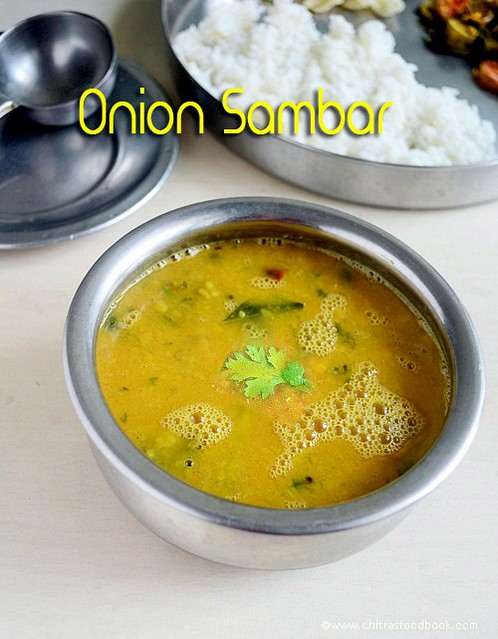
Enjoy Ambur style soya chunks biryani with simple onion raita. Tastes great !
Continue Reading...


 .It tastes yummy !!


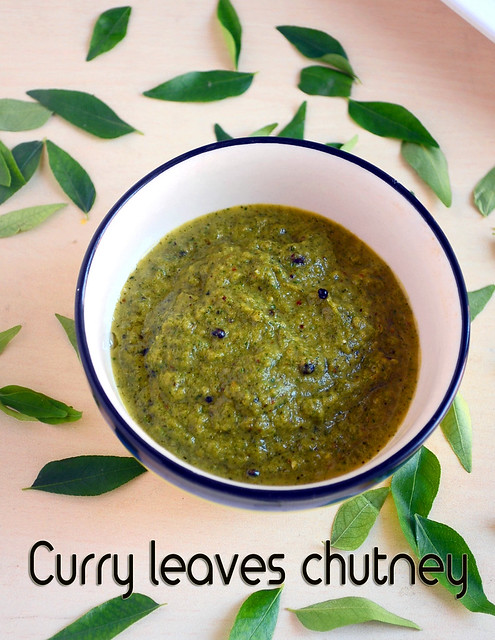

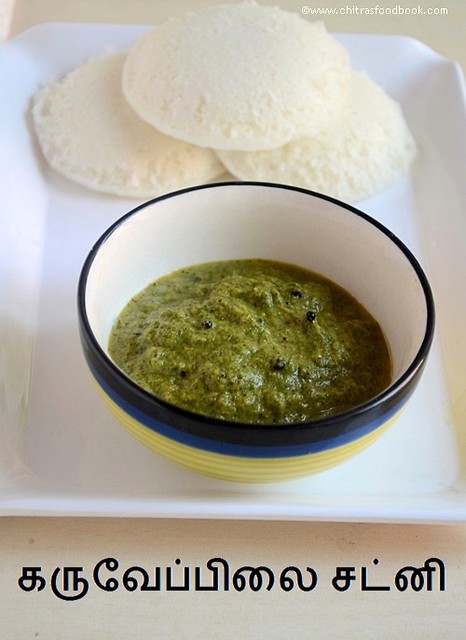 Curry leaves chutney recipe for idli,dosa without using coconut