
I would like to share some yummy paneer recipes in the upcoming weeks.Before that,i wanted to post this basic homemade paneer recipe.As u all know,making homemade paneer is very easy,healthy,hygenic,nutritious as well as low in cost when compared to store bought paneer.All u need is just a litre of milk,two lemons and a cheese cloth.Generally i use low fat milk to make paneer.It comes out super soft and stays good for a week when refrigerated in an air tight box.I have been following this method from Mrs.Mallika badrinath’s cook book for long time.I have tried with curd,vinegar and lemon juice too.Every time it comes out perfect.I am yet to try with citric acid.I have shared all the tips & tricks i learnt from my experience and observation. I hope it would be useful for beginners in cooking.I will try to upload a full video recipe soon.Lets see how to make paneer at home easily .
.

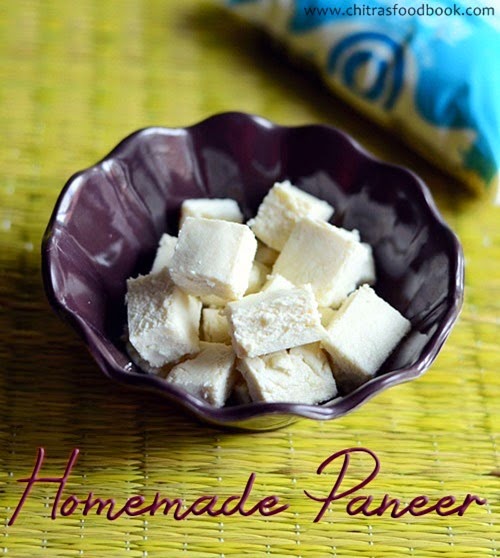
Homemade paneer recipe
 Homemade paneer recipe using lemon juice
Cuisine: Indian
Category: Cooking basics
Serves: 15 cubes
Prep time: 15 Minutes
Cook time: 2Hours
Total time: 2H15Mins
INGREDIENTS
- Low fat milk - 4 cups
- Lemon juice - 2 to 3 tbsp + equal quantity of water
- Salt - a pinch
- Cheese cloth or muslin cloth or any cotton cloth - 1 no
- Water - 1 cup or ice cubes – few
- Maida – 1/2 tbsp (optional)
|
METHOD
- Squeeze lemon juice from 2 lemons and add equal quantity of water & set aside.
- Boil milk till it froths & rises to the top.As soon as it starts to boil,switch off the flame and leave it untouched for 30 seconds.

- Now add 1 tbsp of lemon juice and stir the milk.Milk will start to curdle.Again add another 1 tbsp of lemon juice and keep stirring the milk.Milk will completely curdle and u could see the greenish whey separating from the milk.
- To this,add 1 cup of plain water or few ice cubes and let it sit for few minutes.Whey will float on top and the chenna settles down.

- Take a colander and cover it with the cheese cloth or cotton cloth.I used my cotton dupatta.Pour the curdled mixture & strain it by keeping a bowl underneath the colander.Collect the whey water & set aside.U can use this whey for curdling the milk,making rotis etc.

- Now tie the cloth & squeeze it lightly.Be careful,it would be hot.Hang the cloth under the cupboard or in a closed tap for about 30 minutes.Now all the excess water would be removed.
- Remove the chenna & add 1/2 tbsp of maida.Knead it well for 2-3 minutes.Paneer will become very soft.Make a square share or round shape as u desire.
 
- Keep it in the cloth again & close it.Place the cloth on a plate and keep some weight( a bowl of water) over the cloth and set aside for one hour.When u remove after one hour,paneer would be well set.Remove the extras,cut into cubes and store in a box.Stays good for a week when refrigerated !

|
Note
- U can use curd in place of lemon juice.In that case,use 1/4 cup of slightly diluted curd.Remaining procedure is the same.
- We should add equal quantity or even little more water to the lemon juice.By doing this way,the sourness of lemon would be reduced and the paneer wont taste sour.U don’t have to wash the paneer after straining.Its optional.
- U can follow the same procedure for vinegar too.But i guess u may have to wash the paneer after straining as the vinger smell is powerful than lemon.
- Do not boil the milk after u add lemon juice because paneer may become hard when u over boil the milk.
- And u must add some plain water at room temp or ice cubes after the milk is curdled completely.This will help the whey and chenna to separate.This is optional though.
- Do not use polyester cloth for straining paneer.Its better to use thin cotton cloth.
- Adding maida is optional while kneading.U can skip it if u don’t like.
- I usually make paneer using 2-3 days old boiled milk by refrigerating it.
|

Continue Reading...


 Homemade paneer recipe using lemon juice


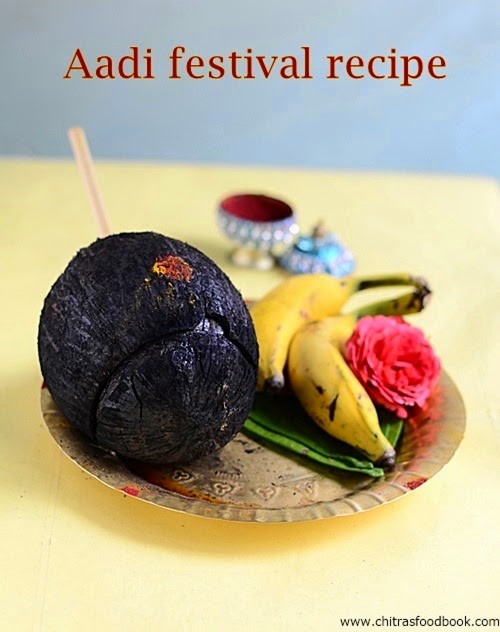


 Aadi thengai suduthal recipe for aadi pirappu/aadi pandigai


