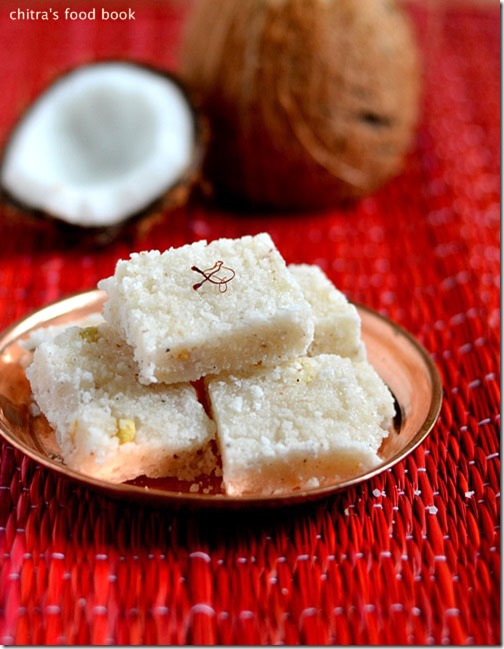
Coconut burfi/Thengai barfi in Tamil & Nariyal barfi in Hindi is one of the easiest burfi recipes that can be made within 10 minutes using three main ingredients. Just a drop of ghee is enough to make this sweet. I started making this burfi last year just to finish off the excess fresh coconut shells (thengai moodi) I got as prasadam from temples. But nowadays our family has become a big fan of coconut burfi and I make it very often. U can find many versions for this coconut burfi using milk, condensed milk (milkmaid) etc. Here I have shared a very easy recipe with easily available ingredients in our home.
Though its cooking procedure is really easy, there are certain things that need to be followed to get a white, juicy, soft coconut burfi. No worries, even a beginner can try it ! I have used little milk, Rava & fried gram dal as per my MIL’s suggestion. U can skip it always.
Ok, lets see how to make South Indian coconut burfi/thengai burfi recipe with stepwise pictures !Do include this easy burfi in your Diwali menu and treat your family members. As I say in all my sweets posts,do have a look at my “Notes” section if you are a beginner !
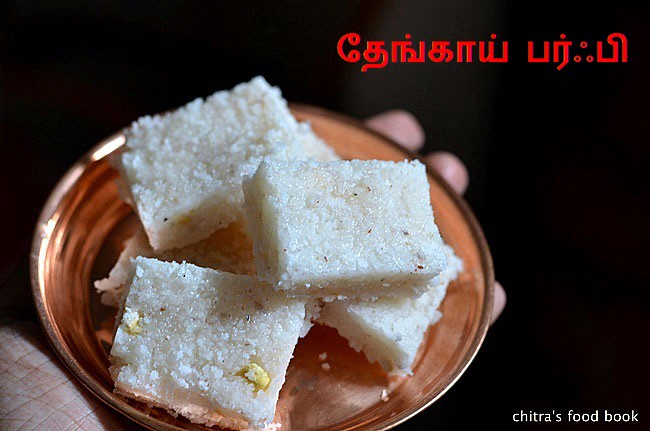
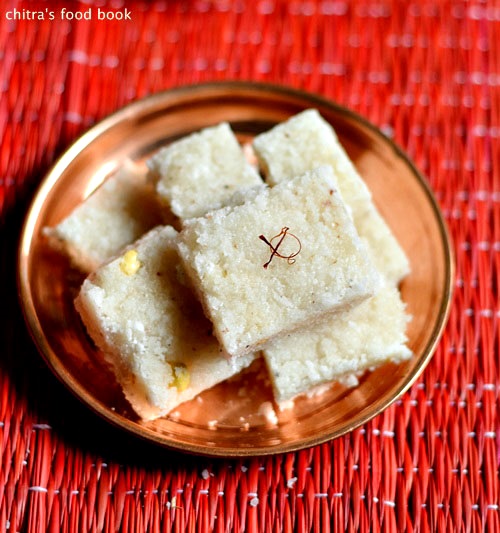
Coconut burfi/Thengai burfi recipe
 Easy coconut burfi recipe with 3 main ingredients !
Cuisine: Indian
Category: Sweet
Serves: 5 nos
Prep time: 5 Minutes
Cook time: 10 Minutes
Total time: 15 Minutes
INGREDIENTS
- Fresh grated coconut - 1/2 cup(heaped)
- Sugar - 1/2 cup
- Cardamom seeds - 2 nos (crushed)
- Milk - 1 tbsp
- Chiroti rava - 1/2 tsp (completely optional)
- Fried gram dal - 1 tbsp
- Ghee - a drop ( to grease the plate)
|
METHOD
- Grease a plate with a drop of ghee and set aside. Grate coconut carefully without scraping the brown part of it. This is the first most important point to get white coconut burfi. If you find some small pieces of coconut while you grate, dry grind the coconut gratings to a fine powder. But this step is not necessary if you have fine coconut gratings without any pieces.

- Its better to use a non-stick kadai to know the right finishing stage. Aluminium or iron kadai also works great but if you are a beginner,use non-stick kadai.
- In a wide non-stick kadai, take the grated coconut, sugar, milk and rava (if using). Switch on the flame, keep it medium and mix it.

- As u mix,sugar will melt and the mixture becomes watery. Keep the flame completely low and keep mixing the coconut mixture ( Mixing in low flame is the second important thing to get white burfi). White foamish bubbles will form all over the mixture. Keep stirring the mixture by staying nearby. Mixture will start to become thick. Bubbles will form in the sides of the pan and mixture will leave the sides of pan.
 
- As soon as the mixture starts to leave the pan, add cardamom powder and mix well for a minute. Mixture will start to form a lump. Lastly add the fried gram dal pieces and give a stir. Remove in the ghee greased plate. No problem if the mixture is slightly wet ( the last important point). It will harden in few minutes as it cools down.
- Press and level the mixture with back of spatula or butter paper. Then leave it untouched for 2 minutes. Now draw lines using a sharp knife and mark squares or diamond shapes. Let it cool. Remove and enjoy ! U can store this burfi in a box and use it for a week.( Initially burfis look half white but it changes to white as time proceeds)
 
Enjoy ! |
Note
The 4 important points to be noted are:
- Brown part of coconut should not be used. Use only white part to scrape off.
- Use low flame throughout the entire cooking process for the mixture to remain white till the end.
- Remove the mixture as soon as it thickens a bit leaving white bubbles in the sides and becomes a lump. Do not wait for the mixture to become dry completely.
- After you drop the mixture in ghee greased plate,level it/smoothen it using a spatula or butter paper to give a smooth look to burfi. Burfi will set in 2-3 minutes.
Draw lines & make shapes immediately after 2 minutes else it will be hard to make shape.
Tips for troubleshooting :
- Suppose if you remove the mixture a bit early, it won’t set. It will remain wet for long time. In that case, again transfer it to the kadai & cook it for 1-2 minutes till it thicken a bit.
- If you over do the mixture and if it becomes dry and crumbly, no worries. Add 2-3 tbsp of milk and again mix it in the kadai for a minute. It will absorb the milk & become slightly wet. Remove spread and make pieces.
You can use dessicated coconut instead of fresh coconut. But grind it using milk before adding sugar.
U can skip rava and milk while cooking if you don’t like but I used it as per my MIL’s suggestion.
U can use roasted cashew pieces instead of fried gram dal. |
Make this easy, juicy coconut burfi & enjoy !
Continue Reading...

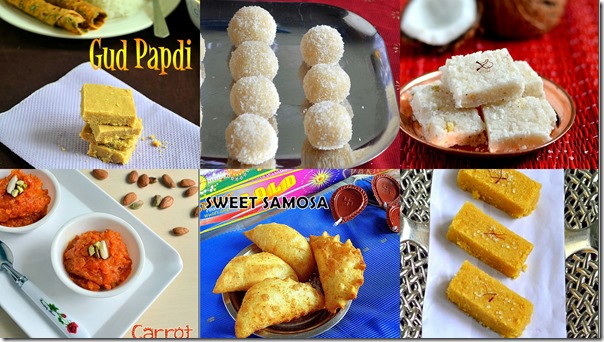

 30 easy diwali sweets for beginners.