Usually I make
sambar and
kazhani kuzhambu with raw mango. My mom makes vatha kuzhambu using dry maa vathal. We call it as mangai puli kuzhambu. For the first time, I tried vatha kuzhambu adding raw mango following my MIL’s recipe. It came out really well. I loved the juicy, flavorful, tangy, pulpy cooked raw mango in spicy kuzhambu. Its a very simple vatha kuzhambu recipe. No grinding works at all. Ideal to prepare in busy mornings for working women and bachelors.
As raw mango takes very less time to cook, this kuzhambu/gravy can be made in less than 15 minutes. Try this easy, quick mangai vatha kuzhambu recipe during this mango season and enjoy. Lets see how to make raw mango vatha kuzhambu.
Check out my other mango recipes
HERE

Raw Mango Vatha Kuzhambu Recipe
 Mangai vatha kuzhambu - Tangy, spicy gravy adding raw mango
Cuisine: South Indian
Category: Kuzhambu Recipes
Serves: 3
Prep time: 10 Minutes
Cook time: 10 Minutes
Total time: 20 Minutes
INGREDIENTS
- Raw mango - 5 pieces ( 1/2 no)
- Tamarind - Big gooseberry size
- Sambar powder - 1.5 tbsp ( Add 2 tbsp for more spicy kuzhambu)
- Turmeric powder - 1/4 tsp
- Grated jaggery – 2 tsp
- Salt & water - as needed
To temper
- Cooking oil or Gingely oil - 1.5 tbsp
- Mustard seeds - 1/ 2 tsp
- Urad dal - 1 tsp
- Cumin seeds/Jeera - 1 tsp
- Toor Dal - 1 tsp
- Small onions - 10 nos
- Garlic cloves - 15 nos
- Curry leaves - few
|
METHOD
- Wash and slice the raw mango into big pieces. Taste it and check its sourness. Based on its sourness, adjust the quantity of tamarind and sambar powder. Cook the mango pieces adding 2 cups of water. It will take 5 minutes to cook. So stay nearby and keep checking. Check it with a knife whether the mango pieces are cooked soft but firm in shape.
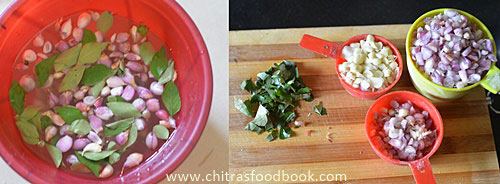
- Remove the cooked mango pieces in a plate and soak the tamarind in the remaining mango cooked water. Chop the onions, garlic cloves and curry leaves.
- Heat oil in a kadai and splutter mustard seeds, urad dal, toor dal and cumin seeds. Saute onions, garlic cloves and curry leaves until onion turns transparent.
- Take the extract from soaked tamarind and add it to the sauteed onion mixture. Add turmeric powder, sambar powder, jaggery and salt. Boil for 5-10 minutes till the gravy thickens.

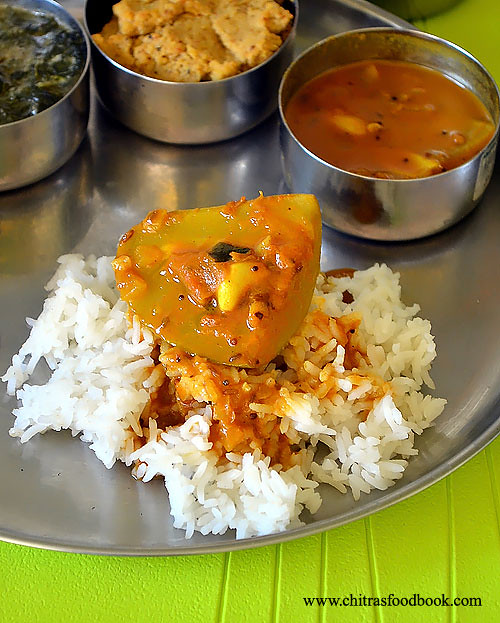
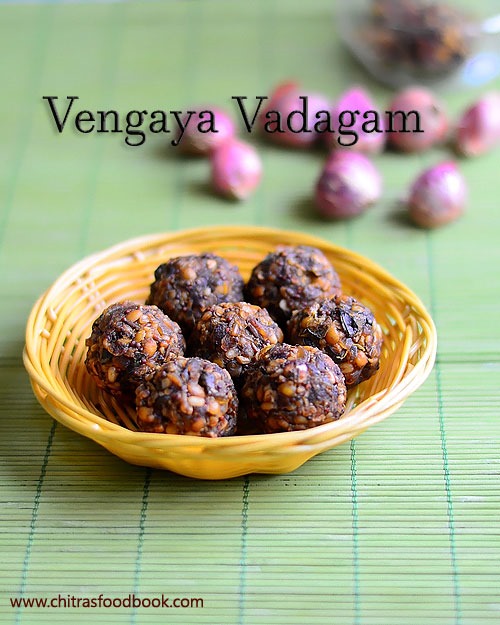
- Lastly add the cooked mango pieces, give a boil and switch off the flame after it thickens. I garnished the gravy with some fried vengaya vadagam for additional flavor. You can add a tsp of gingely oil for garnishing. Transfer the gravy to a vessel and cover it till you serve.

Enjoy with plain rice, any kootu and sutta appalam !
|
Note
- The quantity of sambar powder may vary as per the sourness of gravy. Check for taste when the gravy boils and add more sambar powder if its tastes too tangy.
- Adding jaggery helps to balance all the taste.
|
Try this easy, yummy raw mango vatha kuzhambu and enjoy mixing with hot plain rice.
Continue Reading...


 .
.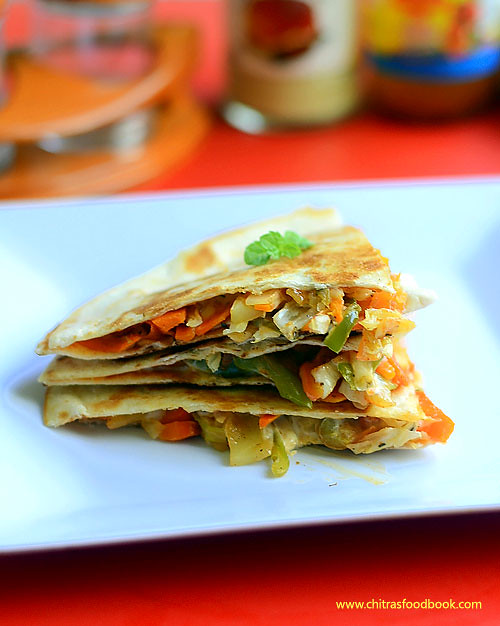
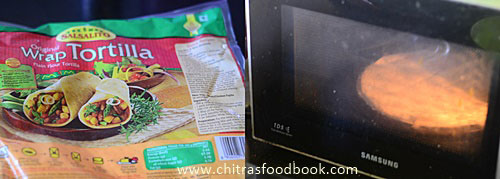
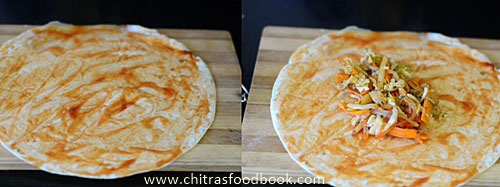
 Indian style Vegetable quesadilla recipe for breakfast/dinner
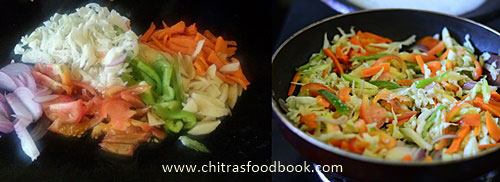


