Kovakkai / Ivy gourd / Tindora is a healthy vegetable with amazing benefits. People in Andhra makes varieties of recipes with Tindora. Recently I started making different types of kovakkai recipes in my kitchen considering its health benefits. I have tried and posted varieties of recipes in my blog so far.
Today’s recipe is a yummy and tasty, hotel style Kovakkai poriyal with simple masala. It tastes so good and flavourful. Raksha likes to eat Kovakkai only if its made as chips. But surprisingly she loved this poriyal a lot and told me to make it the same way in future. So this recipe is a super hit in my home.
Friends, do try this yummy hotel style Kovakkai poriyal at home and enjoy with sambar, rasam and curd rice. Please follow the same ingredients as given below because Oil plays an important role in this recipe. Ok, lets see how to make Kovakkai poriyal with step by step pictures and a video.
Check out my other Kovakkai Recipes below

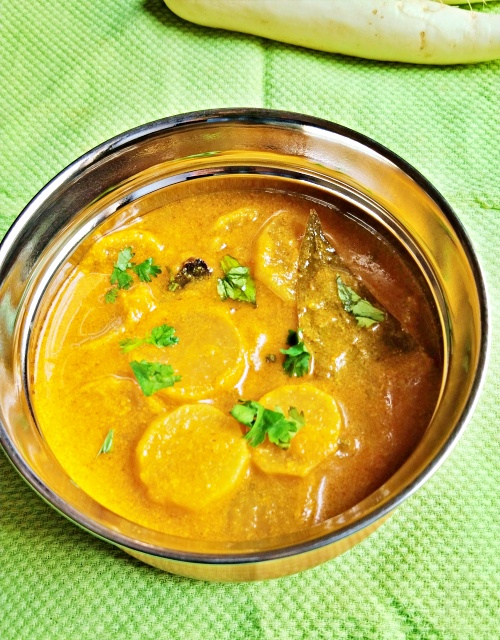
Kovakkai Poriyal | Ivy gourd stir fry recipe

Kovakkai poriyal / Ivey gourd stir fry / Tindora curry for rice
Cuisine: Indian
Category: Side dish
Serves: Serves 4
Prep time: 10 Minutes
Cook time: 20 Minutes
Total time: 30 Minutes
INGREDIENTS
|
HOW TO MAKE KOVAKKAI PORIYAL
- Wash and slice Kovakkai / Ivy gourd into thin slices vertically. Set aside.
- Wash and chop onion, garlic finely. Heat oil and splutter mustard seeds, urad dal, fennel seeds.
- Saute onion, garlic and curry leaves till onion turns transparent.
- Add the sliced Kovakkai pieces, turmeric powder, sugar and saute for 2 to 3 minutes in medium flame.
- Lower the flame and add the sambar powder, garam masala powder and salt.
- Saute in low flame for 2 to 3 minutes to coat the masala well. Sprinkle water and cover cook in low flame till kovakkai turns soft and well cooked.
- Switch off the flame and serve with rice. Enjoy !
METHOD - STEP BY STEP PICTURES
  Enjoy ! |
Note
|
Try this easy, flavourful Kovakkai masala curry and enjoy with rice.

Technorati Tags: Kovakkai poriyal,Kovakkai poriyal recipe,Kovakkai recipes,Tindora curry,Ivy gourd fry,Tindora fry,Hotel style Kovakkai poriyal