I learnt this brinjal masala gravy recipe from my friend Megha. Its a kurma kind of gravy that goes well with rice, idli, dosa and even chapathi too. Here in Bangalore, people make a brinjal gravy named as “Ennegaayi gojju” as a side dish for akki roti. This gravy tastes similar to that but not exactly. I will share authentic ennegaayi recipe soon.
I tasted this gravy once in Megha’s house and liked it a lot. I got the recipe from her immediately and wrote in my cook book. I have made this many times in my kitchen but somehow I couldn’t blog it. Today I made this brinjal gravy along with tindora curry(yet to post) for Sendhil’s lunch box and thought of sharing here.
Basically I am a big fan of brinjal recipes. I keep trying one or the other new recipes using brinjal. When I made this gravy, I became very happy that I got yet another easy, interesting brinjal gravy recipe just like my
Ennai kathirikai kuzhambu and
brinjal kara kuzhambu recipes. Brinjal lovers, do try this gravy. Its very simple to make and yummy too ! The best part is this brinjal gravy can be made directly in a pressure cooker. Do try this brinjal masala gravy for rice and enjoy !

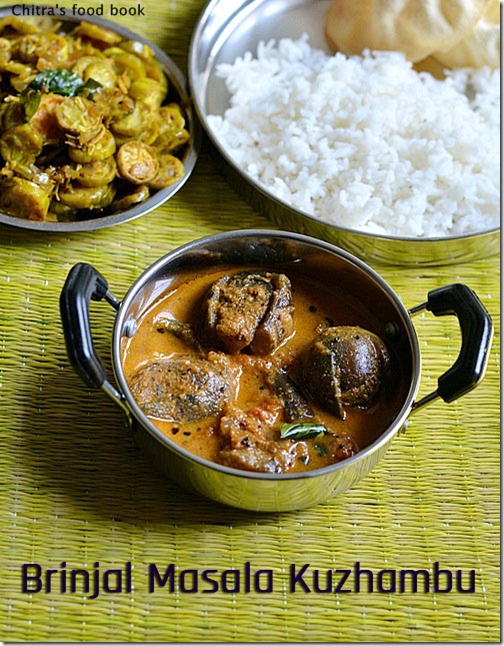
Brinjal masala kuzhambu
 Brinjal masala kuzhambu recipe - A kurma kind of gravy for rice,idli n dosa !
Cuisine: Indian
Category: Gravies
Serves: Serves 2
Prep time: 10 Minutes
Cook time: 15 Minutes
Total time: 25 Minutes
INGREDIENTS
- Brinjal - 6 nos
- Tomato - 1 no
- Big onion - 1 no(finely chopped)
- Salt & water - as needed
To grind
- Grated coconut - 3 tbsp
- Big onion - 1 no
- Ginger & garlic paste – 1 tsp ( heaped)
- Cinnamon - 1 small piece
- Cloves - 2 nos
- Coriander leaves - a fistful( 2 tbsp,chopped)
- Red chilli powder - 1 tsp ( add 1.5 tsp for spicy gravy)
- Dhania powder - 3/4 tsp
- Turmeric powder - 1/8 tsp
To temper
- Cooking oil - 1.5 tbsp
- Mustard seeds - 1/2 tsp
- Urad dal - 1/2 tsp
- Curry leaves – few
Coriander leaves – little ( to garnish) |
HOW TO MAKE BRINJAL MASALA KUZHAMBU - METHOD
- Wash and slit the brinjals into 4. Keep it immersed in water till use.
- Grind all the items given under “ to grind” to a smooth paste.

- In a pressure cooker base, heat oil and splutter mustard seeds,urad dal and cumin seeds. Saute finely chopped big onions till transparent. Add curry leaves and then add the slitted brinjals. Saute till the skin of brinjal shrinks lightly. Now add the ground masala paste and saute till raw smell vanishes.

- Then add a roughly chopped tomato and saute till slightly mushy. Lastly add water and pressure cook in low flame for one whistle. Remove the lid after the steam is released completely. Mix well.Garnish with finely chopped coriander leaves and serve with plain rice adding ghee.

|
Note
- You can replace brinjal with avarekalu/mochakottai/hyacinth beans.
- This gravy tastes the best when mixed with plain rice adding ghee. Ghee is a must here.
- You can also have this as a side dish for idli, dosa
- Here I have not used tamarind.If u want u can replace tomato with a small gooseberry size of tamarind.
- Garnish with coriander leaves for more flavor.
|
Enjoy this masala gravy mixing with plain rice and ghee.
Continue Reading...


 Nei appam recipe using Thinai/Foxtail millet