Making a super soft idli batter at home using idli rice in Indian wet grinder is a tedious task for beginners. But its not a big deal if you follow the right proportion for making idili batter. Idli is the staple breakfast recipe of our family. Before marriage , I have seen my mom grinding batter in alternate days and that too using a big wet grinder.Thank god we have got table top wet grinder nowadays. We used to eat idli twice a day for breakfast as well as dinner. Most of the times I carry idli and milagai podi for my lunch in school and college. My friends used to call me "idli " ;)). I love idli like anything. I am crazy about soft idli and spongy uthappam .I don’t like crispy dosa, strange is it??. Soft idli is a must for my dad . My mom doesn’t add methi seeds/vendhayam. She uses only idli rice and white urad dal in the ratio of 6:1.
After marriage , its the same case in my husband's family too. So I enjoy idli thrice in a week. Usually my in-laws buy 10kgs of urad dal and 25 kgs of idli rice (salem rice/ parboiled rice/ puzhungal arisi) for the whole year's use in the month of february from Lee Bazaar , Salem. Usually fresh, new, good quality of groceries will be available in the month of february - march.We buy in lots , store in an air tight box and use it for the whole year.The quality of dal will be too good , price is also very less.We use 8:1 ratio of rice and urad dal for making idli batter for few months.Idli comes out really soft. After 4-5 months as the dal gets old ,we use 6:1 ratio. Based on the quality of dal , we adjust the ratio.In addition to rice and dal , we also buy mustard seeds, methi seeds, jeera, pepper, red chillies and stock it for the whole year. So, if u want to buy fresh groceries , buy it in the month of february - march from a whole sale market in ur place, sun dry them and stock it for an year. It stays good for more than 6 months.Ok,enough of my stories.Lets see how to make soft idli & crispy dosa at home with tips & tricks!!
You might also like :

Idli Recipe - Soft Idli,Crispy dosa recipe
 How to make Soft idli and crispy dosa recipe at home
Cuisine: South Indian
Category: Breakfast recipes
Serves: -
Prep time: 10 Hours
Cook time: 10 Minutes
Total time: 10H10Min
INGREDIENTS
1 cup = 240ml
- Idli rice/ Parboiled rice /Puzhunghal arisi – 3 cups ( the ratio of rice & dal is 6:1)
- Urad dal – 1/2 cup
- Fenugreek seeds – 1/2 tsp
- Crystal Salt/Kallu uppu – 1 handful (to taste)
- Water – As needed
|
METHOD
- Wash and soak the rice.Wash and soak urad dal & methi seeds together. Soak for 4 hrs .
- Grind urad dal with fenugreek seeds first by adding enough water in between.Make sure u add water every now & then so that the urad dal rises well and u'll get a light , fluffy batter. Please do not add all the water in the beginning.For grinding urad dal , u need 1.5 - 2 cups of water in total .
- Grind till it comes out like a ball(should be a paste) (It takes nearly 15-20 mins in table-top wet grinder).Now remove it .Keep it in a big vessel such that it can hold double the quantity of batter.

- Now add the rice & crystal salt with 1/2 cup of water while the grinder is running.
- Add water in the middle (Whenever necessary).It should become a smooth paste (May take 20-25 mins in table-top). The water it consumes will be around 2- 2.5 cups.Adjust the water quantity. Now remove the rice and put it in the same vessel.

- Mix it thoroughly with your hand.(This helps for fermentation) .Let the batter ferments overnight or at least for 12 hrs.

- The next morning , don’t mix the batter again. You can mix till half way through the batter if its too light. Suppose if the batter is over flown, take the extra batter in a separate vessel. Use a ladle, mix the batter till half the way. Quantity of batter reduces. Now add the overflown batter, mix well and keep it aside. Start taking the batter from one corner and pour it into the idli mould. Even the next day,take the batter from the same side.IDLI remains very soft up to 3 days.
- Steam it in the idli pot for 10-15mins and serve hot with sambar!!

If u want to make dosa with the same batter , take the required quantity of batter separately in a bowl and add little water( 1/4 cup) to make it thin and make dosas. U'll get a crispy dosa for sure !!
NOTE: Poha/Aval is optional.U can use based on the quality of rice & urad dal.Add 1/4 cup of poha for the above recipe if u wish to use it..
Follow this method and enjoy eating soft idlies:)
Enjoy !
You Might Also Like:
|
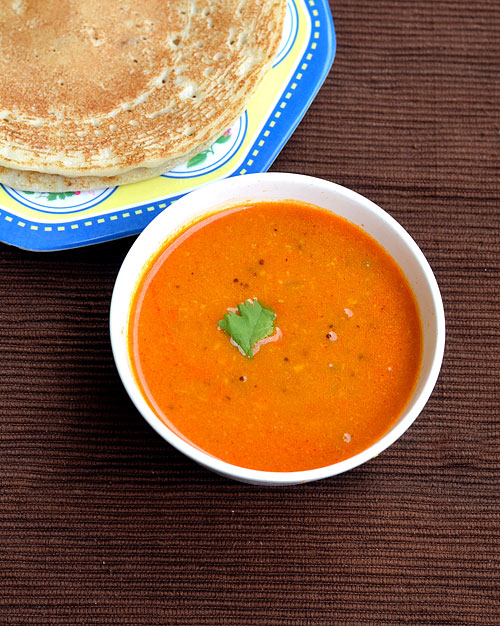
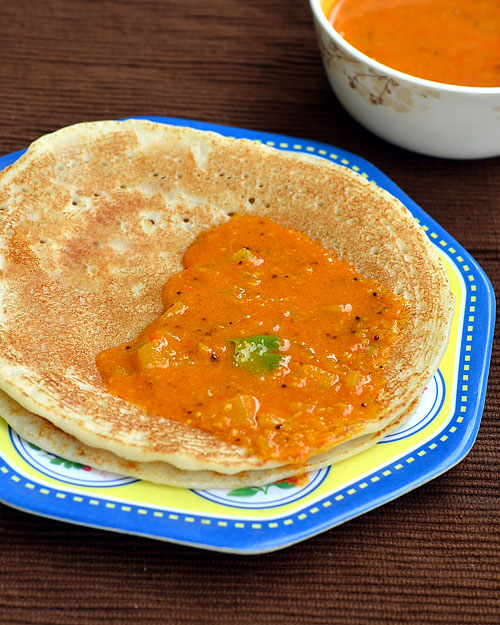
Enjoy Soft idli & crispy dosa with your favorite chutney & sambar !


")
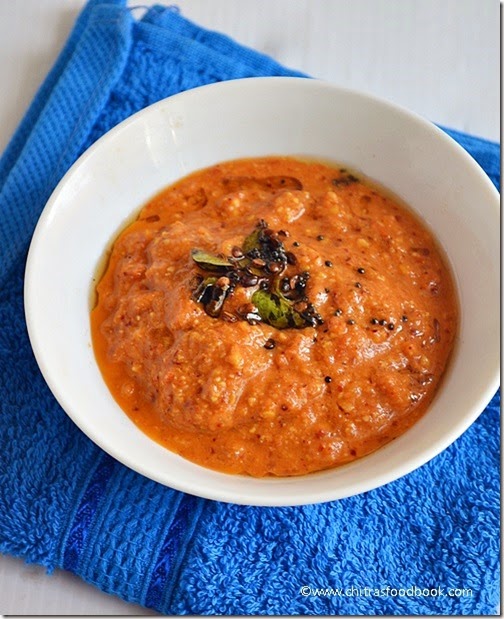
 Yummy side dish for idli.dosa - Tomatoes,onions roasted & ground with chana dal & chillies.