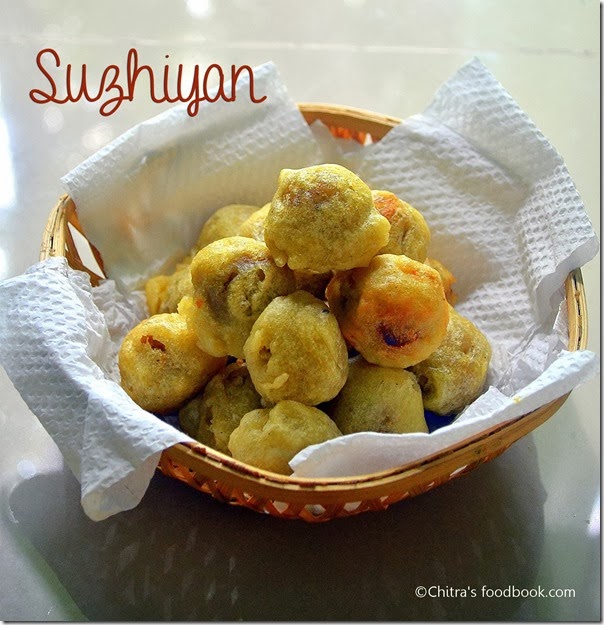
Suzhiyan is Sendhil's most favorite sweet among all the diwali recipes. People call it by different names as suzhiyam, suyyan, susiyam, sweet seeyam, sukhiyan etc. Suzhiyan sweet recipe is very easy to make. Kadalai paruppu pooranam is used for stuffing and maida, rice flour is used for outer covering.
We usually make it specially on Diwali Day and after
ganesh chaturthi with
left over
channa dal pooranam / kadalai paruppu pooranam made for kozhukattai. I learnt this recipe from my MIL.
My mom & Sister's family makes the same with coconut pooranam. In our house, we call this as suseeyam/sugin/ suyyam. Stuffing is our choice.Some people use idli dosa batter to make the outer covering of suzhiyan. But we use maida & rice flour. So I have shared recipe for outer layer of suzhiyam and our easy method of making stuffing/pooranam.
I have shared a picture of our Diwali breakfast recipes below. Hope you all celebrated Diwali very well.. I had a great Diwali
celebration in my in-laws place. I got a new saree from my in-laws and two
churidhars from my husband. I was so happy and busy in burning crackers,
eating sweets and snacks(my mil's preparation), wishing friends and relatives
and in taking pictures..
We
usually make
Medhu vadai with pepper , Suzhiyan and
adhirasam along with
idli,
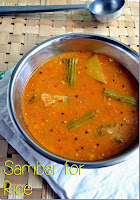
sambar for neivedyam on Diwali morning. Diwali
breakfast is like a feast for us. We have all the sweets and snacks made for
Diwali along with the above said recipes. We keep munching the savories and
sweets the whole day. We don’t even make lunch. Our only job is to watch special programmes in TV , eat
and sleep ;).
Ok, enough of my stories lets move on to Suzhiyan recipe with step by step pictures.

Suzhiyan Recipe
 Suzhiyan is a delicious, deep fried snack stuffed with chana dal pooran. We make this for neivedyam on Diwali and Ganesh chaturthi.
Cuisine: South Indian Category: Sweet / Snack Yields: 30
Prep Time: 30 Minutes Cook Time: 10 Minutes Total Time: 40 Minutes
INGREDIENTS
1 cup - 250ml
For pooranam
- Chana dal / Kadalai paruppu – 1/2 cup
- Grated jaggery – 3/4 cup ( add 1 cup for more sweetness)
- Grated coconut – 1/2 cup
- Cardamom powder – 1/2 tsp
- Water – as needed
For outer layer
- All purpose flour /Maida – 1 cup
- Besan flour – 1 tbsp (optional)
- Rice flour – 1 tbsp
- Salt – a pinch
- Cooking soda – A pinch
Oil – to deep fry |
HOW TO MAKE SUZHIYAN - METHOD
- Prepare the stuffing first. For this, pressure cook channa dal adding required water and a tsp of oil. Cook for 2-3 whistles in low flame. After the steam is released , mash the dal well with a whisk or ladle. Set aside.

- To this mashed dal , add grated coconut and jaggery. Mix till the mixture thickens and leave the sides of the pan & becomes non-sticky. Add cardamom powder. Switch off the flame and allow it to cool. Make small lemon sized balls after the stuffing becomes warm..

- In a wide bowl, take the all purpose flour , besan and rice flour. Add a pinch of salt and cooking soda. Add water to make a batter of bajji batter consistency. Batter should flow like a ribbon. It should coat the stuffing well. Put the stuffing balls in the batter.

- Heat oil in a kadai and when it gets heated , use a spoon and take a ball dipped in batter. Put 3 to 4 balls in oil and deep fry for few minutes. Keep turning both the sides for even cooking. Remove as soon as the outer cover gets golden brown spots in the center. Drain in a a colander and store in a box after it cools down. It stays good for 2-3 days.


Enjoy ! |
Note
- While cooking dal, if you add more water, drain the excess water and grind to a smooth paste. Also while adding jaggery and coconut, you don’t have to add water.Coconut and jaggery itself leaves water when it melts.
- If u want to remove the impurities of jaggery, first heat & melt the jaggery adding little water and allow it to become frothy. When it is frothy, add grated coconut and mashed dal. Mix till mixture thickens and leaves the sides.
- U can make the batter only using maida. Adding rice flour makes it slightly crispy..
- Besan flour is completely optional. Make the batter in bajji batter consistency. Do not make it too thin or too thick. The stuffing should be coated well.
- Suzhiyan stays soft and good for 2-3 days.
|

Technorati Tags:
suzhiyan,
suzhiyan recipe,
suzhiyam,
suzhiyam recipe,
susiyam,
susiyan,
diwali recipes,
diwali breakfast recipes,
diwali,
recipes,
indian recipes,
channa dal puran,
channa dal pooranam,
channa dal puran recipe,
puran recipe,
pooranam recipe,
dal pooranam
Continue Reading...

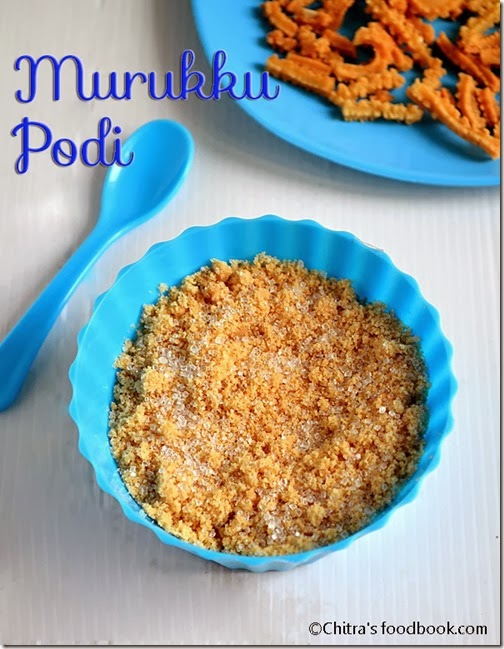

 . Yesterday i tried this with leftover magizhampoo murukku for Raksha & she loved it. More than Raksha , myself and Sendhil relished a lot and we finished the bowl very quickly .Thenkuzhal murukku podi tastes the best according to me. Do try this murukku podi for a change if u have not attempted so far..U may love it like me
  .
.
 Murukku podi/powder is a very easy kids snack recipe which can be made in minutes using leftover murukku..