
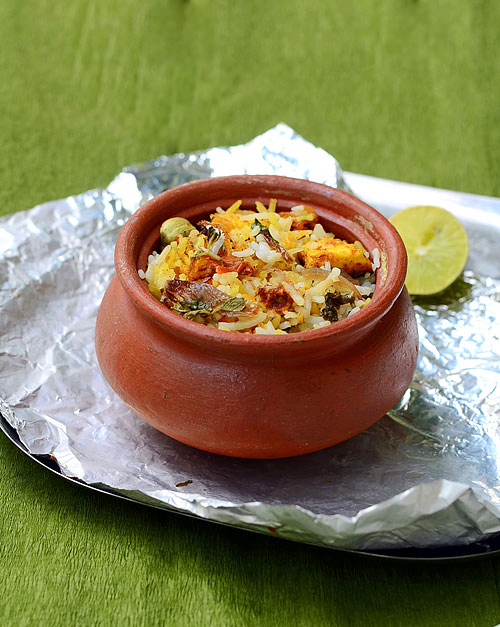
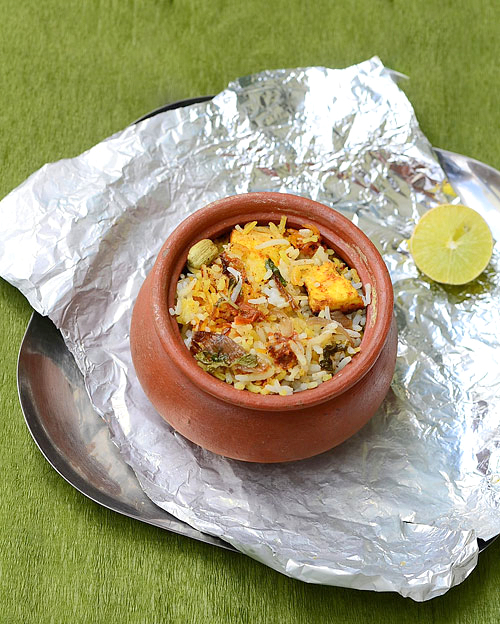
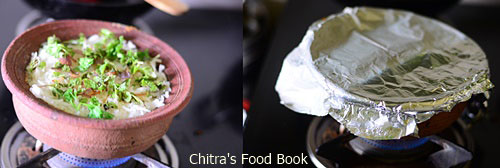
Do try this layer biryani using earthen pot/Matka for a change.You will love its flavor. The layered rice & the gravy cooked in slow fire lends an awesome taste. This is my 29th biryani recipe in my Sunday Lunch Recipes series. I am planning to finish this series with 2 more posts & thinking to start some other useful series for beginners. Do leave your suggestions in the comment box if you expect/need anything to be shared in this blog. I will surely try to implement them. Thanks for showing your continuous support & love across this series ! Lets check out how to make Vegetarian Matka biryani/Pot biryani recipe with stepwise pictures.
Click HERE to see my other biryani recipes of this series !
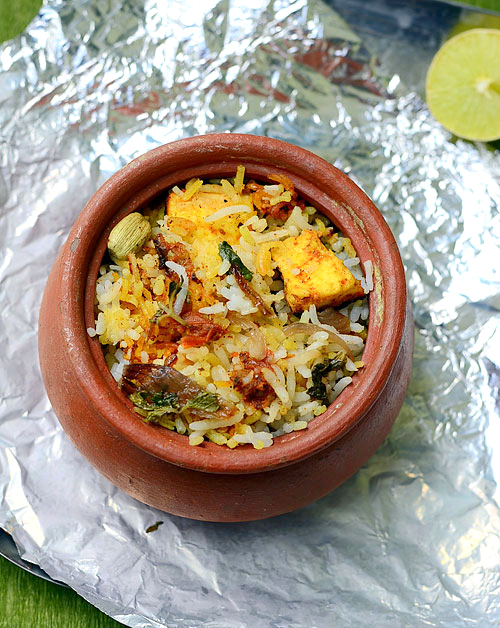
 How to make flavorful biryani in mud pot/Matka
INGREDIENTS
Click HERE to see my other biryani recipes of this series !
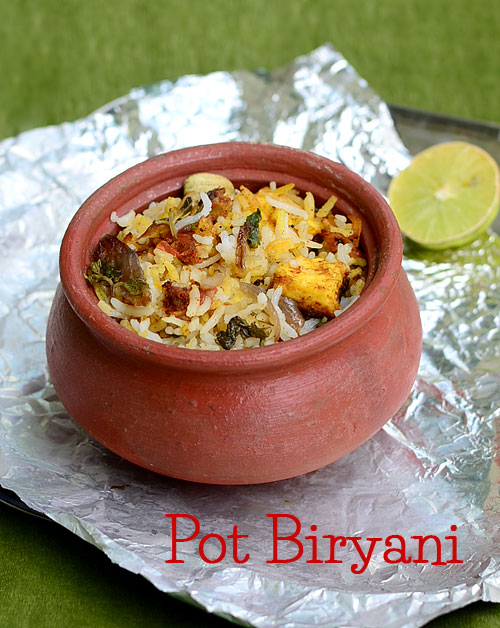
Matka Veg biryani/Pot biryani recipe
How to make flavorful biryani in mud pot/Matka
Cuisine: Indian
Category: Lunch ideas
Serves: 2-3
Prep time: 30 Minutes
Cook time: 20 Minutes
Total time: 50 Minutes
INGREDIENTS
|
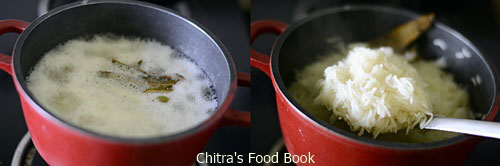
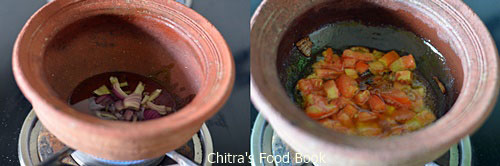
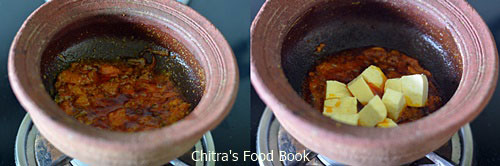
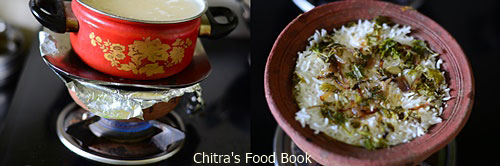
HOW TO MAKE MATKA VEG BIRYANI - METHOD
  |
Note
|
Try this easy,flavorful pot biryani.Enjoy your Sunday Lunch !
Technorati Tags: Pot biryani recipe,Pot biryani vegetarian version,Matka biryani,Layer biryani,Vegetable layer biryani,clay pot biryani,earthen pot biryani,biryani recipes,biryani varieties
Very Good Recipes Tags: Pot biryani recipe, Pot biryani vegetarian version, Matka biryani, Layer biryani, Vegetable layer biryani, clay pot biryani, earthen pot biryani, biryani recipes, biryani varieties


[6].jpg)