Search Chitra's Food Book

September 19, 2020

Onion Raita / Thayir Pachadi For Biryani–How To Make Raita For Biryani

Many of you may wonder by seeing a post for onion raita recipe (Vengaya thayir pachadi in Tamil). But yes, making perfect onion raita is also a bit tricky. Sometimes it looks very thick or too watery with onions separated from curd. Basically Onion raita / Vengaya thayir pachadi is an easy and quick side dish for biryani and pulao. I serve it for paratha and masala chapathi too. It is prepared by mixing sliced raw onions with fresh curd/ yogurt. I would say onion raita is not only easy to make but also the best side dish for biryani as it is healthy and helps to enhance digestion of biryani. Raw onion mixed with curd helps to prevent skin infection and hair fall.

Its advisable to consume onion raita during day time than night. Also it can be stored upto one day in refrigerator but I like to serve and eat it fresh rather than storing and consuming the leftovers because you may catch cold after storing in the fridge.

In some hotels, finely chopped green chilli and coriander leaves is added in onion raita. It looks colorful and gives a mild spicy taste too. My friends here add grated carrot, finely chopped cucumber and tomato in onion raita. Sometimes they give tadka with mustard seeds, cumin seeds and curry leaves. It tastes good for vegetable pulao.

Even though there are varieties of raita recipes like boondi raita, gooseberry raita, lady’s finger raita, banana stem raita, raita with greens like mint leaves, coriander leaves, this onion raita is the basic and the mostly preferred one. Ok, lets see how to make this easy and simple onion raita for biryani !


Onion Raita Recipe - Thayir Pachadi for biryani


Onion Raita Recipe - Thayir Pachadi for biryani

Onion raita recipe - Thayir pachadi recipe for biryani. Easy and simple side dish recipe !


Cuisine: Indian
Category: Side dish
Serves: Serves 2
Prep time: 5 Minutes
Cook time: 5 Minutes
Total time: 10 Minutes
 
1 cup = 250ml
  • Fresh curd / Yogurt - 1 cup
  • Big onion - 1 (sliced thinly or finely chopped)
  • Salt - as needed
  • Coriander leaves - 1 tbsp (finely chopped)
  • Green chilli - 1 (optional, finely chopped)
HOW TO MAKE ONION RAITA / THAYIR PACHADI FOR BIRYANI
  1. Wash and peel the onion. Slice it thin lengthwise or chop finely.
  2. Take them in a bowl. Add required salt and mix well. Set aside.
  3. Take 1 cup of fresh curd and whisk it smooth without adding water.
  4. Add the curd to the onion. Mix well and add finely chopped coriander leaves.
  5. Mix well and serve with biryani or pulao !
METHOD - STEP BY STEP PICTURES
  • Wash and peel the onion. Slice it thinly in lengthwise or chop it finely.

  • Take it in a bowl and add the required salt. Mix well and set aside. In the mean time, whisk the thick curd till smooth without adding water.

  • Add the whisked curd to the onion mixture. Add finely chopped coriander leaves. Mix well and serve immediately for best taste. (If you want to serve later, refrigerate the raita in a closed container up to one day).

  • For variations, you can temper some mustard seeds and curry leaves. Add to raita and mix well. Enjoy !

Note

  • For variations and to make it more healthy, you can add grated carrot, finely chopped cucumber, finely chopped tomato.
  • Mixing onion and salt leaves water. So do not add water in the raita. If you feel the raita is too thick after mixing with onion, you can add a tsp of water.
  • If you add water, raita will become watery over the time.

Easy, yummy, simple onion raita is ready to serve with biryani, pulao and paratha !


Continue Reading...


September 15, 2020

Rabri Recipe - How To Make Rabdi Without Condensed Milk

Making traditional rabdi/ rabri at home without condensed milk and khoya was in my long time pending list. Rabdi is basically a North Indian special dessert recipe prepared by boiling and reducing the milk till thick by collecting the malai(skin of milk). Its also known as lachha rabdi in Hindi.

Last year, when I prepared instant Malpua, I tried instant rabdi recipe with condensed milk in microwave. It was so quick and easy. After that, I prepared this traditional method of making rabdi for Krishna jayanthi to post under North Indian Krishna Janmashtami special recipes. Though this traditional rabdi is a time consuming process, the end result makes you forget the pain.

I have always thought rabdi and South Indian special dessert basundi are the same. But after preparing this rabri from scratch, I found there are some differences between rabdi and basundi in consistency, taste and method of preparation. Rabri is thicker than basundi. You can enjoy it warm or serve it chilled. You can enjoy eating as such or with malpua, jalebi, shahi tukda or even with gulab jamun. Tastes so good !

Ok friends, lets see how to make rabdi / rabri at home with step by step pictures and video.


Rabdi Recipe - How to make Rabri for malpua


Rabdi Recipe - How to make Rabri for malpua

Rabdi Recipe - How to make Rabri for malpua at home


Cuisine: North Indian
Category: Sweet
Serves: 2
Prep time: 5 Minutes
Cook time: 20 Minutes
Total time: 25 Minutes


INGREDIENTS
1 cup = 250ml
  • Full cream Milk - 1/2 liter ( 2 cups)
  • Sugar – 1.5 to 2 tbsp (adjust)
  • Chopped cashews, almond, pista - a handful
  • Saffron threads - few
  • Cardamom powder - 1/4 tsp
  • Rose water - few drops
HOW TO MAKE RABDI / TRADITIONAL RABRI RECIPE
  1. Pour the full cream milk in a kadai.
  2. While the milk boils, keep collecting the malai/ cream/skin that forms on top.
  3. Bring the cream to the sides of kadai and collect it.
  4. Add sugar, saffron and cardamom powder once the milk is reduced to 1/3rd.
  5. Boil for few more minutes till its reduced to 1/4th of its quantity. Switch off the flame.
  6. Scrape the malai from sides of kadai and mix with the milk.
  7. Remove and add rose water, garnish with chopped nuts.
  8. Serve warm or chilled with Malpua, Gulab jamun, Shahi tukda, Jalebi !
METHOD - STEP BY STEP PICTURES
  • Pour the thick, full fat milk in a wide based kadai. Boil well. When the milk starts to rise, lower the flame and let it boil. Keep a wooden ladle over the kadai diagonally. It helps to prevent spilling of milk when it boils in medium flame. While it boils, cream/skin forms on top of milk which is called as malai in Hindi / paalaadai in Tamil . Keep the flame low to medium.

  • Use a ladle or spoon and move the cream to the sides of kadai. Repeat the same and collect it in the sides of kadai. Do not stir the milk continuously because malai won’t form on top. So boil the milk patiently in low to medium flame such that malai keeps forming on top. But don’t forget to stir the milk occasionally till the bottom of kadai because there are chances of milk getting burnt in the bottom.
    rabdi recipe
  • Collect the malai and deposit in the side of kadai. Milk boils and reduce in quantity. In the mean time, you can chop the nuts and set aside. Once it is reduced to 1/3rd of its quantity, add sugar, saffron threads, cardamom powder.
    rabdi recipe
  • Mix well and boil till the sugar melts. Milk turns slightly yellow in color. When the milk is reduced to 1/4th of its quantity, switch off the flame. Scrape the malai from the sides of kadai and add to the milk. Mix well and serve. Rabri thickens as it cools down. So switch off at the right stage. Make sure its not thick.
    rabdi recipe
  • Lastly add few drops of rose water and chopped nuts.(I din't blanch the badam. I used it with skin). Mix well and serve warm or chilled by refrigerating it for an hour. You can serve and consume as such or serve with rabri with malpua, gulab jamun, jalebi, Imarti or with shahi tukda. Enjoy !

Note

  • Do not stir the milk continuously or often because it prevents the formation of cream on top of milk.
  • Don’t forget to stir the milk occasionally otherwise milk gets burnt in the bottom of pan.
  • Adjust the quantity of sugar as per your taste buds.
  • Do not skip rose water or use kewra essence for a nice and unique flavor to rabdi.
  • Do not make it too thick because rabri thickens as it cools down. So switch off the flame when its slightly thin in consistency. Adding malai makes it thick.
  • I din't blanch / peel the skin of almonds/ badam. If you wish, you can do it by soaking in hot water for 30 minutes.

Try this traditional Rabdi recipe at home and enjoy !


Continue Reading...


September 10, 2020

Instant Ragi Idli – Ragi Rava Idli | Ragi Sooji Idli Recipe

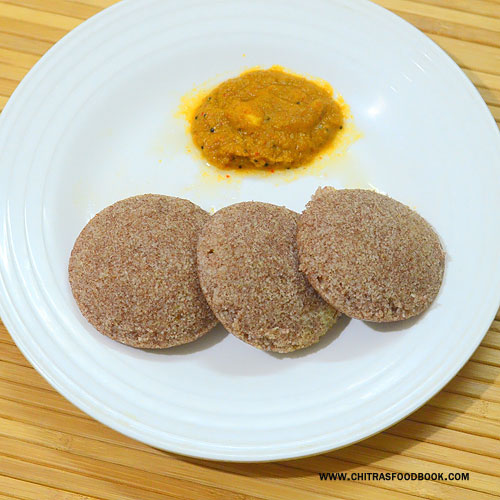
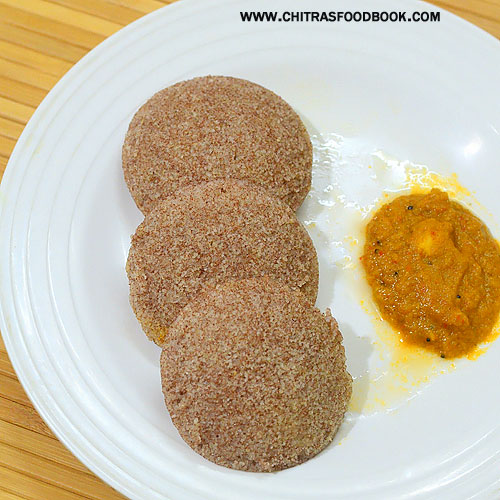
Instant ragi idli recipe

I have been making this instant ragi idli with ragi flour(finger millet flour in English) and rava/suji / sooji(Semolina in English) at least once in a week for the past few months. Usually I make instant ragi dosa or ragi adai. As I got bored of those dishes, I wanted to try some varieties of ragi recipes. As a result of this, I tried Instant ragi idli, ragi idiyappam and ragi mudde these days. All the dishes came out well in the first attempt itself. Still I wanted to blog them after few trials.

So today I am confidently sharing this instant ragi idli which can be prepared under 10 minutes. In this recipe, I have used equal amount of ragi flour (Nachni in Hindi, finger millet in English), unroasted suji/ Bombay rava/ Semolina along with curd, baking soda and salt. If you want to make this ragi idli without soda, you can use Eno fruit salt instead. Similarly if you want to make this idli without curd or with less curd, you should use more water and baking soda. But I would strongly recommend to use curd and use less baking soda which is good for health. Its a diabetic friendly and diet friendly recipe. People who look for weight loss can have this for dinner. It keeps your tummy full over the night.

I have tried this instant ragi idli with many side dish combination. But I felt tomato based side dishes suits well for this ragi idli as it tastes bland. So you can make tomato chutney, tomato mint chutney, tomato capsicum chutney or tomato thokku. I make one of these side dishes regularly. If you like, you can try with coconut chutney, tiffin sambar or idli podi / gun powder too.

Ok friends, lets see how to make instant ragi idli recipe with ragi flour and rava with step by step pictures and video.


Instant ragi idli

Instant Ragi Idli

Instant ragi idli recipe


Instant ragi idli recipe

Instant ragi idli recipe using ragi flour , rava / suji, curd and baking soda


Cuisine: Indian
Category: Main course
Serves: 15
Prep time: 10 Minutes
Cook time: 20 Minutes
Total time: 30 Minutes
1 cup = 250ml
  • Ragi flour / Finger millet flour - 3/4 cup
  • Unroasted rava / Suji / Semolina - 3/4 cup
  • Curd / Yogurt - 1.5 cups
  • Baking soda - 1/4 tsp
  • Salt and water - as needed
HOW TO MAKE INSTANT RAGI IDLI
  1. In a wide bowl, mix ragi flour, unroasted rava/suji, salt and curd.
  2. Mix well and add little water to bring into thick idli batter consistency.
  3. Add baking soda at the end. Mix well and rest for 5 minutes.
  4. In the mean time, roll boil water in idli pot and grease the idli plate.
  5. Pour idli batter in greased mould and steam it for 10 to 15 minutes till tooth pick comes out clean.
  6. Remove the idli plate and rest for few minutes. Now scoop out the idli using a ladle or spoon.
  7. Serve hot with tomato, onion chutney as side dish. Tastes great !
METHOD - STEP BY STEP PICTURES
  • In a wide bowl, mix ragi flour, unroasted rava/suji, salt and curd. Mix well.
    Instant ragi idli recipe
  • Add required water gradually and mix to make a thick batter. Do not use more water. I used 3/4 cup water but its quantity differs based on the consistency of curd. Add baking soda and mix well. 
  • Rest the batter for 5 to 10 minutes. Mix well and check the consistency of batter. It should be thick but pourable. 
  • Do not make the batter thin or watery. Idli becomes sticky and flat.
    Instant ragi idli recipe
  • In the mean time, boil water in idli pot. Grease idli plate with gingely oil. Pour idli batter in each mould. You can also make this idli by spreading cloth in idli plate.
    Instant ragi idli recipe
  • When the water starts to roll boil, keep the idli plate. Steam it for 10 to 12 minutes till toothpick comes out clean.

  • Remove the idli plate, rest for 2 minutes. Then remove the idli using a spoon or ladle.
    Instant ragi idli recipe
  • Serve hot with tomato chutney, tomato mint chutney, tomato capsicum chutney or tomato thokku. We love these side dishes. Enjoy !

Note

  • For variations, you can ENO fruit salt instead of baking soda. Use 1/2 tsp for this recipe.
  • Do not reduce the quantity of semolina. Equal amount of ragi flour and rava helps.
  • The most important point to note is : batter should be thick and pourable. Do not make thin batter. Idli becomes sticky and flat.
Enjoy this healthy, Instant ragi idli and share your feedback with me!
Instant ragi suji idli
Continue Reading...


September 6, 2020

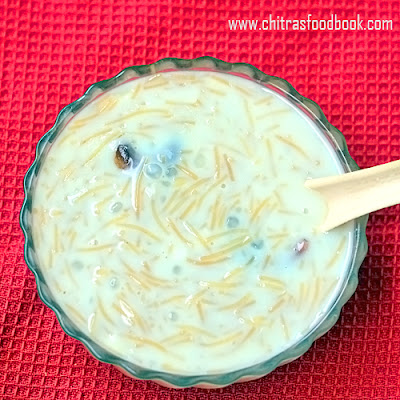
Semiya Javvarisi Payasam–Sago Vermicelli Kheer Recipe

semiya javvarisi payasam
My aachi and mom makes semiya javvarisi payasam / sago vermicelli kheer adding nylon javvarisi very often. It can be prepared instantly without soaking and it cooks quickly too. She makes this yummy Indian dessert recipe for all the celebrations, occasions, festivals at home and specially for guests. I have never seen them making semiya payasam without javvarisi. My mom says addition of sago in semiya payasam helps to give more yield and also gives an appealing look to see the transparent tapioca pearls swimming with vermicelli in milk. You would have seen this kind of watery payasam in marraige feast and hotels. They serve in a small cup in drinkable consistency. In my house, both aachi and amma use nylon javvarisi (crystal, small sago) which is commonly found in Tamilnadu. But I have never tried kheer in this combination as I don’t get nylon javvarisi here. I can get white, big, pepper sized sago which we call as maavu javvarisi in Tamil. I thought javvarisi semiya payasam can be prepared only with small sized javvarisi.

Recently when I was talking to my mom and MIL, they told me to try semiya javvarisi payasam using this white sago itself. They told me the method and measurements clearly along with some tips. So I prepared it yesterday for my Thursday Guru pooja. Usually I make white, big sago payasam by soaking it at least for 4 to 8 hours or overnight. But yesterday I prepared this payasam by soaking the sago in hot water for just 15 minutes. It came out so well. I was so happy with the end result. Soon I will try to share this payasam recipe in a pressure cooker easily. For variations, you can use condensed milk / milkmaid instead of sugar.

Friends, now you too can make this yummy semiya javvarisi payasam irrespective of the sago variety by following this recipe with step by step pictures. I have also taken a video but iam yet to edit it. I will try to add the video soon.
Sago vermicelli kheer


Semiya javvarisi payasam


Semiya javvarisi payasam

Semiya javvarisi payasam / sago vermicelli kheer in Tamilnadu style.


Cuisine: Indian
Category: Dessert
Serves: 3
Prep time: 10 Minutes
Cook time: 20 Minutes
Total time: 30 Minutes


INGREDIENTS

  • Semiya / Vermicelli – 1/2 cup (roasted)
  • Javvarisi / Sago – 1/4 cup (big ones or nylon)
  • Hot water – to soak javvarisi
  • Water – 2 to 2.5 cups ( to cook javvarisi and semiya)
  • Boiled Milk at room temperature – 2 cups
  • Sugar – 3/4 cup
  • Cardamom -3 (crushed)
  • Cashew nuts - 5 (whole)
  • Dry grapes - 10
  • Ghee - 1 tbsp
HOW TO MAKE SEMIYA JAVVARISI PAYASAM
  1. Wash and soak javvarisi in hot water for 15 minutes.
  2. In the mean time, heat 1 tbsp ghee in a kadai.
  3. Roast cashew nuts and dry grapes till golden. Remove in a plate.
  4. Roast semiya for 2 minutes. Remove in a plate.
  5. Roll Boil 2 cups of water in a vessel. Add the soaked javvarisi.
  6. Cook in medium flame for 10 to 15 minutes till its semi transparent.
  7. Add the roasted semiya and cook for another 10 minutes.
  8. Both semiya and javvarisi will be well cooked, soft and transparent.
  9. Add sugar, cardamom powder, roasted nuts. Mix well and boil till sugar melts.
  10. Switch off the flame once payasam becomes thick.
  11. Add boiled milk at room temperature to the hot payasam. Add half the quantity of milk for thick payasam.
  12. Mix well and serve!
METHOD - STEP BY STEP PICTURES
  • Take a bowl and add the sago (I used white ones). Add hot water till 1 inch above the sago. Soak it for 15 minutes.

    semiya javvarisi payasam recipe


  • In the mean time, heat 1 tbsp ghee in a kadai. Roast cashews till light golden in color. Add the dry grapes and roast till bulgy. Remove cashews and dry grapes in a plate. Set aside. 
  • Add semiya / vermicelli to the remaining ghee. Roast for 2 minutes. If you use unroasted semiya, roast till it turns light golden in color. It takes 5 to 7 minutes in low flame. I used roasted semiya. So I did it for 2 minutes.
    semiya javvarisi payasam recipe
  • Take 2 cups of water in a pan. Let it roll boil. Add the soaked sago pearls. Mix well. Let it cook in low to medium flame for 10 minutes. You can cover and cook it. Stay nearby and keep an eye on it. Stir it twice in the middle to avoid sticking to the bottom of pan. Cook till it becomes semi transparent. You should see less white parts in sago.
    semiya javvarisi payasam recipe
  • Once the sago is 3/4th cooked, add 1/2 cup more water and add the roasted vermicelli. Cover and cook till its done. It takes another 10 minutes in low to medium flame.
    semiya javvarisi payasam recipe
  • After the semiya and javvarisi are well cooked, add sugar and crushed cardamom. Mix and boil till sugar melts. Payasam becomes thick. Now switch off the flame. semiya javvarisi payasam recipe
  • Add boiled milk at room temperature to the hot payasam. Add milk according to the consistency you like. Do not boil the payasam after adding milk. It may give a curdled look. For thick, spoonable payasam add 1 cup milk. For thin, drinkable payasam, add 2 cups milk. Lastly add the roasted nuts. Mix well and set aside.semiya javvarisi payasam recipe


  • This payasam will remain in the same consistency for few hours. It won't become thick as we are adding milk at room temperature. It will thicken if you add hot milk or less milk. I made in a drinkable consistency like the ones served in marriages and hotels. You can enjoy drinking hot or refrigerate and serve cold as per your wish.  Enjoy !

Note

  • For less sweetness, add 1/2 cup sugar.
  • Do not add more javvarisi than the mentioned quantity because adding more sago gives a porridge look to the payasam I feel.
  • While cooking javvarisi, stay nearby and keep checking it else javvarisi dissolves in water.
  • If you are using nylon variety sago, you have to dry roast it till puffy and white. Then cook it along with semiya because it takes lesser time to cook than the white, big sago.
  • Do not roll boil the payasam after adding milk. If you want to heat it, do in very low flame.
  • For variations, you can add a tbsp of badam milk powder at the end. 
Try this easy, yummy semiya javvarisi payasam and enjoy !
Semiya javvarisi payasam

Continue Reading...


September 1, 2020

Beans Mezhukkupuratti - Kerala Style Beans Stir Fry Recipe

Beans mezhukkupuratti
Beans mezhukupuratti is one of the easy and yummy Kerala style side dish for rice. Its a stir fry recipe without coconut. I have tried many side dish recipes for every Onam sadya menu. But I love this one as the onion garlic masala adds a nice flavor and taste to this mezhukupuratti. I have been following this recipe for the past few years. I have also tried with red chilli ans chilli powder. Both comes out well. But mezhukkupuratti with chilli powder is my personal favorite. You can follow the same recipe and use raw banana, potato or long beans instead of green beans. Friends, do try this yummy Kerala style beans mezhukupuratti / beans stir fry recipe following the step by step pictures and share your feedback.

Check out my other Kerala recipes too.

Beans mezhukkupuratti recipe

Kerala style beans stir fry - Beans mezhukkupuratti


Kerala style beans stir fry - Beans mezhukkupuratti

Kerala special stir fry for rice - Beans mezhukkupuratti recipe


Cuisine: Kerala
Category: Side dish
Serves: 2
Prep time: 10 Minutes
Cook time: 20 Minutes
Total time: 30 Minutes


INGREDIENTS
  • French Beans - 2 cups (cut into 1cm length)
  • Salt and water - as needed
To grind to coarse paste
  • Small onions- 8 
  • Garlic cloves – 5 
  • Chilli powder or red chilli – 1 tsp or 2
  • Turmeric powder - 1/4 tsp
To temper
  • Coconut oil – 2 tbsp
  • Mustard seeds - 1/2 tsp
  • Curry leaves - few
HOW TO MAKE BEANS MEZHUKUPURATTI
  1. Wash and chop beans to 1 inch length. Cook till soft and firm. Set aside.
  2. Grind onion, garlic, chilli powder and turmeric powder to a coarse paste without adding water.
  3. Heat coconut oil in a kadai. Temper mustard seeds, curry leaves.
  4. Add the ground masala and saute for few minutes. Add cooked beans and mix gently.
  5. Cook till it raw smell vanish, beans look dry and shiny.
  6. Switch off the flame and serve with rice.
METHOD - STEP BY STEP PICTURES
  • Wash and chop the beans to 1 inch length. Pressure cook in high flame for 2 whistles adding less water or cook in a pot till its soft but firm in shape. Drain the excess water and set aside.
  • In the mean time, grind onion, garlic cloves , red chilli powder or red chilli to a coarse paste without adding water. Wipe the sides of  mixie and grind again till you make a coarse paste. Set aside.
    Beans mezhukkupuratti recipe
  • Heat coconut oil in a kadai. Splutter mustard seeds, urad dal and curry leaves.
  • Add the ground masala, cooked beans and saute for few minutes. If its sticking to the pan and looks too dry, sprinkle few drops of oil or water.
    Beans mezhukkupuratti recipe
  • Add required salt, turmeric powder and mix well in low flame. Sprinkle little water if needed and cook till raw smell of onion garlic masala vanish.
    Beans mezhukkupuratti recipe
  • Saute till beans looks dry and shiny. It gives a nice smell too. Now switch off the flame. Rest for sometime and then serve with rice, sambar. Enjoy !

Note

  • For variations, you can use raw banana, potato, long beans and follow the same procedure.
  • You can use red chilli powder or red chilli while grinding.
Easy, yummy Kerala style beans stir fry is ready to enjoy with rice.
 Beans mezhukkupuratti kerala style

Continue Reading...


August 26, 2020

Cabbage Thoran - Kerala Style Cabbage Stir Fry Recipe

cabbage thoran recipe
Kerala style cabbage stir fry / cabbage thoran with coconut is our family favorite side dish for rice. This sadya style cabbage thoran is a very easy recipe that is prepared with simple ingredients like coconut, cumin, ginger, small onion and green chilli ground to a coarse paste, mixed to the finely shredded cabbage and stir fried to cook it. It tastes so good and tastes much better than my regular cabbage poriyal. Even cabbage haters would love this  Kerala thoran recipe.

Usually cabbage thoran can be prepared without onion too. But some people use onion, carrot for variations. Some also make it without coconut. I will try to post that version too. Here is the most popular, Onam sadya style cabbage thoran recipe with step by step pictures.

Cabbage Thoran Recipe


Cabbage Thoran Recipe Kerala Onam Sadya style cabbage thoran recipe / Cabbage stir fry for rice.

Cuisine: Kerala
Category: Onam recipes
Serves: 4
Prep time: 10 Minutes
Cook time: 20 Minutes
Total time: 30 Minutes


INGREDIENTS
1 cup = 250ml
  • Shredded or finely chopped cabbage - 3 cups (I used half of medium sized cabbage)
  • Turmeric powder - 1/2 tsp
  • Salt - as needed
  • Water - Few tbsp ( optional, use only if needed)
To Grind
  • Grated coconut - 1 /2 cup
  • Green chilli - 2 to 3
  • Small onion - 6 or big onion - 1
  • Cumin seeds - 1 tsp
  • Ginger - 1 inch piece
To Temper
  • Coconut oil - 1.5 tbsp
  • Mustard seeds - 1 tsp
  • Urad dal - 2 tsp
  • Red chilli - 1
  • Curry leaves - Few
HOW TO MAKE CABBAGE THORAN RECIPE
  1. Wash and shred/ chop the cabbage finely or slice it thinly.
  2. Grind coconut, green chilli, ginger and cumin seeds to a coarse paste without adding water.
  3. Take the chopped cabbage, ground coconut paste, turmeric powder and salt. Mix well.
  4. Heat coconut oil in a kadai. Splutter mustard seeds, urad dal, red chilli and curry leaves.
  5. Add the cabbage mixture and saute in low to medium flame.
  6. Cover and cook in low flame till cabbage turns soft. Remove and serve hot with rice.
METHOD - STEP BY STEP PICTURES
  • Wash and remove the thick white, central part of cabbage. Shred / finely chop the cabbage or chop into thin slices by cutting in the corners.  Collect in a big plate or bowl.
  • cabbage thoran recipe

  • Grind coconut, green chilli, ginger and cumin seeds to a coarse paste without adding water.
  • cabbage thoran recipe

  • Add this coarse paste to the finely chopped cabbage, turmeric powder and required salt. Mix well and set aside.
  • cabbage thoran recipe

  • Heat oil in a kadai and when it gets heated, splutter mustard seeds, urad dal, red chilli and curry leaves. Add the cabbage mixture and saute in medium flame for few minutes. Cover it with a lid and cook in low flame till its soft and well cooked. (If necessary you can sprinkle little water and cover cook it).
    cabbage thoran recipe cabbage thoran recipe
  • Switch off the flame and serve with rice, sambar. Enjoy !

Note

  • For variations, you can crush onion, cumin seeds and green chilli and add to cabbage. In that case, you can add grated coconut at the end and mix it.
  • You can also try sauting onion, green chilli and then add shredded cabbage to make this thoran.
  • To make it more colorful, you can add some finely chopped carrot along with cabbage.

Try this easy, yummy Kerala style cabbage thoran recipe and share your feedback with me.
cabbage thoran recipe
Continue Reading...


August 19, 2020

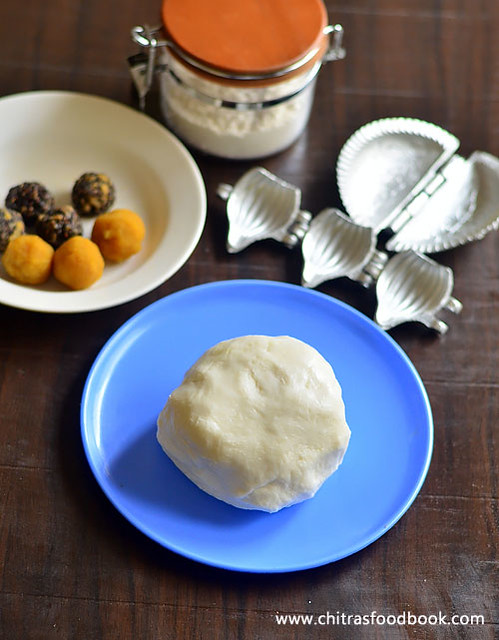
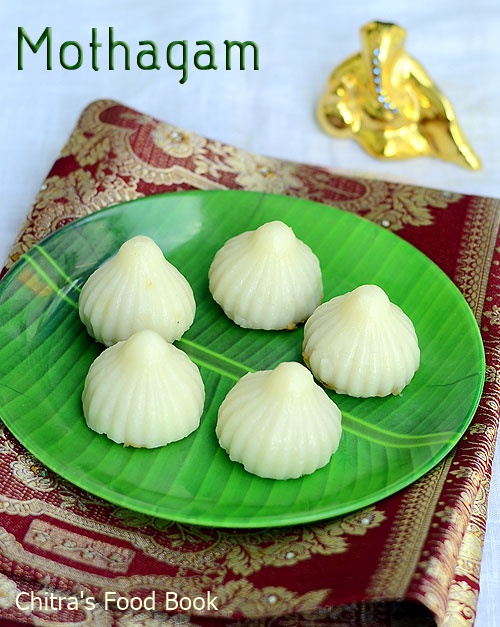
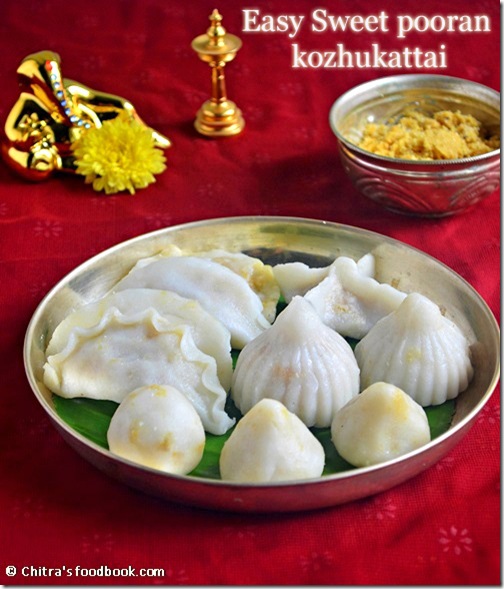
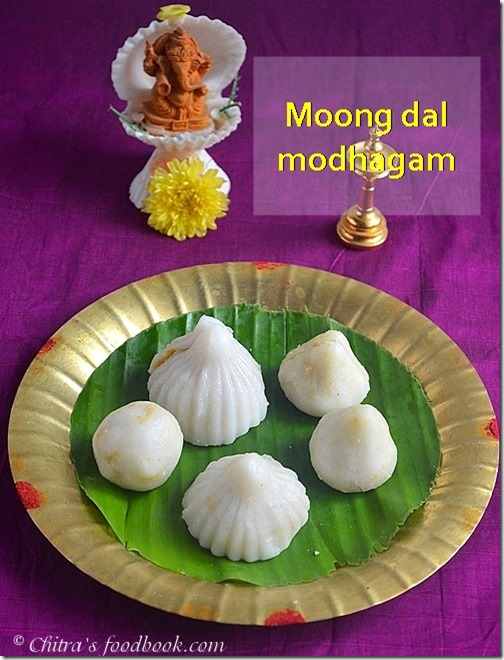
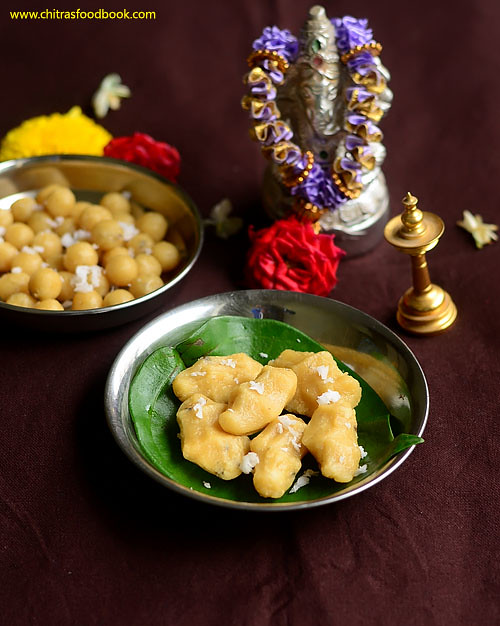
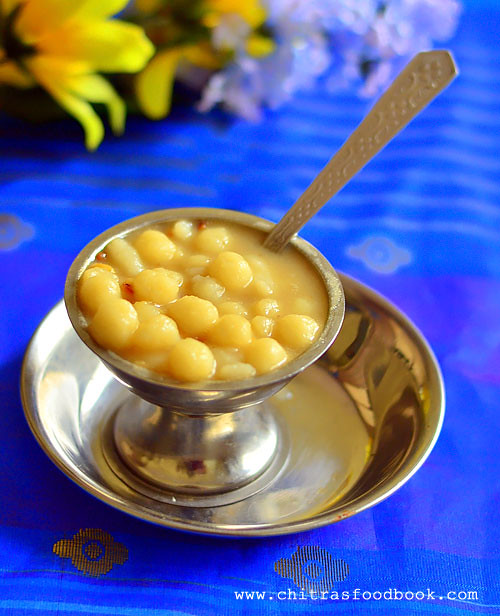
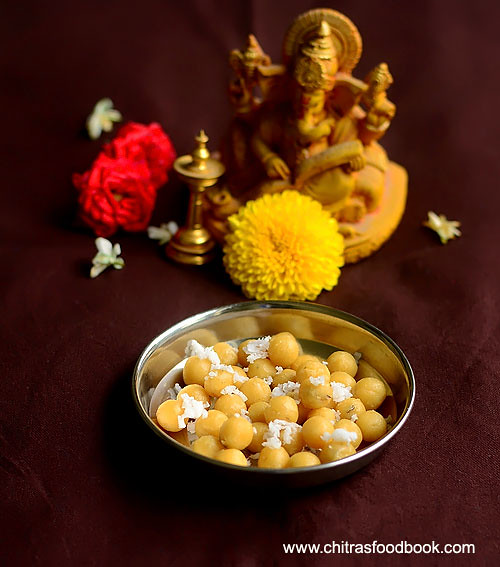
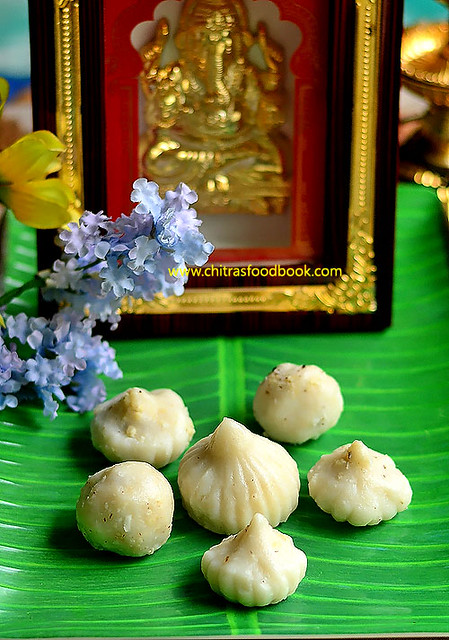
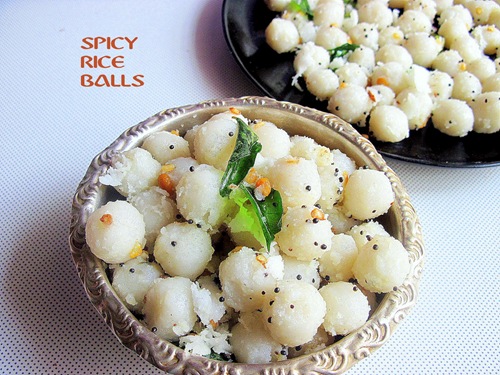
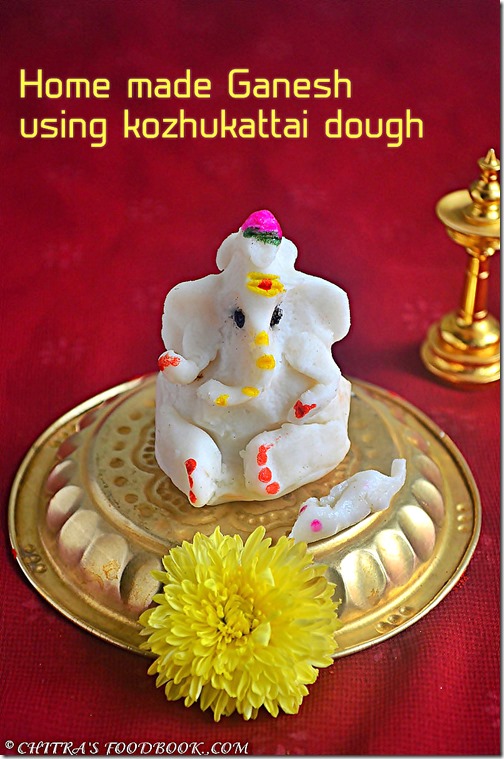
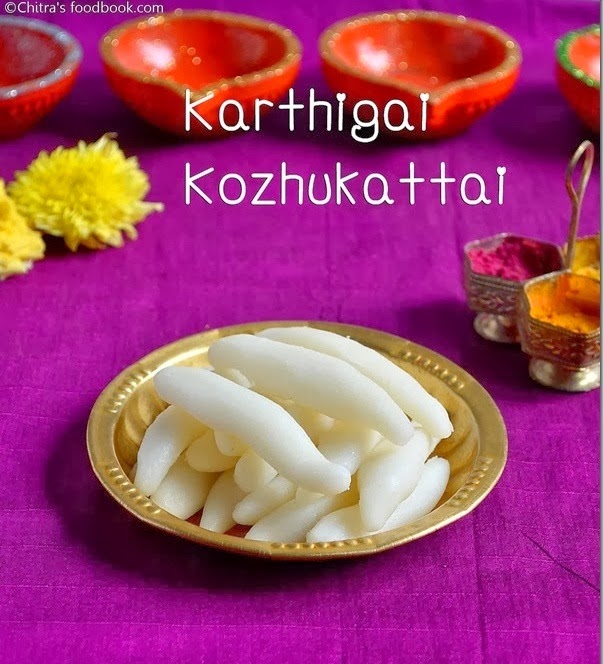
Kozhukattai Varieties – Kozhukattai Recipes List For Ganesh Chaturthi Festival

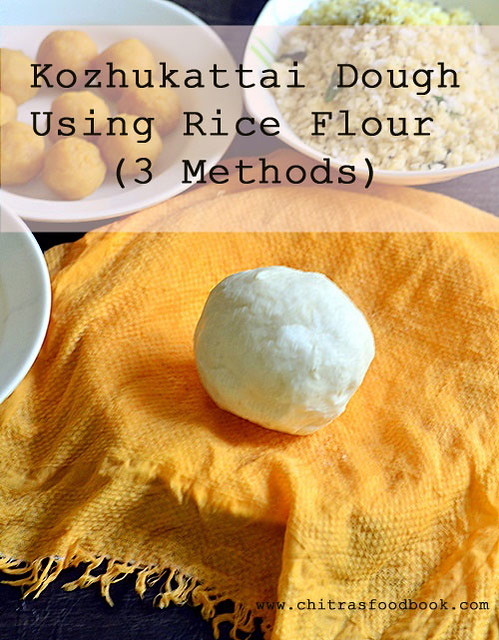
Kozhukattai recipes for festivals

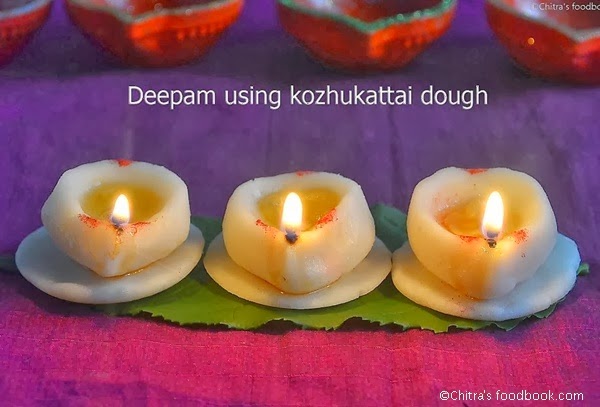
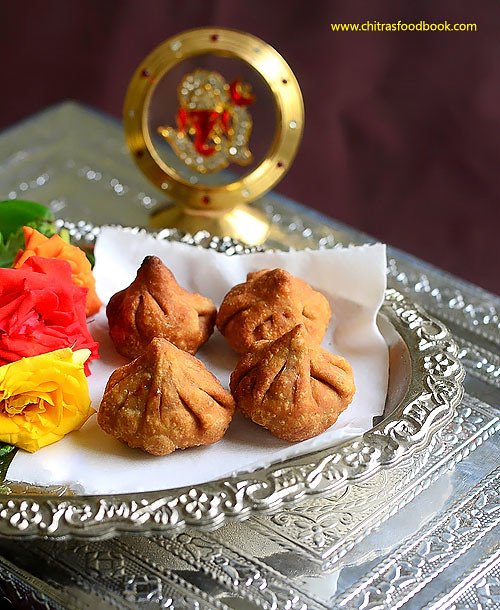
In this post, I have shared the list of different types of kozhukattai recipes / kozhukattai varieties that can be made for Ganesh chaturthi / Vinayagar chaturthi and other festivals like Varalakshmi vratham, during Tamil month Aadi, Karthigai deepam and other occasions at home. For Ganesh chaturthi, people make varieties of kolukattai / mothagam / modak across South India and North India as Lord Ganesh loves modak and he is fondly called as Modakpriya /Mothagapriyan.

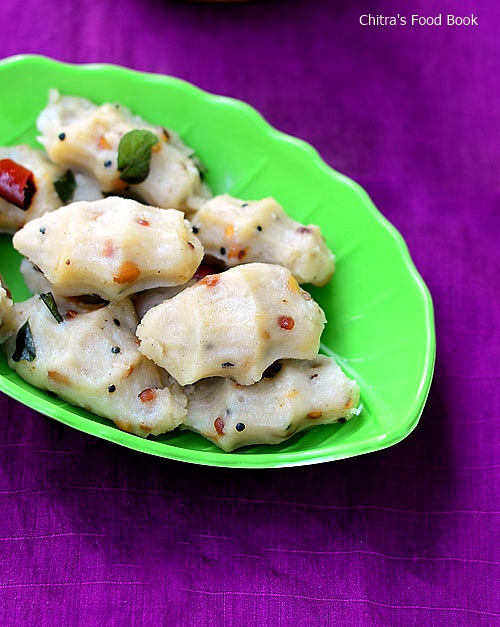
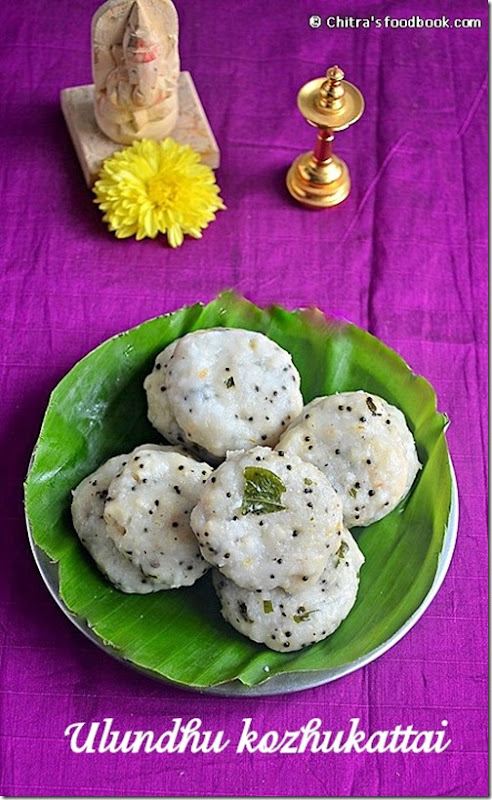
In Tamil nadu, it is called as kozhukattai. we make mothagam @ kolukattai as the major naivedyam recipe for Vinayagar chaturthi. Other than kozhukattai we make sweet appam, sundal, payasam and ladoo too. Kozhukattai varieties like sweet poornam kozhukattai, uppu kozhukattai / ulundu kolukattai and ellu kozhukattai is offered for Ganesh chaturthi. 

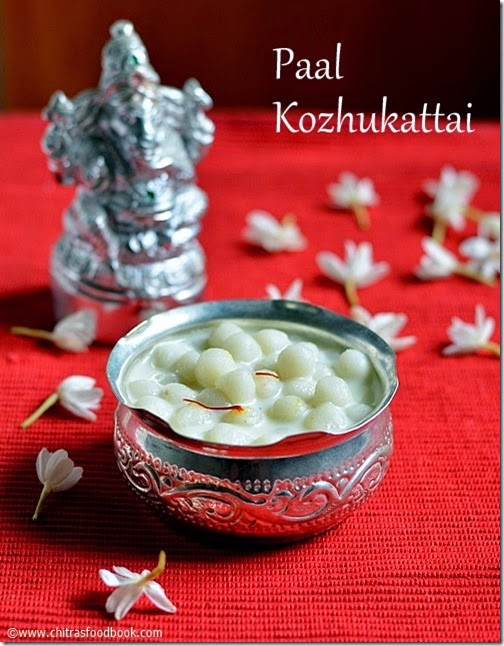
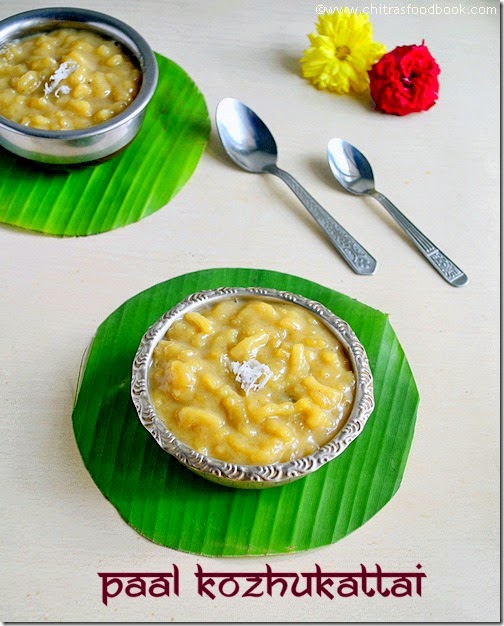
Some people also make paal kolukattai and thengai poorana kozhukattai instead of kadalai paruppu pooranam kozhukattai. Apart from the traditional kozhukattai recipes, beginners can easily try ammini kozhukattai in sweet and spicy versions.

In North India, Ukadiche modak and fried modak are very popular. Apart from this Khoya modak, dry fruits and nuts, khajoor modak can also be prepared. In this post, I have shared all the traditional kolukattai recipes and few beginner friendly kozhukattai recipes with no cook stuffing.  I have also shared some links on different methods of making kozhukattai / modak dough along with some useful video links. 

Hope you find this collection helpful for making kozhukattai varieties for this Ganesh chaturthi.I will try to add more kozhukattai varieties like peanut kozhukattai, vegetable kozhukattai, ilai kolukattai in future and update this list. Ok, lets move on to the list of kozhukattai recipes.

Check out my full Ganesh chaturthi recipes collection HERE !

Here is a detailed video of making 3 different types of Poorana kozhukattai


Hope you find this list helpful to choose and prepare kozhukattai for this Ganesh Chaturthi festival. Do try and have a great celebration. Share your feedback too !

Continue Reading...