
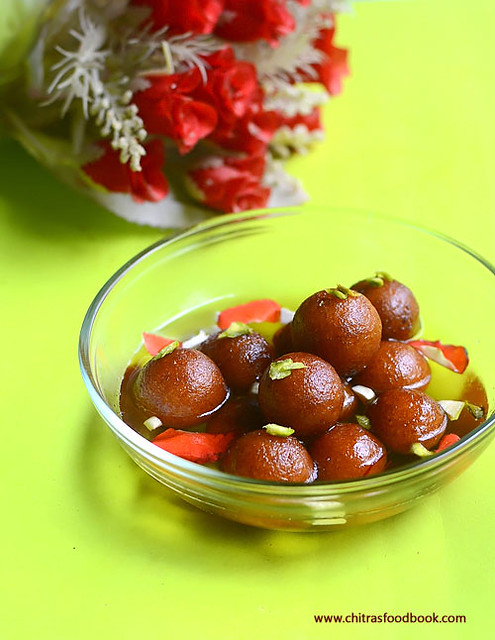
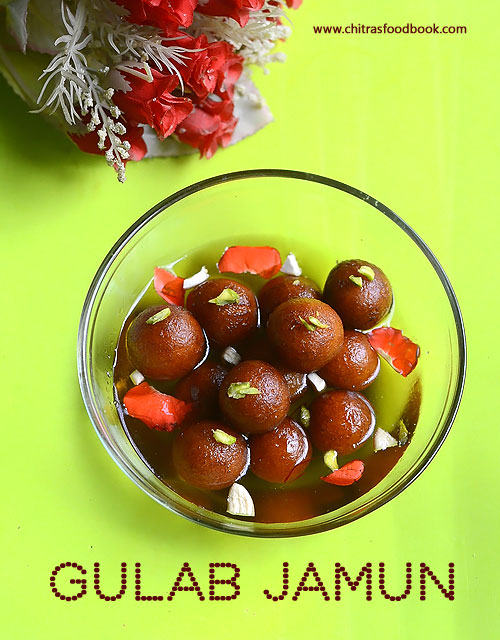
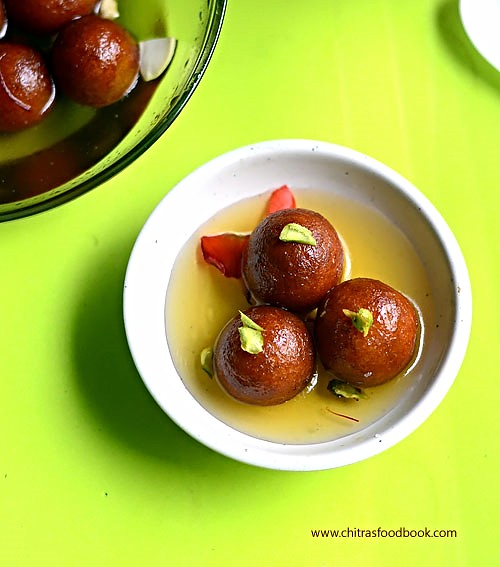
Recently my reader friend Harini asked me to share milk powder gulab jamun recipe and Gulab jamun with Instant store bought mix as well. As I had bookmarked this recipe already, I tried it yesterday. Milk powder, Fine semolina ( Chiroti rava), maida, milk are the major ingredients used in this recipe. Its easy to make too. It came out really well in my first attempt itself.
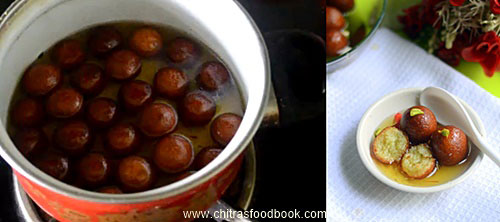
The author of this recipe had given the instructions very clearly which helped me a lot to make perfect Gulab jamun. Thank you so much Savita for the great recipe. I was very happy to see my soft, crack free, well soaked Gulab jamun in sugar syrup. I don’t say it doubled in size but it did puff up. I have shared step by step photos, tips for trouble shooting and a cooking video for beginners understanding. Hope you will try it for this Diwali and share your feedback with me. Lets see how to make yummy Gulab jamun recipe with milk powder & semolina.
Check out my Gulab Jamun with khoya and Jamun Kofta gravy recipes too !
 How to make gulab jamun with milk powder & semolina
INGREDIENTS
Note
Check out my Gulab Jamun with khoya and Jamun Kofta gravy recipes too !
Gulab Jamun With Milk Powder
How to make gulab jamun with milk powder & semolina
Cuisine: Indian
Category: Sweet
Serves: 20 - 25 nos
Prep time: 15 Minutes
Cook time: 15 Minutes
Total time: 30 Minutes
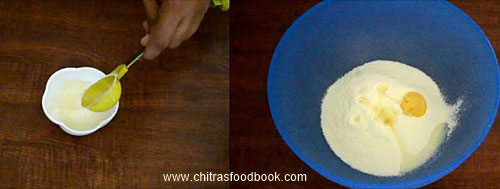
INGREDIENTS
For Gulab jamun dough : 1 cup - 250 ml
|
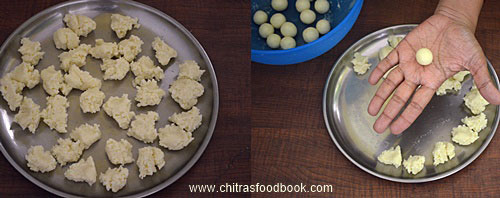
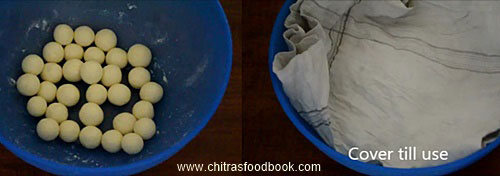
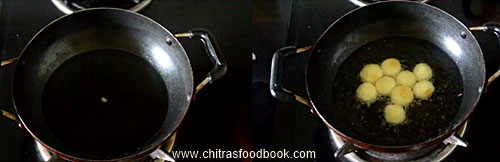
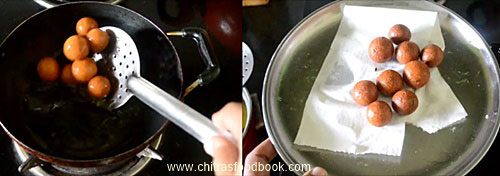
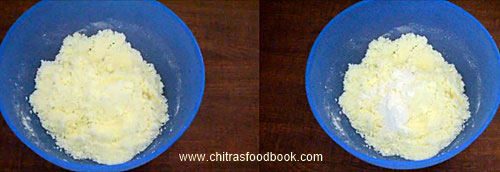
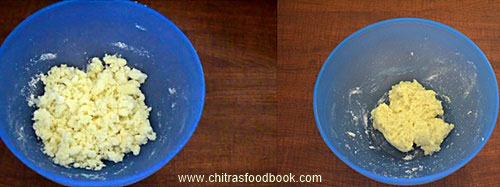
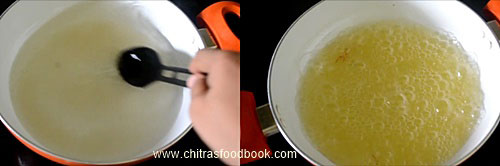
METHOD
|
Note
|
Try this easy, yummy Gulab jamun at home for special occasions and enjoy !


 .
.