

This recipe is very similar to my Narthangai pachadi but we used orange skin (kamala orange in Tamil). So the quantity of tamarind, green chilli and other spices vary slightly. Its so easy to cook as its done in a pressure cooker. If you have oranges at home, do not throw its skin. Make and consume it in the form of this pachadi and reap its health benefits.
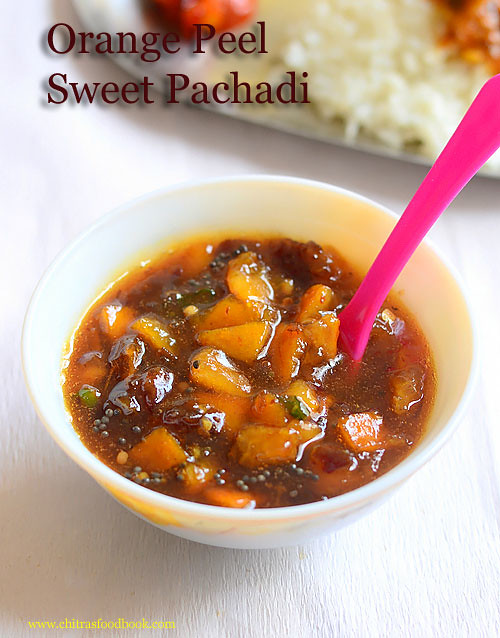
Next week I will share Orange skin kuzhambu and orange peel pickle. In the mean time, check out my orange skin sweet pachadi too. Ok, lets see how to make orange peel pachadi recipe in a pressure cooker easily !
Check out my mango pachadi recipe too !

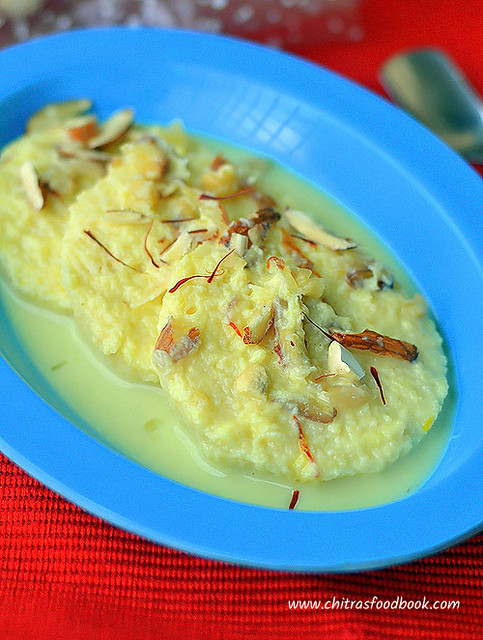
Spicy pachadi recipe with orange peel.
INGREDIENTS
Check out my mango pachadi recipe too !
Orange Skin Pachadi
Spicy pachadi recipe with orange peel.
Cuisine: South Indian
Category: Pickle Recipes
Serves: 1.5 cups
Prep time: 10 Minutes
Cook time: 20 Minutes
Total time: 30 Minutes
INGREDIENTS
1 cup – 250ml
|
HOW TO MAKE ORANGE SKIN PACHADI
- Wash and chop orange skin into small pieces.
- In a pressure cooker base, take the chopped orange peel, slit green chilli, salt, hing, tamarind extract and jaggery.
- Pressure cook in very low flame for 2 whistles. Remove the lid after steam is released.
- Add roasted fenugreek seeds powder, mix well and boil for a minute.
- Temper mustard seeds in sesame oil and add to the pachadi. Store in a box after it cools down.
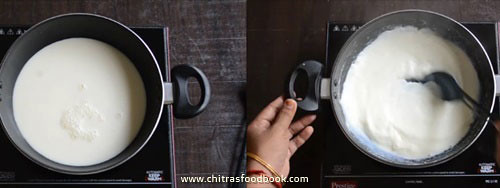
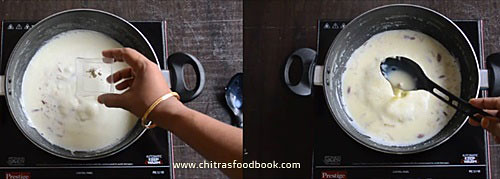
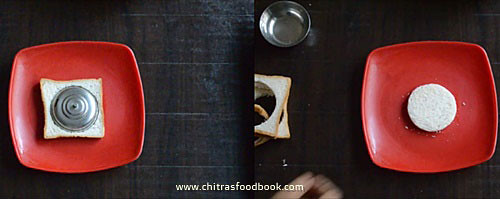
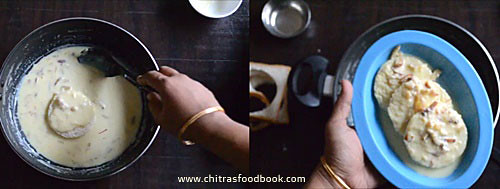
METHOD - STEP BY STEP PICTURES
|


Note
|


