


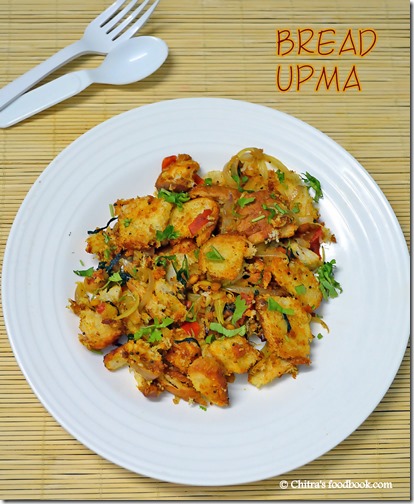
In this post, I have shared 40 upma varieties which includes rava upma varieties like basic rava upma, with video, bansi rava upma in Karnataka style, healthy wheat rava upma and Chiroti rava uppittu in hotel style, kichadi, kharabath recipes, Semiya upma recipe with video, Semiya biryani, rice sevai, poha upma/ aval upma varieties in South Indian and North Indian style, Sabudana/Sago upma in South Indian and North Indian style, Rice upma recipes, Puli upma/ tamarind upma, idli upma recipes, millet upma varieties etc.
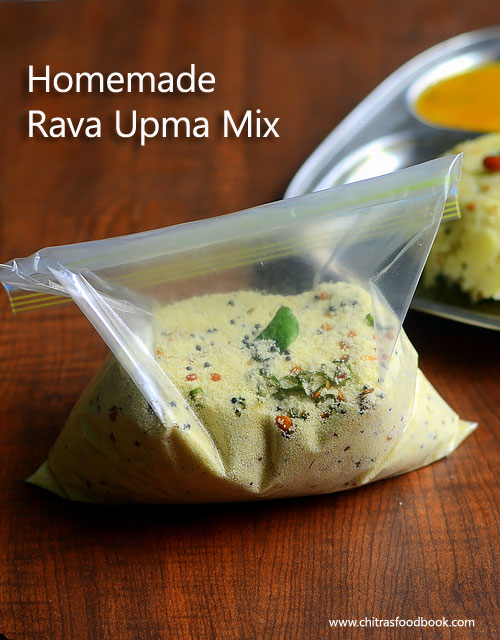
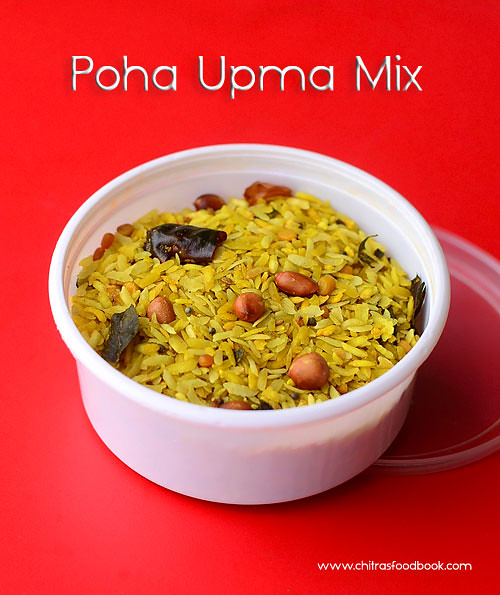
Apart from this, I have also shared homemade rava upma mix and Poha upma mix recipe too. I am sure bachelors and working women will find it helpful to make a quick breakfast, dinner recipe.
I still have a big list of upma recipes to try. I will update this list once I post them in my blog.
Ok friends, lets see the collection of 40 upma varieties below. Please click on the image or the title to view each recipe. Do try and share your feedback with me.
Please check the video recipes for Rava upma and Semiya upma below.
Semiya / Vermicelli upma
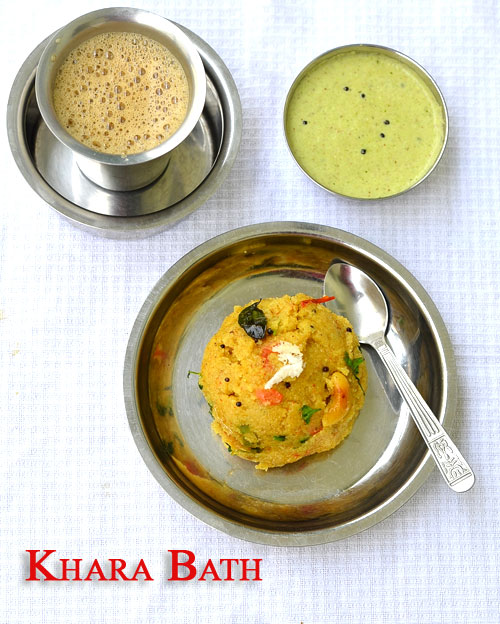
Karnataka style chow chow bath
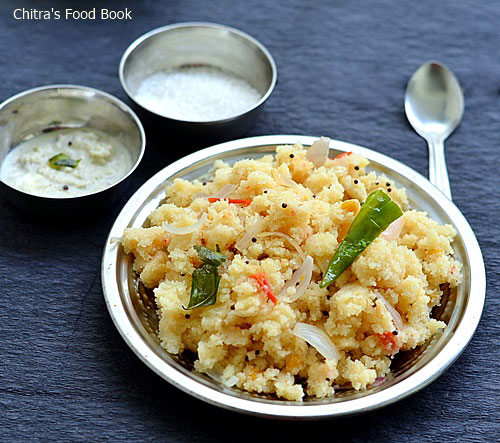
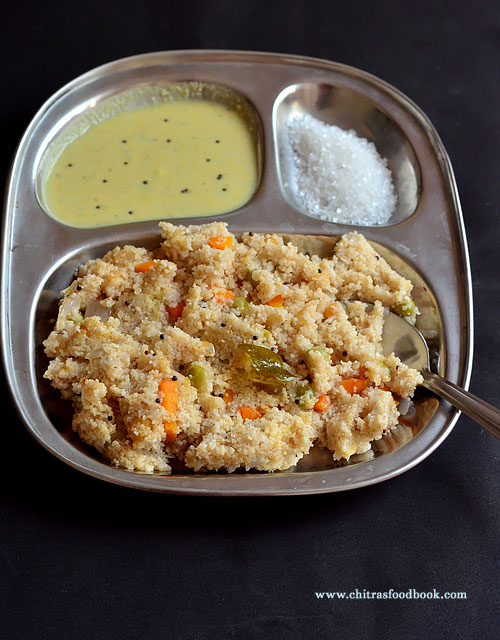
Rava upma recipe
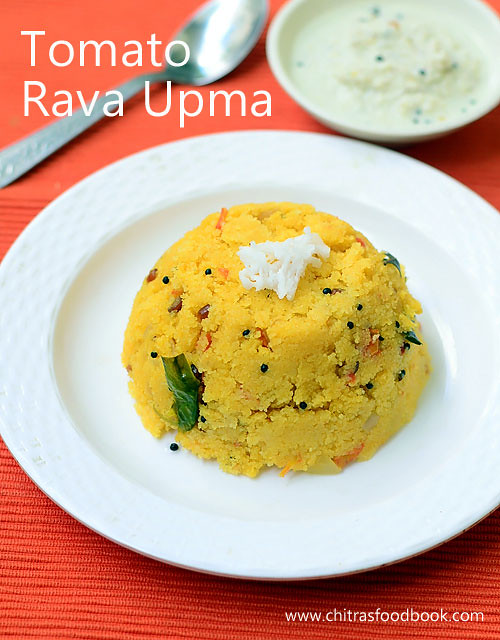
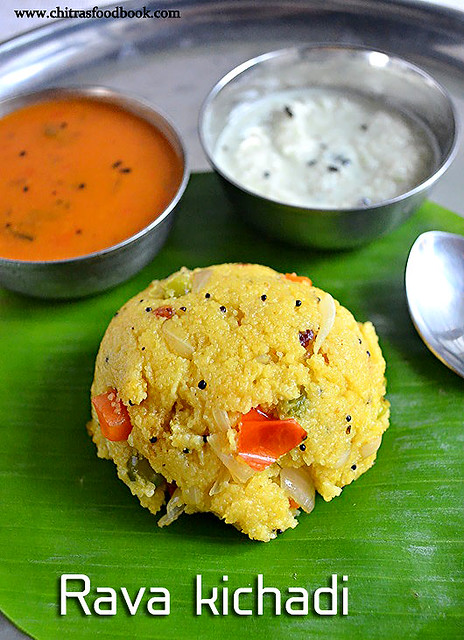
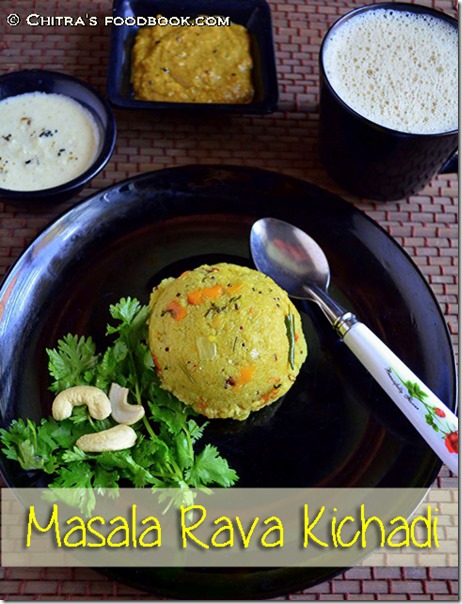
RAVA UPMA VARIETIES


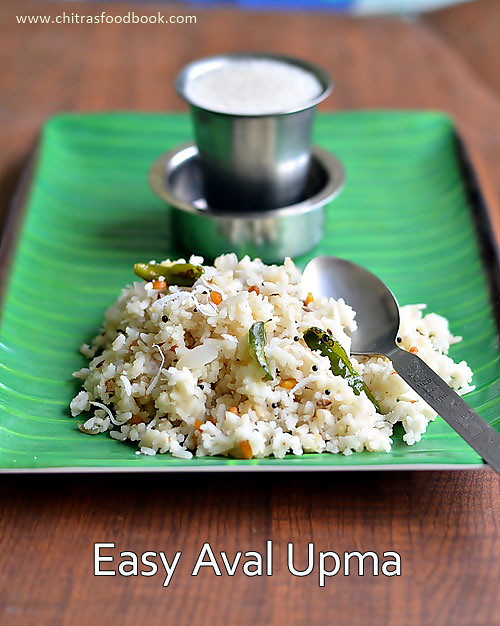
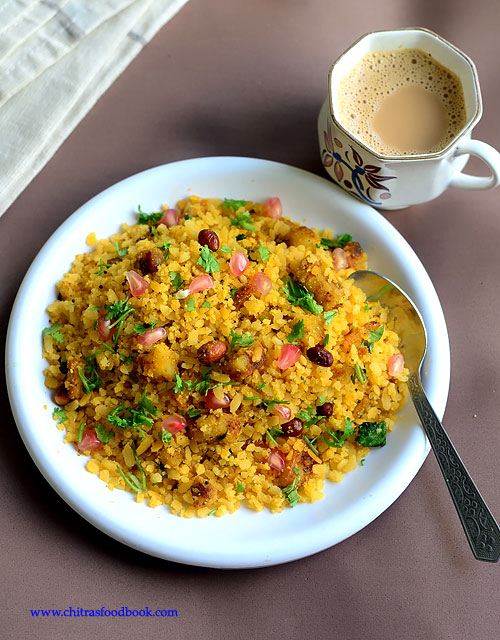
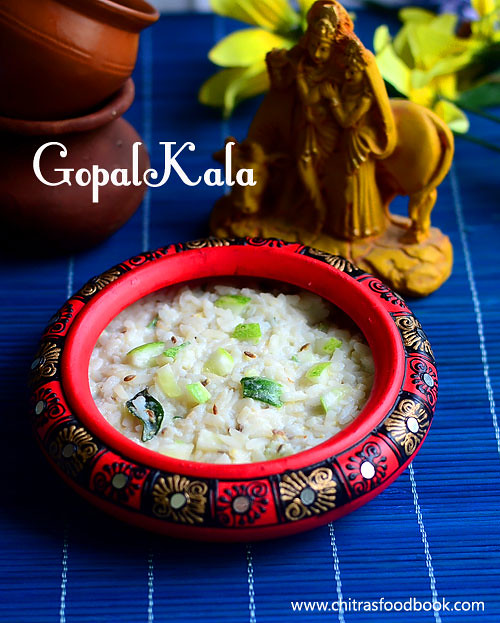
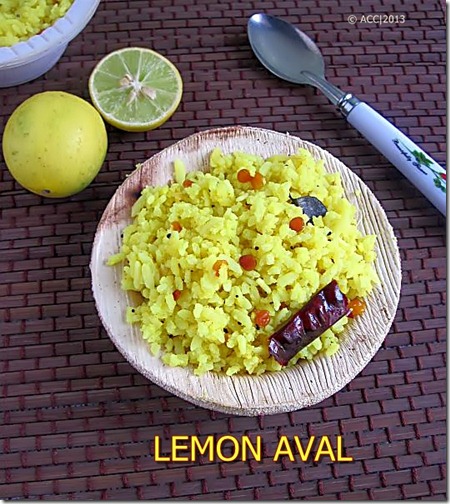
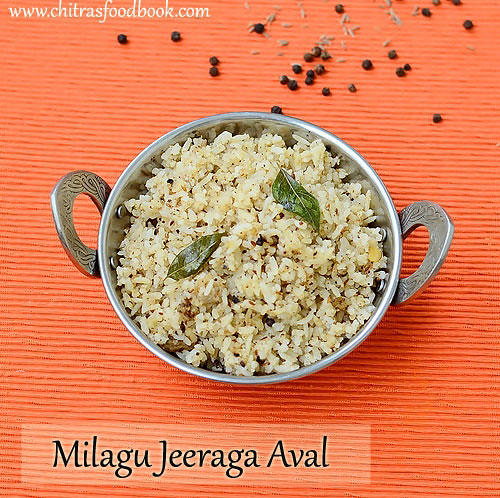
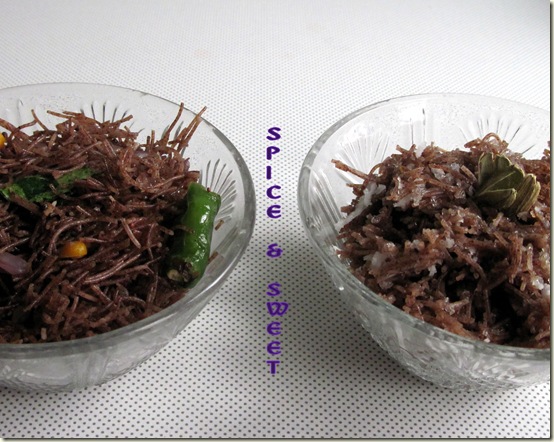
POHA UPMA / AVAL UPMA VARIETIES


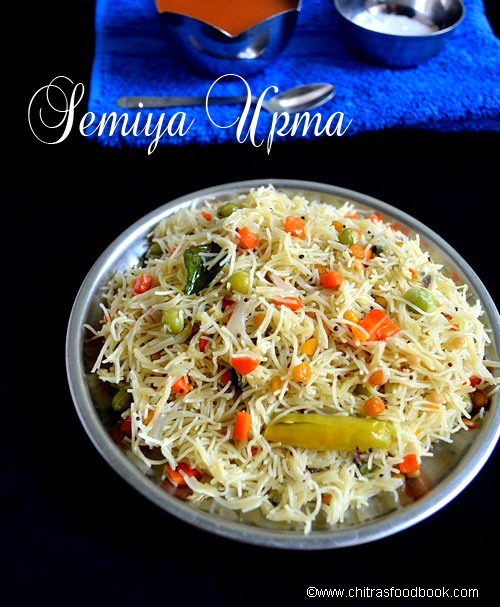
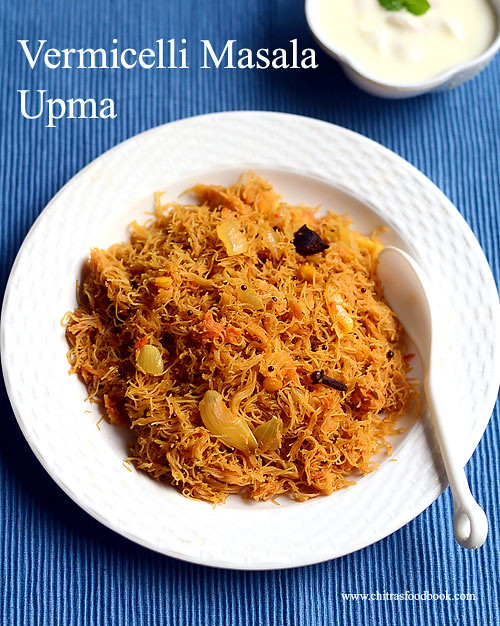
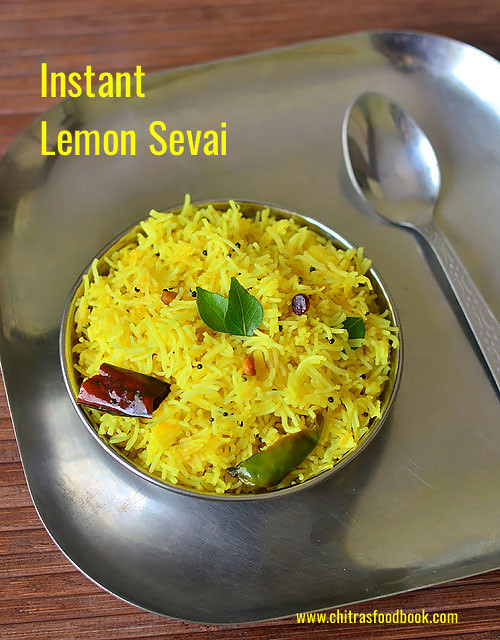
SEMIYA UPMA / VERMICELLI UPMA VARIETIES

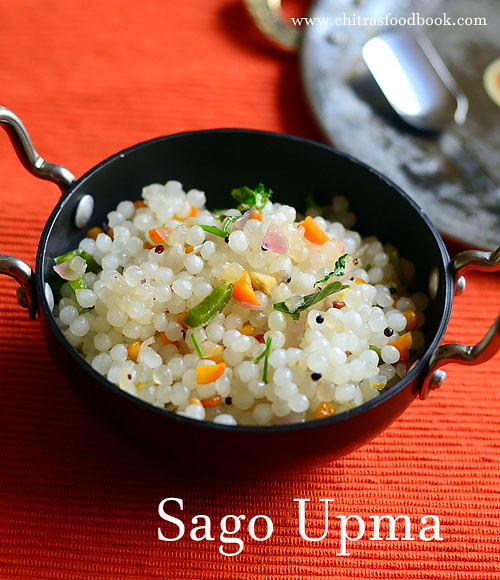
SAGO / SABUDANA/ JAVVARISI UPMA VARIETIES

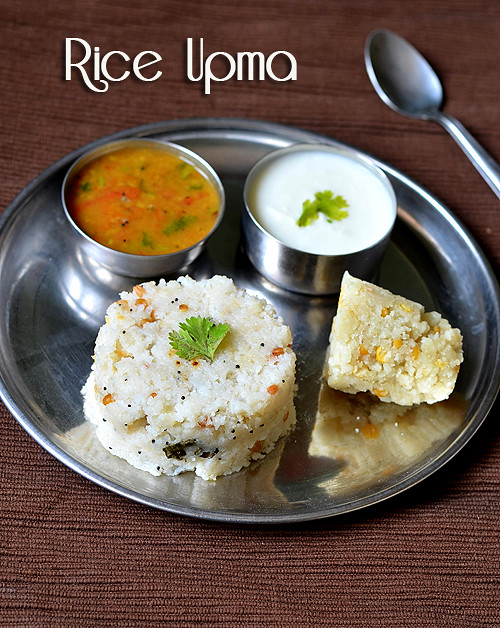
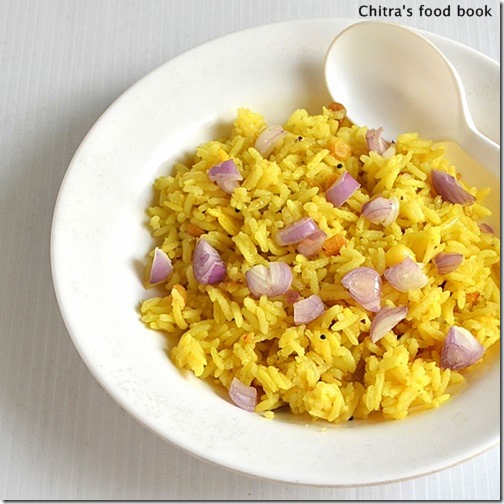
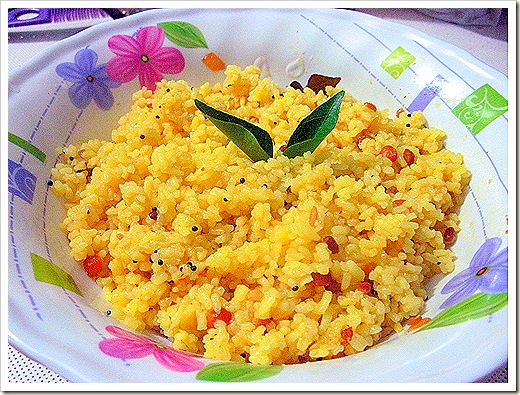
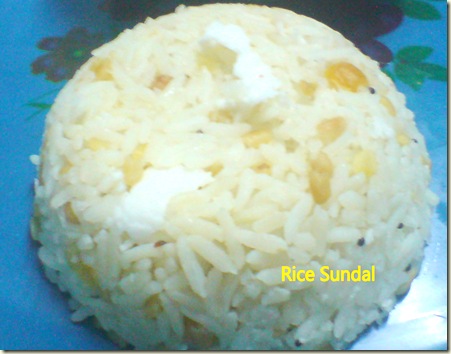
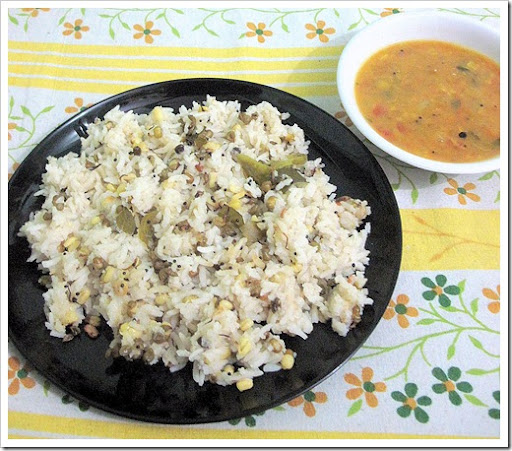
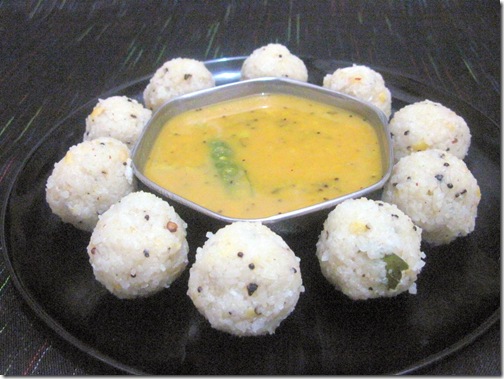
RICE UPMA VARIETIES


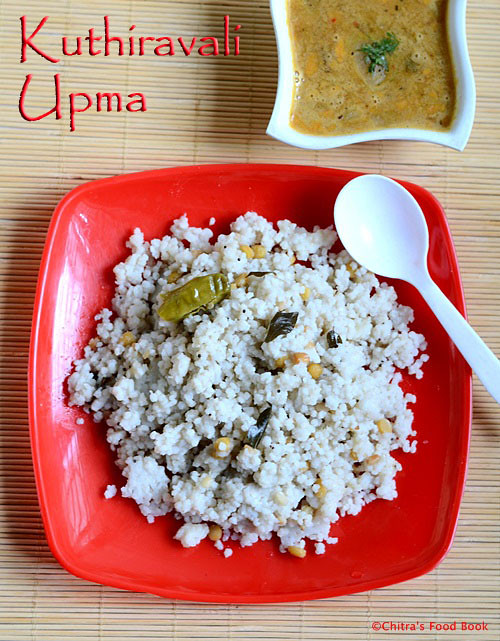
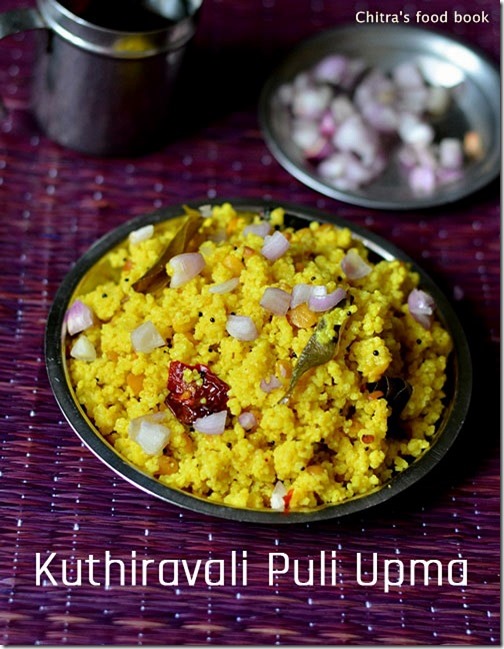
MILLET UPMA VARIETIES
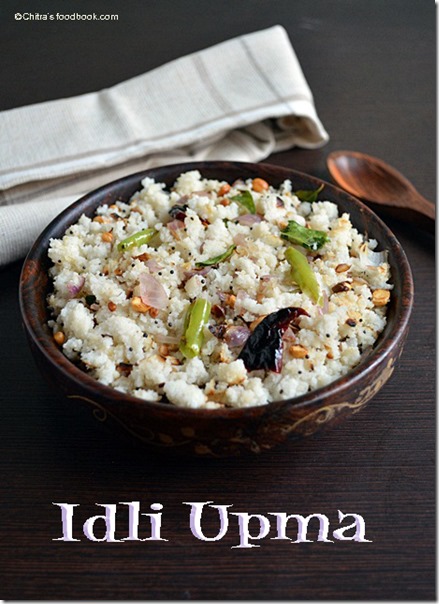
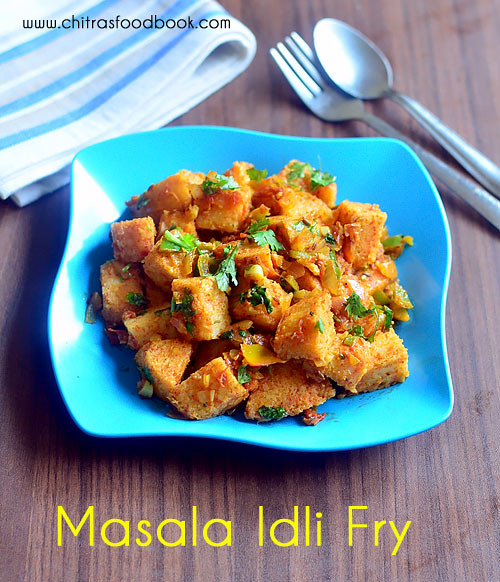
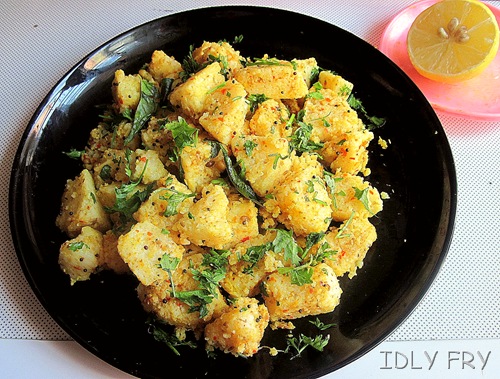
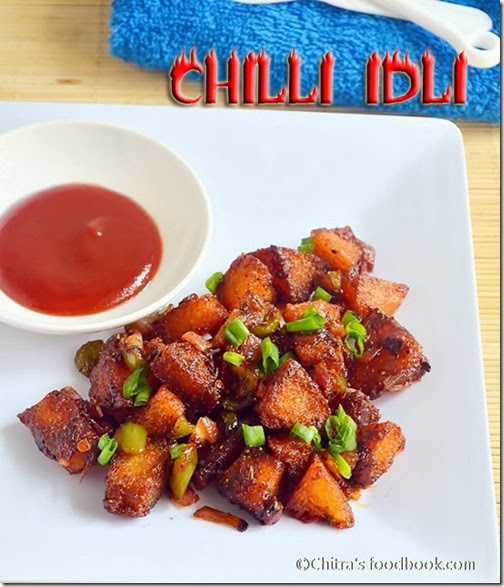
IDLI UPMA VARIETIES

Choose and try your favorite in this upma recipes collection and share your feedback with me.


